1、查找thunderbird配置文件位置:
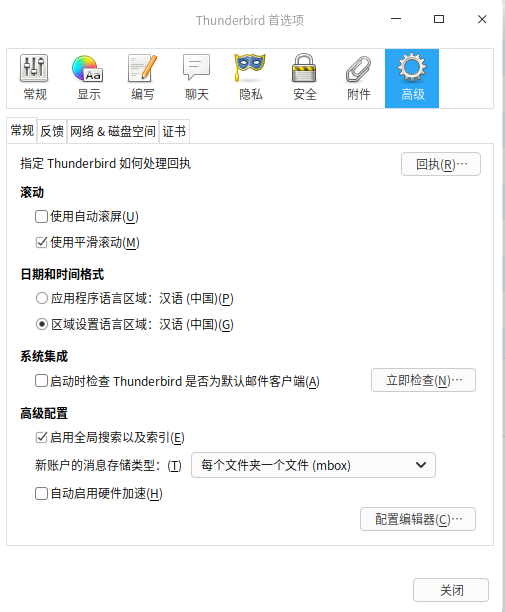
在‘编辑’=>‘首选项’=>‘高级’=>‘配置编辑器’
2、在点击“我了解风险”的按钮后弹出一个搜索框,在搜索框中输入mail.server.server1.directory后第一项里面的值就是我们的配置路径(此截取到xxx.default),如下图:

从上图我的配置路径为 /home/xpli/.thunderbird/b5ch4kqj.default/
扫描二维码关注公众号,回复:
9740762 查看本文章

3、在上面的路径下新建一个chrome的文件,然后在这个文件里面再新建一个userChrome.css文件并写入如下内容:
@namespace url(http://www.mozilla.org/keymaster/gatekeeper/there.is.only.xul);

/* Set Font Size In Folder Pane */

#folderTree >treechildren::-moz-tree-cell-text {

  /*font-family: Lucida Sans !important;*/

  font-size: 10pt !important; }

/* Set Font Size In Thread Pane */

#threadTree >treechildren::-moz-tree-cell-text {

  /*font-family: Lucida Sans !important;*/

  font-size: 10pt !important; }

#threadTree treechildren::-moz-tree-row    {

/*  border-bottom: 1px dotted grey !important;  */

  height: 35px !important; }

/* folder list spacing */

#folderTree treechildren::-moz-tree-row    {

  height: 25px !important; }

#threadTree treechildren::-moz-tree-row(odd) {

  -moz-appearance: none !important;

  background-image: none !important;

  background-color:#F3F6FA !important;

}

#threadTree treechildren::-moz-tree-row(selected) {

  background-color: -moz-Dialog !important;

}

#threadTree treechildren::-moz-tree-row(selected, focus) {

  background-color: Highlight !important;

}

#folderTree treechildren::-moz-tree-row(selected) {

  -moz-appearance: none !important;

  background-image: none !important;

  background-color: Highlight !important;

}

#folderTree treechildren::-moz-tree-row(selected, focus) {

  -moz-appearance: none !important;

  background-image: none !important;

  background-color: Highlight !important;

}
注:
如果已经有了则可以先备份userChrome.css文件然后再在userChrome.css文件里面添加或者修改
以上代码内容为https://blog.csdn.net/hongszh/article/details/104354278里面复制的。之所以直接贴出来是为了方便自己后续再使用。如对原作者带来不便之处还请谅解,我会第一时间处理的。