1.资源准备
虚拟机4C 8G 100G磁盘,配置好网络,需要连接外网。
cat /etc/centos-release
CentOS Linux release 7.7.1908 (Core)
2.安装okd 3.11
# 安装git
yum install git -y
# clone okd一键安装项目
cd /opt/
git clone https://gitee.com/xhua/OpenshiftOneClick.git
cd OpenshiftOneClick
# 修改必要的配置
cat config.yml
---
CHANGEREPO: true
HOSTNAME: os311.test.example.com

Change_Base_Registry: false
Harbor_Url: harbor.apps.it.example.com

FULL_INSTALL: false
SAMPLE_TEMPLATES: false

CICD_INSTALL: false

# GOGS_USER: root
GOGS_PASSWORD: root
GOGS_EMAIL: abc@123.com

# 设置hostname
hostnamectl set-hostname os311.test.example.com
# 执行安装
/bin/bash deploy_openshift.sh
完成后在访问的主机中设置hosts,添加一条
192.168.84.138 os311.test.example.com
在浏览器中访问: https://os311.test.example.com:8443
3. 安装Istio
参考:https://github.com/Maistra/istio-operator
3.1 安装istio-operator
3.1.1 安装依赖的operator
Installing the Elasticsearch Operator
oc create -f https://raw.githubusercontent.com/openshift/elasticsearch-operator/release-4.1/manifests/01-service-account.yaml -n openshift-logging
oc create -f https://raw.githubusercontent.com/openshift/elasticsearch-operator/release-4.1/manifests/02-role.yaml
oc create -f https://raw.githubusercontent.com/openshift/elasticsearch-operator/release-4.1/manifests/03-role-bindings.yaml
oc create -f https://raw.githubusercontent.com/openshift/elasticsearch-operator/release-4.1/manifests/04-crd.yaml -n openshift-logging
curl https://raw.githubusercontent.com/openshift/elasticsearch-operator/release-4.1/manifests/05-deployment.yaml | sed 's/latest/4.1/g' | oc create -n openshift-logging -f -
Installing the Jaeger Operator
oc new-project observability # create the project for the jaeger operator
oc create -n observability -f https://raw.githubusercontent.com/jaegertracing/jaeger-operator/v1.13.1/deploy/crds/jaegertracing_v1_jaeger_crd.yaml
oc create -n observability -f https://raw.githubusercontent.com/jaegertracing/jaeger-operator/v1.13.1/deploy/service_account.yaml
oc create -n observability -f https://raw.githubusercontent.com/jaegertracing/jaeger-operator/v1.13.1/deploy/role.yaml
oc create -n observability -f https://raw.githubusercontent.com/jaegertracing/jaeger-operator/v1.13.1/deploy/role_binding.yaml
oc create -n observability -f https://raw.githubusercontent.com/jaegertracing/jaeger-operator/v1.13.1/deploy/operator.yaml
Installing the Kiali Operator
curl -L https://raw.githubusercontent.com/kiali/kiali/master/operator/deploy/deploy-kiali-operator.sh -o deploy-kiali-operator.sh
bash deploy-kiali-operator.sh --operator-image-version v1.0.0 --operator-watch-namespace '**' --accessible-namespaces '**' --operator-install-kiali false
3.1.2 安装istio-operator
git clone https://github.com/Maistra/istio-operator.git
cd istio-operator
oc new-project istio-operator
oc new-project istio-system
oc apply -n istio-operator -f ./deploy/maistra-operator.yaml
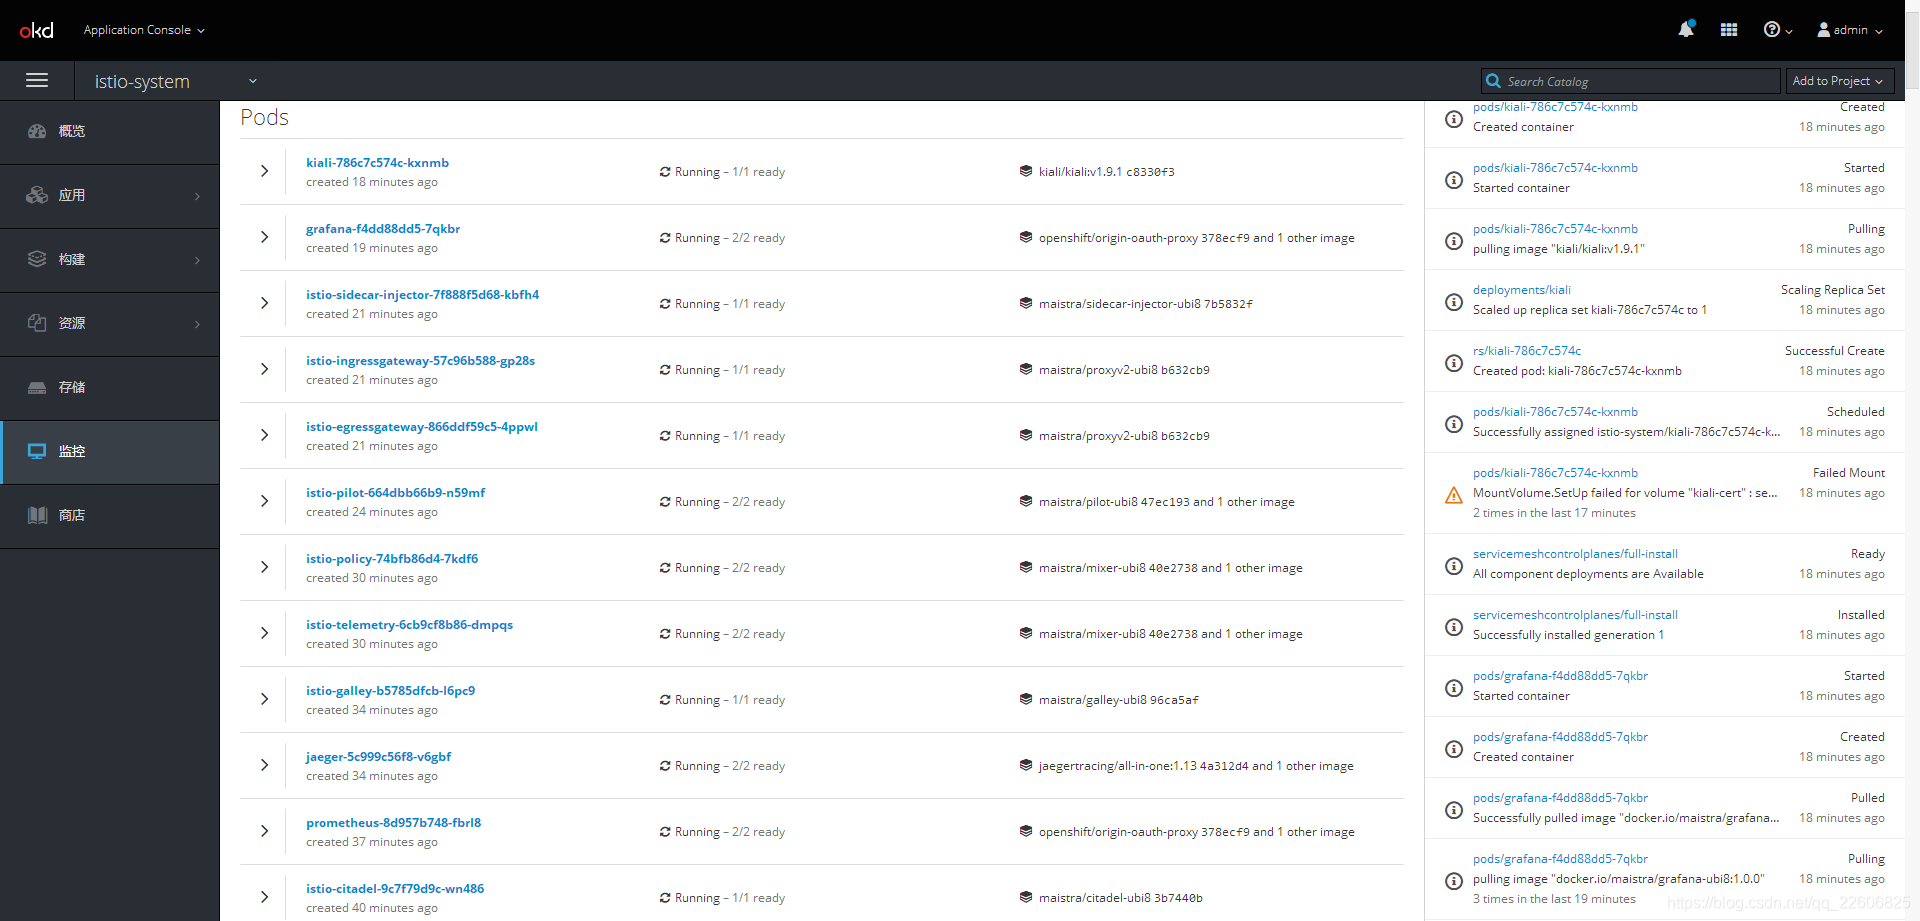
3.2 安装Istio
# 全量安装
oc apply -n istio-system ./deploy/examples/maistra_v1_servicemeshcontrolplane_cr_full.yaml
安装完成后:
3.3 开启sidecar自动注入
参考:https://istio.io/docs/setup/platform-setup/openshift/
# okd的主配置文件在/etc/origin/master/master-config.yaml
cd /etc/origin/master/
# 创建master-config.patch并写入以下内容
cat master-config.patch
admissionConfig:
  pluginConfig:
    MutatingAdmissionWebhook:
      configuration:
        apiVersion: apiserver.config.k8s.io/v1alpha1
        kubeConfigFile: /dev/null
        kind: WebhookAdmission
    ValidatingAdmissionWebhook:
      configuration:
        apiVersion: apiserver.config.k8s.io/v1alpha1
        kubeConfigFile: /dev/null
        kind: WebhookAdmission

cp -p master-config.yaml master-config.yaml.prepatch
oc ex config patch master-config.yaml.prepatch -p "$(cat master-config.patch)" > master-config.yaml
master-restart api
master-restart controllers
后续需要给pod自动注入sidecar代理,需要添加注解sidecar.istio.io/inject: ‘true’
4.部署helloworld
oc new-project mytest
oc adm policy add-scc-to-group privileged system:serviceaccounts -n mytest
oc adm policy add-scc-to-group anyuid system:serviceaccounts -n mytest
添加mytest到service mesh下管理:
oc edit smmr default -n istio-system
... ...
spec:
  members:
  # a list of namespaces that should be joined into the service mesh
  # for example, to add the bookinfo namespace
  - mytest
... ...
部署hellowolrd.yaml:
apiVersion: extensions/v1beta1
kind: Deployment
metadata:
  name: sleep
spec:
  replicas: 1
  template:
    metadata:
      annotations:
        sidecar.istio.io/inject: "true"
      labels:
        app: sleep
    spec:
      containers:
      - name: sleep
        image: tutum/curl
        command: ["/bin/sleep","infinity"]
        imagePullPolicy: IfNotPresent
oc apply -n mytest -f hellowolrd.yaml
部署结果:
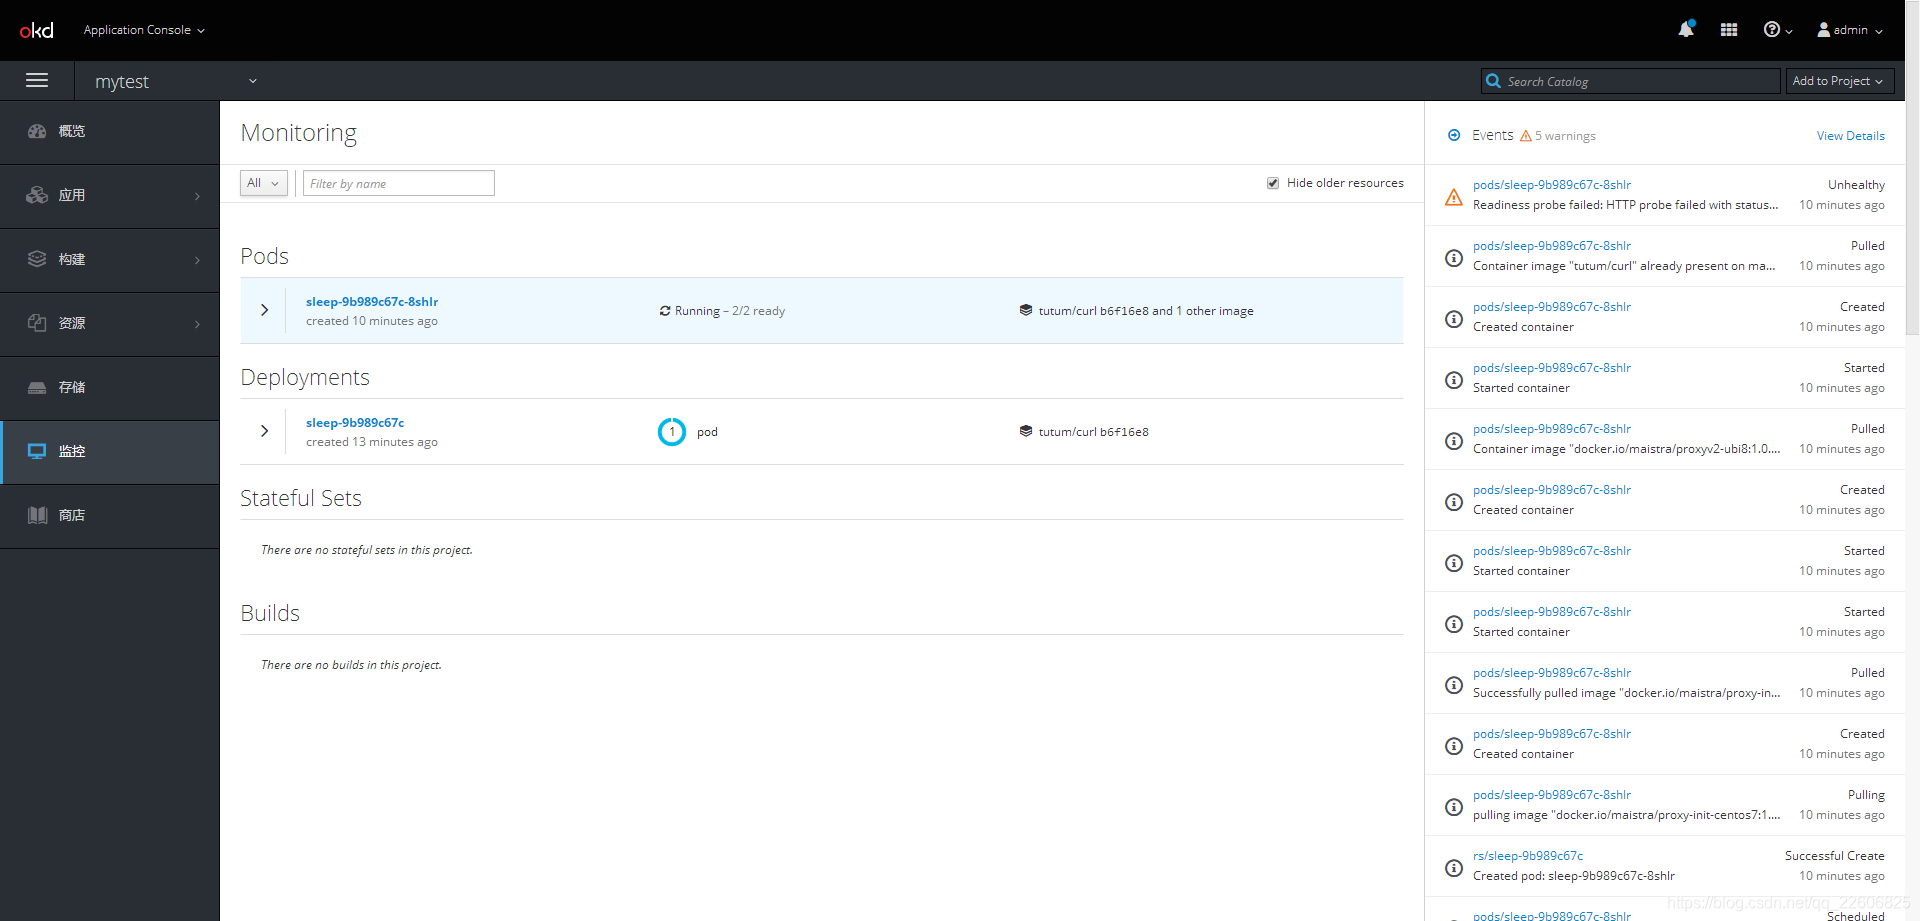
注意这里的pod一定是有俩个container,否则就是sidecar注入没配置好,再次回到3.3开启sidecar自动注入。
