
Spring Boot 概述
Build Anything with Spring Boot:
Spring Boot is the starting point for building all Spring-based applications. Spring Boot is designed to get you up and running as quickly as possible, with minimal upfront configuration of Spring.
上面是引自官网的一段话,大概是说: Spring Boot 是所有基于 Spring 开发的项目的起点。Spring Boot 的设计是为了让你尽可能快的跑起来 Spring 应用程序并且尽可能减少你的配置文件。
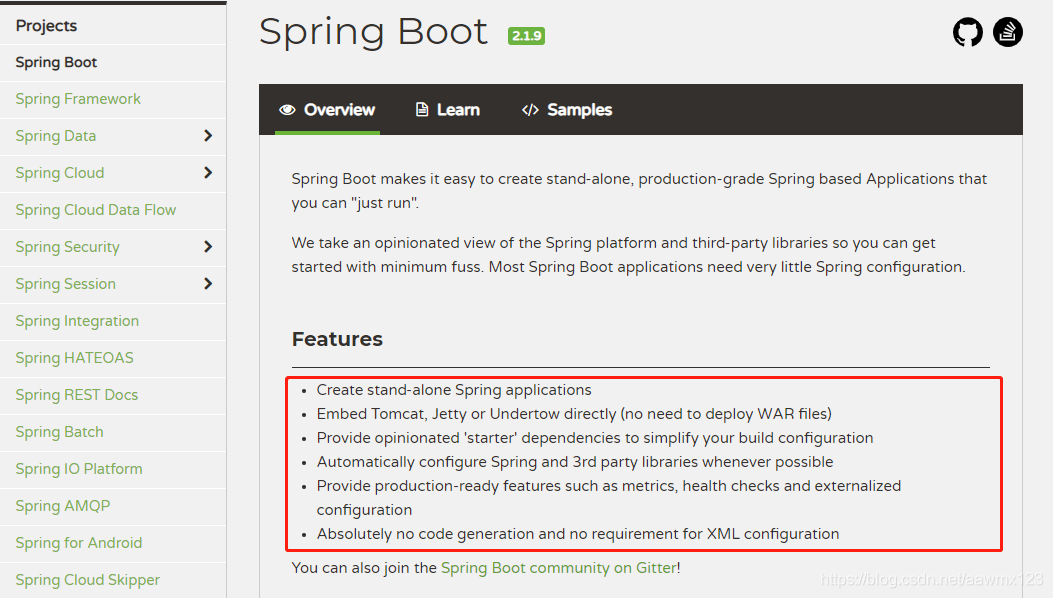
在SpringBoot官方网站上,介绍了SpringBoot的特点
就是快速简洁的创建独立的Spring应用程序,并且完全不需要任何配置文件
它使用 “习惯优于配置” (项目中存在大量的配置,此外还内置一个习惯性的配置,让你无须)的理念让你的项目快速运行起来。
它并不是什么新的框架,而是默认配置了很多框架的使用方式,就像 Maven 整合了所有的 jar 包一样,Spring Boot 整合了所有框架
SpringBoot快速搭建
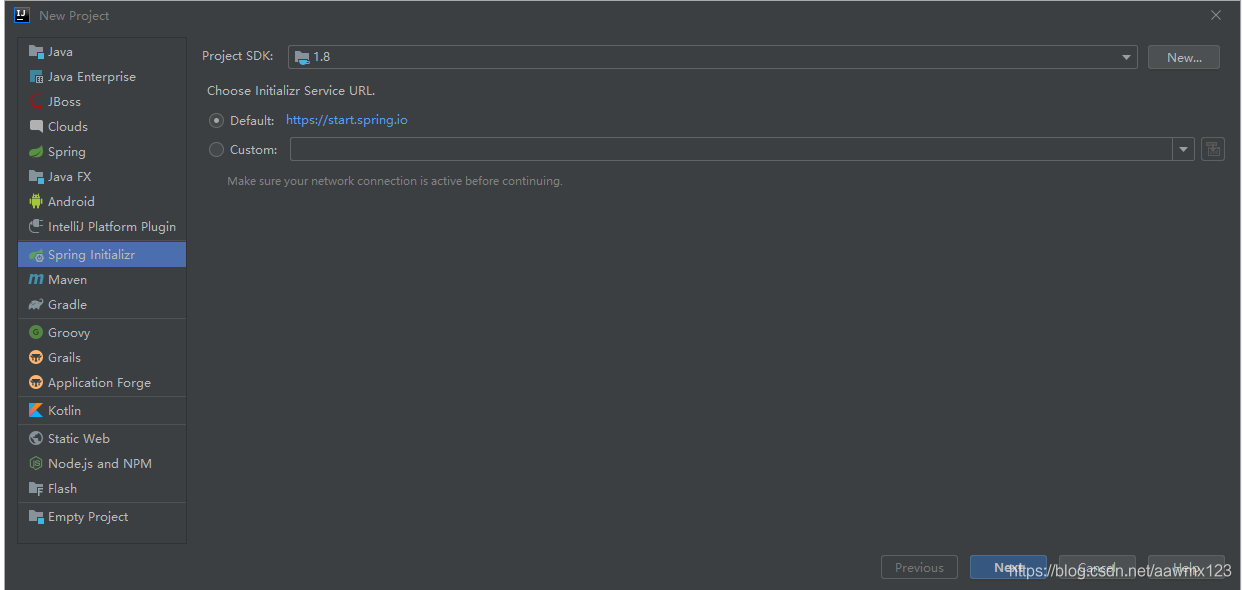
第一步:新建项目
选择 Spring Initializr ,然后选择默认的 url 点击【Next】:
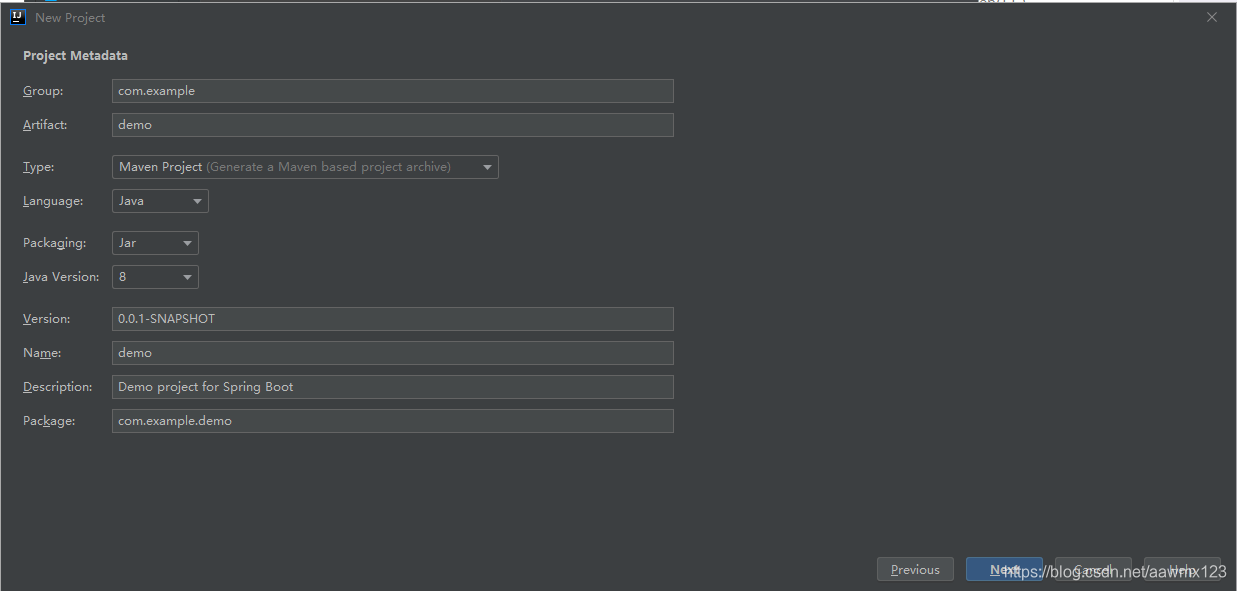
然后修改一下项目的信息:
勾选项目需要的模块

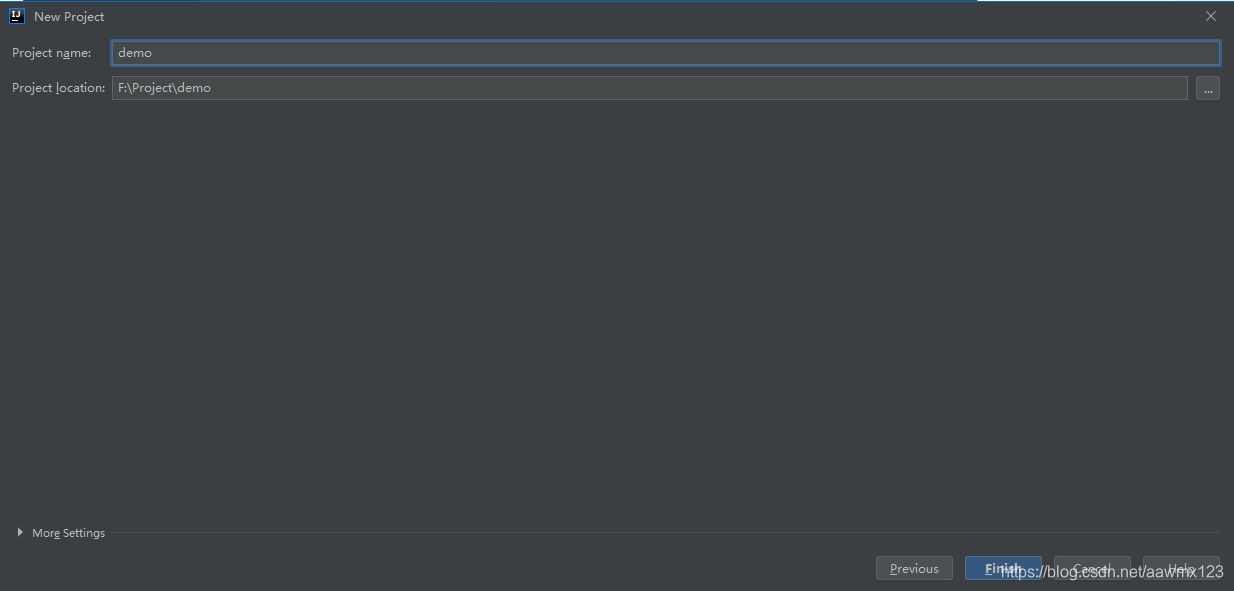
选择项目路径,修改项目名,点击Finish
至此,项目创建完成,项目结构如下
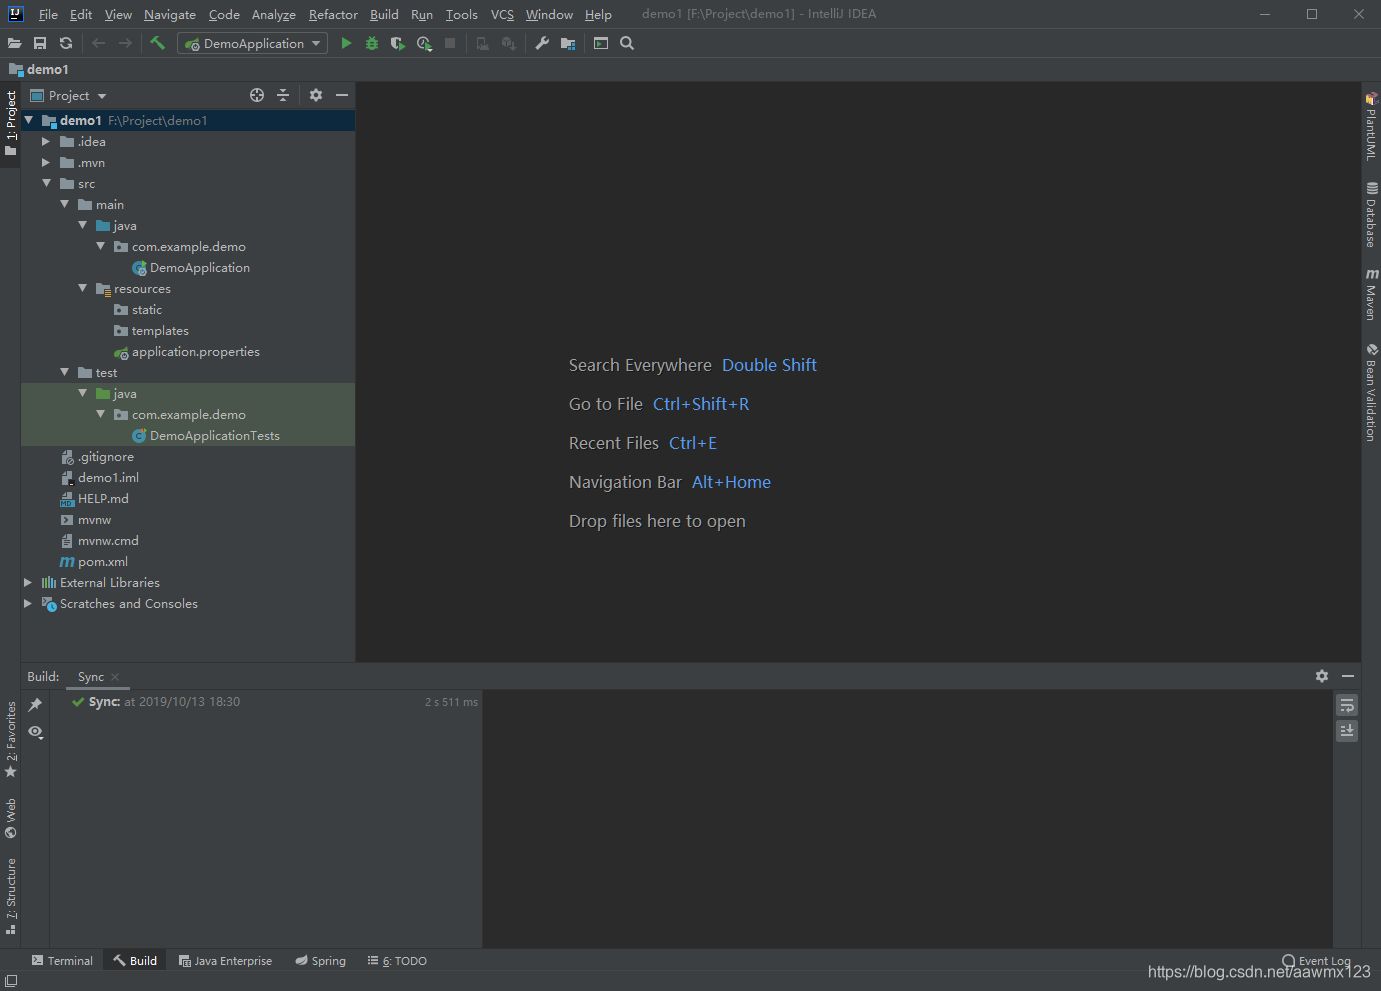
- DemoApplication: 一个带有 main() 方法的类,用于启动应用程序
- DemoApplicationTests:一个空的 Junit 测试了,它加载了一个使用 Spring Boot 字典配置功能的 Spring 应用程序上下文
- resource文件夹目录结构
- static:用于存储静态文件(css,js等)
- templates:用于存放模板页面
- application.properties:SpringBoot应用的配置文件,可以用来修改一些默认配置
- pom.xml: Maven 构建说明文件
第一步:Hello World
在【cn.example.demo】包下新建一个package【controller】,新建类【HelloWorldController】:
@RestController
public class HelloWorldController {

    @RequestMapping("/hello")
    public String hello(){

        return "Hello World !!!";

    }
}
第三步:利用 IDEA 启动 Spring Boot
我们回到 DemoApplication 这个类中,然后右键点击运行:

- 注意:我们之所以在上面的项目中没有手动的去配置 Tomcat 服务器,是因为 Spring Boot 内置了 Tomcat
启动成功
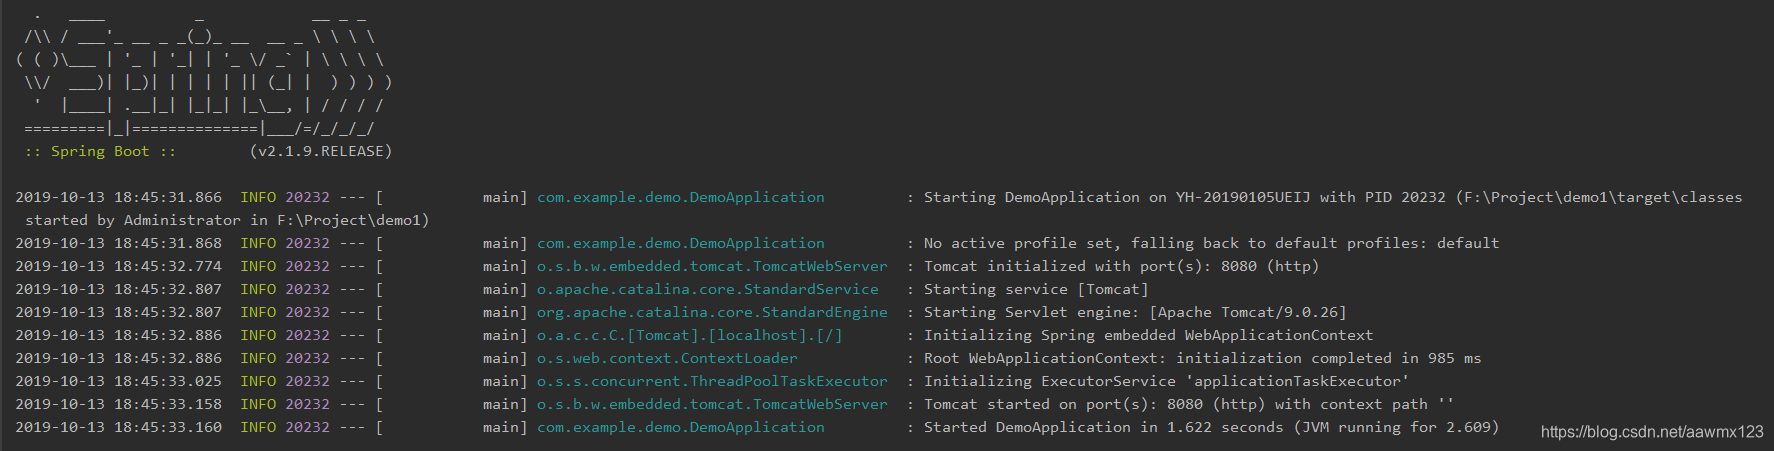
可以看到我们的 Tomcat 运行在 8080 端口,我们来访问 “/hello” 地址试一下:
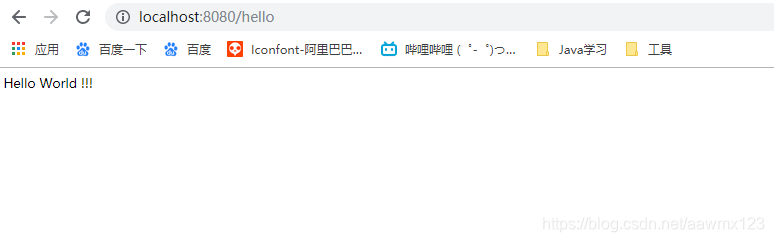
至此,一个SpringBoot的HelloWorld完成
