Jeesite4.x安装教程(自学记录)
其中配置maven、jdk、mysql的操作都没有做备注
1、官方文档链接
https://jeesite.gitee.io/docs/install-deploy/
2、下载代码到本地
git clone https://gitee.com/thinkgem/jeesite4.git
3、idea导入jeesite4工程
4、配置maven,以及下载相关依赖jar包(第一次时间比较长,耐心等待)
5、配置jdk (官方推荐jdk1.8版本)
6、配置数据库
(1)初始化数据库(参考官网)
1)打开 my.ini 给 [mysqld] 增加如下配置: sql_mode="ONLY_FULL_GROUP_BY,STRICT_TRANS_TABLES,ERROR_FOR_DIVISION_BY_ZERO,NO_AUTO_CREATE_USER,NO_ENGINE_SUBSTITUTION" 2)如果遇到 ERROR 1709 (HY000): Index column size too large. The maximum column size is 767 bytes. 错误 a)
打开 my.ini 给 [mysqld] 增加如下配置: innodb_large_prefix = ON innodb_file_format = Barracuda innodb_file_per_table = ON b)
并修改报错的建表语句后面加上:ENGINE=InnoDB row_format=DYNAMIC; #
若没有修改my.ini的权限也可以使用命令查看参数和设置参数:
show global variables like "innodb_large_prefix";
show global variables like "innodb_file_format"; show global variables like "innodb_file_per_table";
set global innodb_large_prefix=ON; set global innodb_file_format=Barracuda; set global innodb_file_per_table=ON;
2) 创建用户和授权 (在数据库中运行)
set global read_only=0; set global optimizer_switch='derived_merge=off'; create user 'jeesite'@'%' identified by 'jeesite'; create database jeesite DEFAULT CHARSET 'utf8' COLLATE 'utf8_unicode_ci'; grant all privileges on jeesite.* to 'jeesite'@'%' identified by 'jeesite'; flush privileges;
3)配置数据库链接
改成自己的数据库名称、用户名、密码即可
若刚才导入到的 Eclipse(IDEA) 的项目已经完成加载 jar 并无错误,这时你就可以执行/bin/init-data.bat(.sh)脚本初始化数据库了,第一次执行如果遇见table xxx doesn't exist的错误信息,忽略即可。
如果/bin/init-data.bat(.sh)无法运行,你可以在 idea里找到com.jeesite.test.InitData.java文件,点击 Run As -> JUnit Test 运行单元测试,进行初始化数据库脚本。注意:必须带上参数 -Djeesite.initdata=true 来运行这个方法
8、启动项目
可以配置自己的访问路径和端口号

找到web工程下 com.jeesite.modules.Application,直接运行该方法:
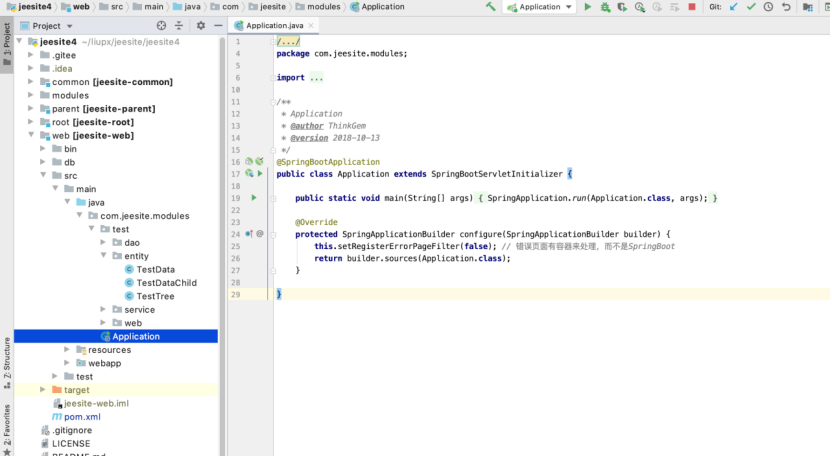
点击run "Application"
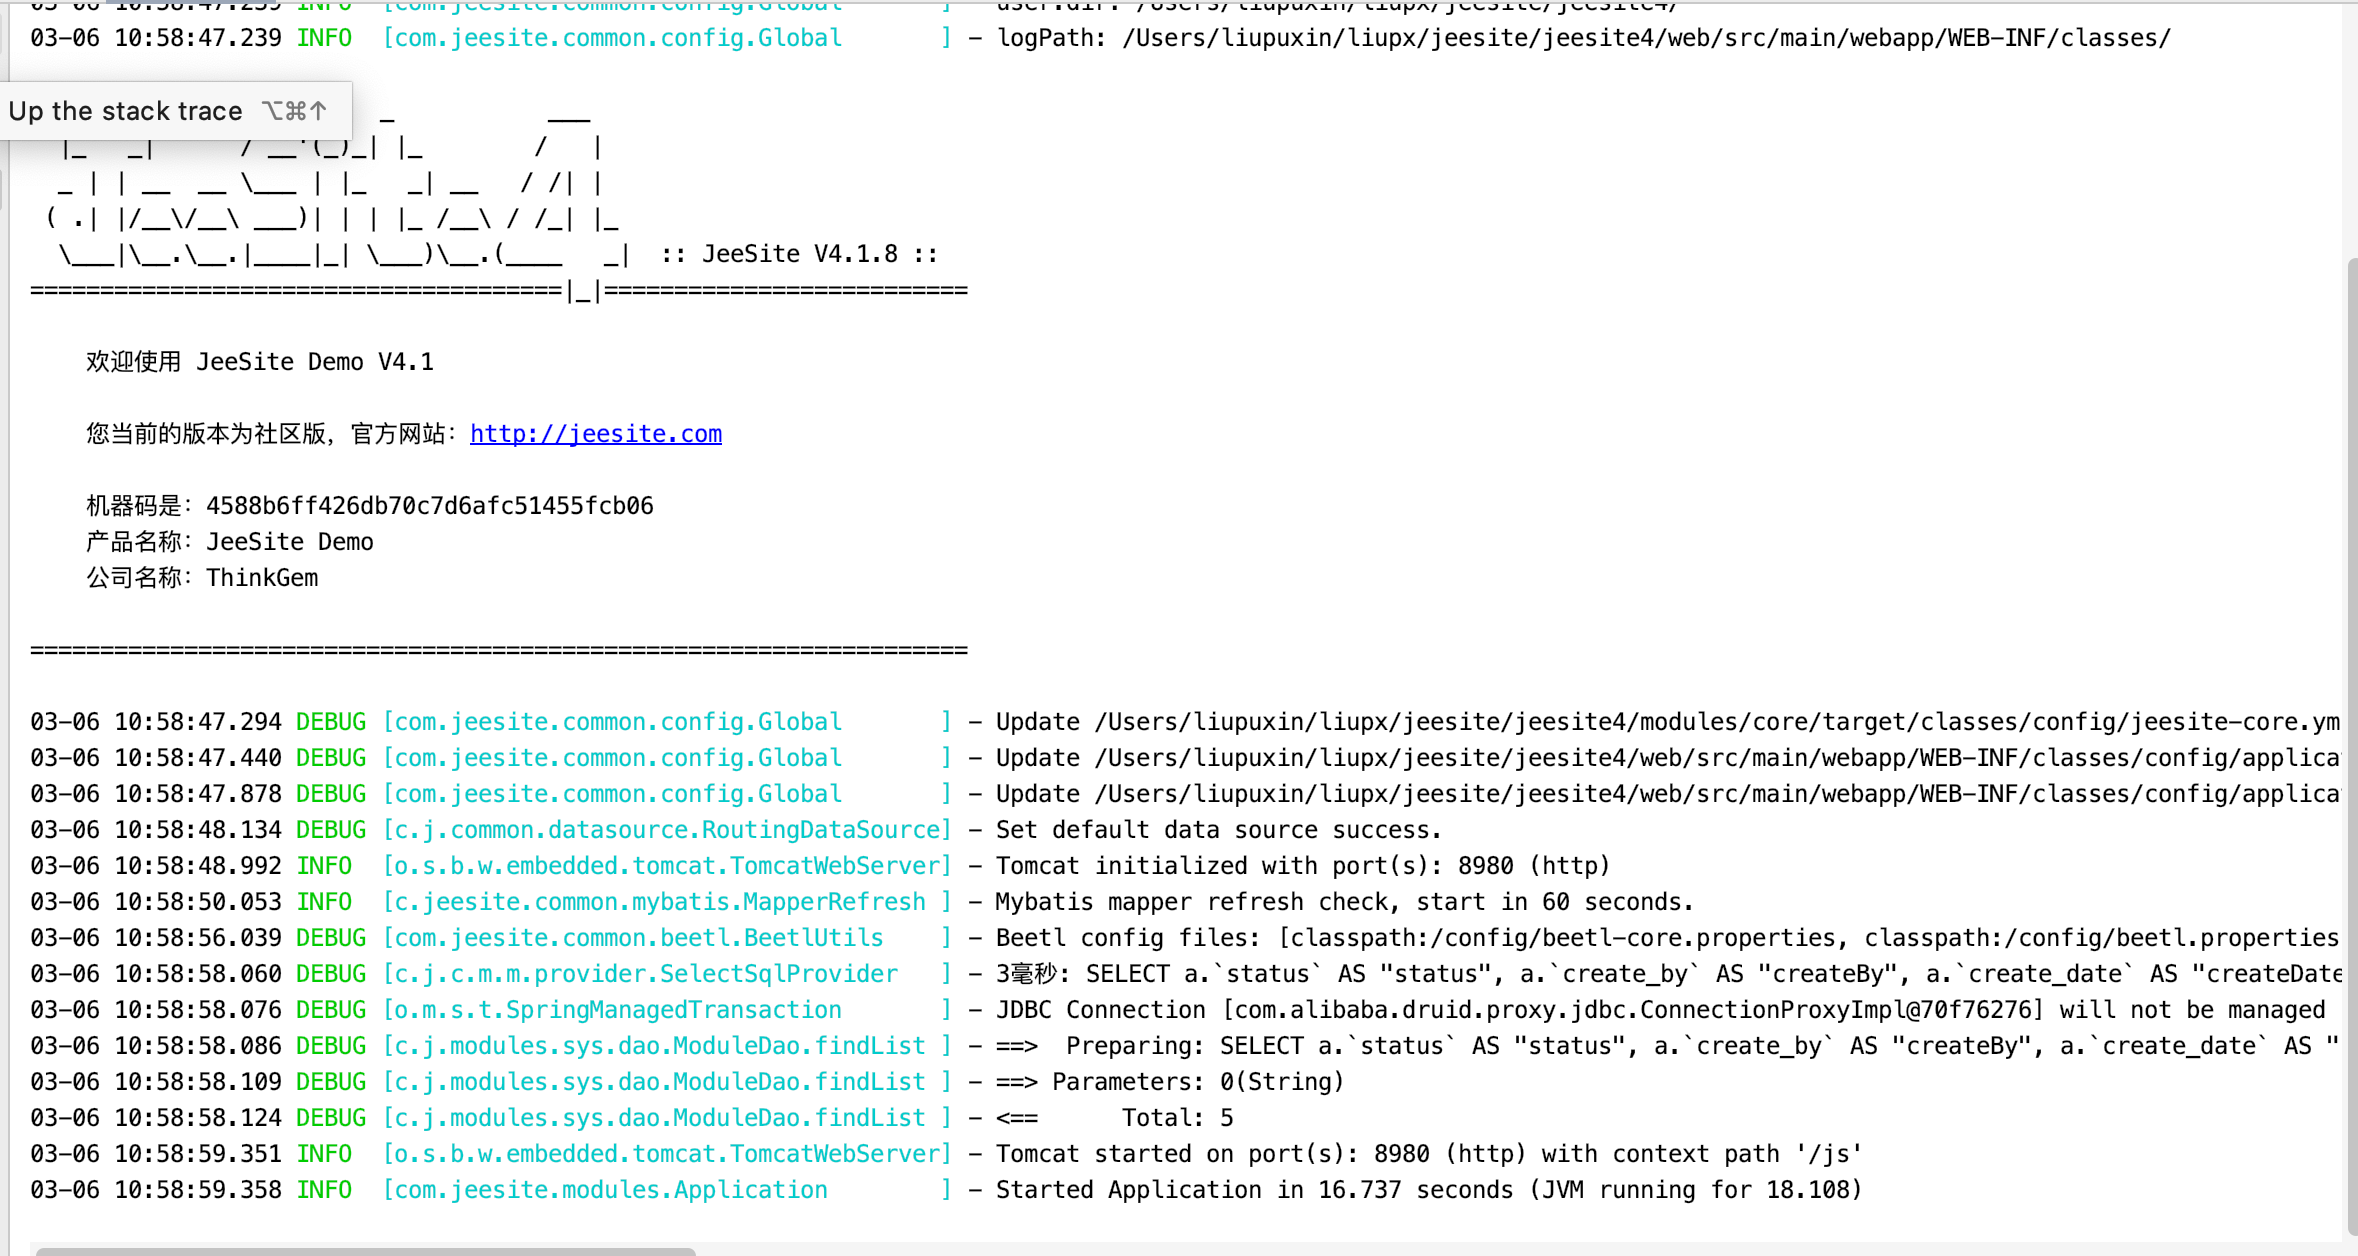
代表启动成功 默认 端口号 8980 访问路径 127.0.0.1:8980/js/
输入用户名 密码 默认权限最高管理员 system 密码admin
大功告成!!!!
