不管一个系统或网站的大与小,都存在相应的图片处理,生成缩略图、为图片加水印等等,如果涉及到APP端,这个图片的处理需求变得更加重要了,因为在目前看来,客户端的屏幕大小不一,会导致以下问题:
1、图片过大导致APP加载图片速度慢;
2、消耗用户过多流量。
注意:若要实现图片的压缩和过滤,nginx必须编译了 --with-http_image_filter_module=dynamic模块,而此模块编译时需要gd-devel包,这个包下载地址:https://centos.pkgs.org/7/centos-x86_64/gd-devel-2.0.35-26.el7.x86_64.rpm.html,下载后 yum install gd-devel-2.0.35-26.el7.x86_64.rpm -y,注意版本不能错
1.配置nginx服务器
nginx服务器的ip地址为172.25.63.1
[root@server1 modules]# vim /usr/local/nginx/conf/nginx.conf


  1 load_module modules/ngx_http_image_filter_module.so;
......
#编辑一个location
 57         location /download {
 58            image_filter resize 150 100;			#重新调整图片的尺寸(像素)
 59         }
......
之后重新加载nginx:
[root@server1 conf]# nginx -t
nginx: the configuration file /usr/local/nginx/conf/nginx.conf syntax is ok
nginx: configuration file /usr/local/nginx/conf/nginx.conf test is successful
[root@server1 conf]# nginx -s reload
2.加入测试文件
[root@server1 conf]# cd /usr/local/nginx/html/download/
[root@server1 download]# ls
1.jpg
3.测试
使用客户端访问http://172.25.63.1/download/1.jpg:
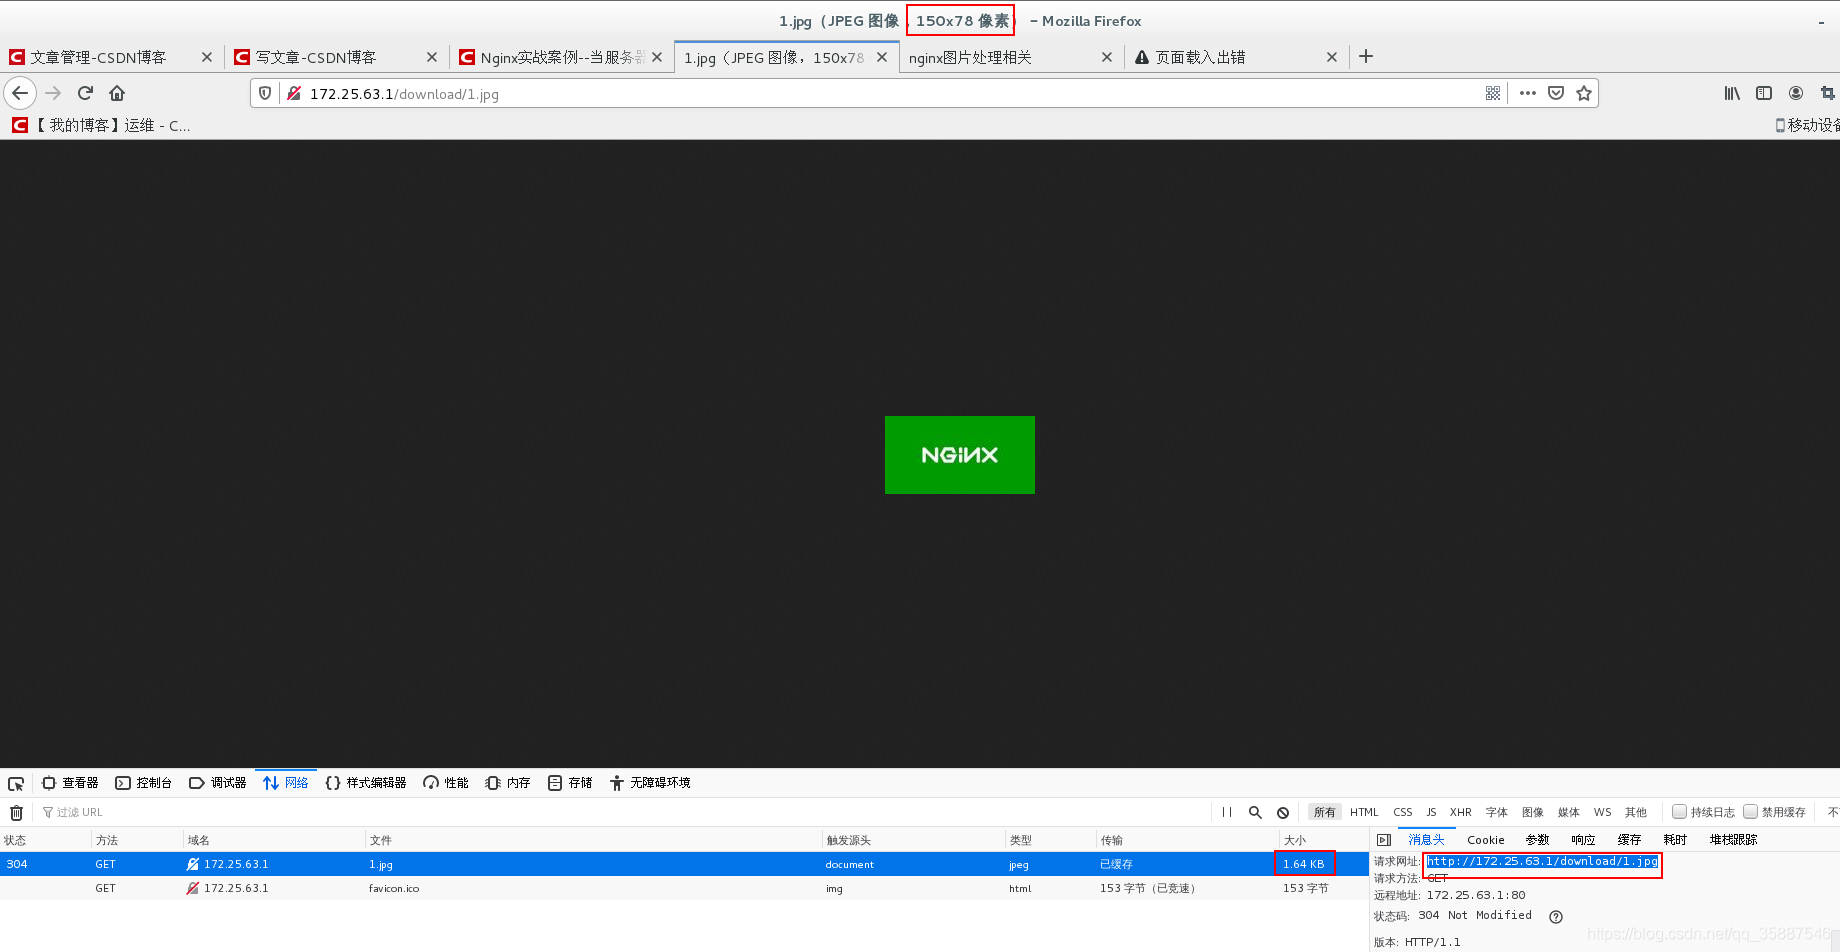 可以看出图片很小为1.64kb,原图片的大小:
[root@server1 download]# du -sh 1.jpg
8.0K	1.jpg
成功实现图片的压缩。
