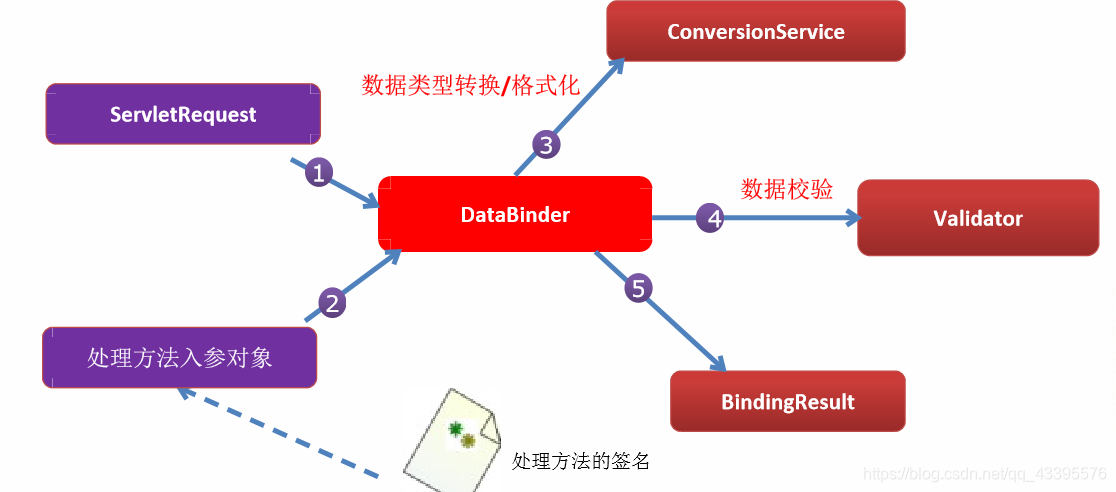
数据绑定流程原理:
① Spring MVC 主框架将 ServletRequest 对象及目标方法的入参实例传递给 WebDataBinderFactory 实例,以创建 DataBinder 实例对象;
② DataBinder 调用装配在 Spring MVC 上下文中的 ConversionService 组件进行数据类型转换、数据格式化工作。将 Servlet 中的请求信息填充到入参对象中;
③ 调用 Validator 组件对已经绑定了请求消息的入参对象进行数据合法性校验,并最终生成数据绑定结果 BindingData 对象;
④ Spring MVC 抽取 BindingResult 中的入参对象和校验错误对象,将它们赋给处理方法的响应入参;
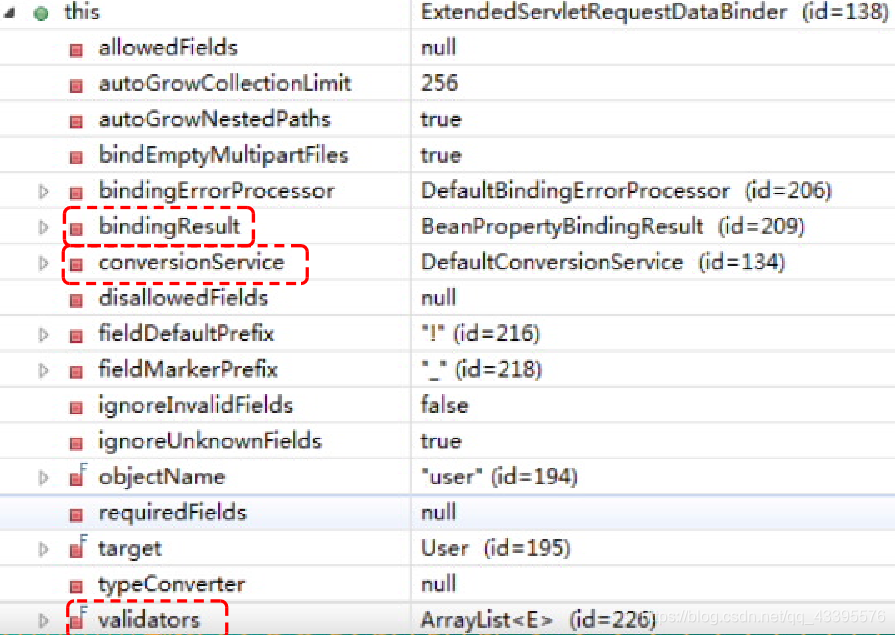
Spring MVC 通过反射机制对目标处理方法进行解析,将请求消息绑定到处理方法的入参中。数据绑定的核心部件是 DataBinder,运行机制如下:

自定义类型转换器:
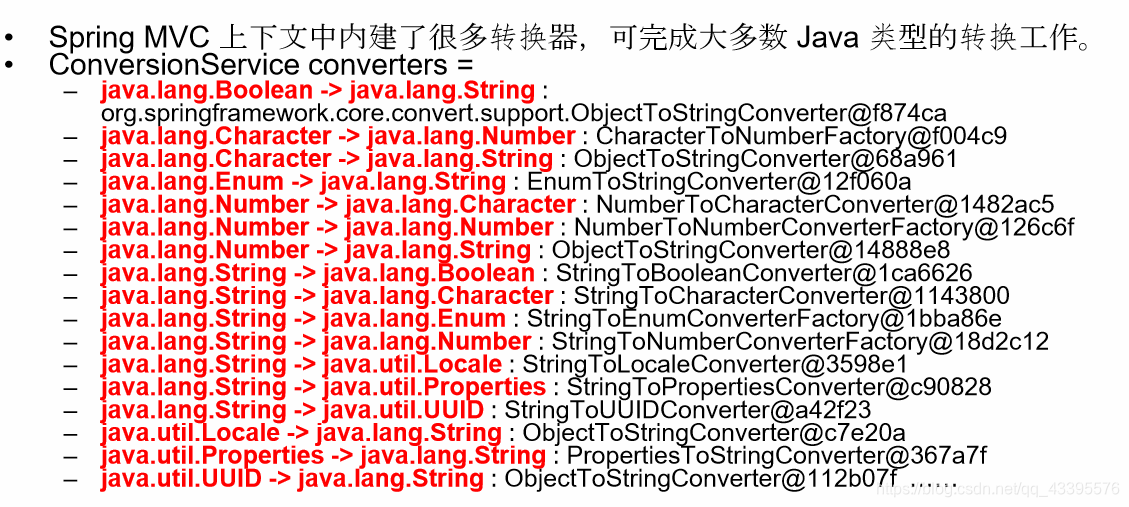
ConversionService 是 Spring 类型转换体系的核心接口。
1.可以利用 ConversionServiceFactoryBean 在 Spring 的 IOC 容器中定义一个 ConversionService. Spring 将自动识别出 IOC 容器中的 ConversionService,并在 Bean 属性配置及 Spring MVC 处理方法入参绑定等场合使用它进行数据的转换
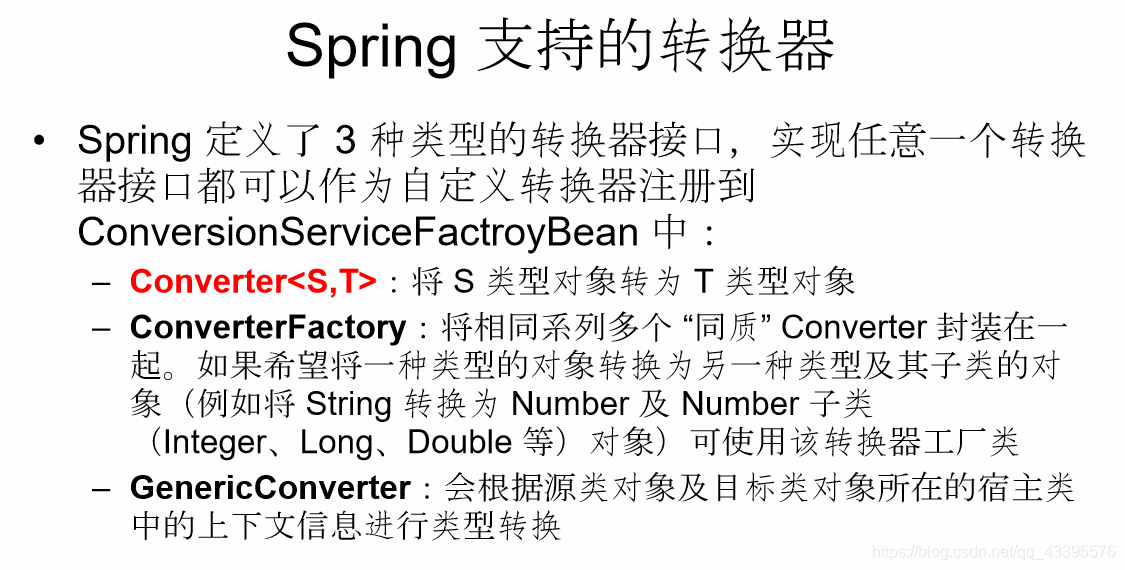
2.可通过 ConversionServiceFactoryBean 的 converters 属性注册自定义的类型转换器
案例需求:
将字符串类型转化成Employee对象;
完整的Employee对象需要lastname,email,gender,department.id等属性;
希望通过“ [email protected]” 这种输入的方式建立一个对象并回显表单;
SpringMVC配置文件:
<?xml version="1.0" encoding="UTF-8"?>
<beans xmlns="http://www.springframework.org/schema/beans"
    xmlns:xsi="http://www.w3.org/2001/XMLSchema-instance"
	xmlns:context="http://www.springframework.org/schema/context"
    xmlns:mvc="http://www.springframework.org/schema/mvc"
    xsi:schemaLocation="http://www.springframework.org/schema/beans
        https://www.springframework.org/schema/beans/spring-beans.xsd
        http://www.springframework.org/schema/context
        https://www.springframework.org/schema/context/spring-context.xsd
        http://www.springframework.org/schema/mvc
        https://www.springframework.org/schema/mvc/spring-mvc.xsd
        ">

	<!-- 配置自动扫描的包 -->
	<context:component-scan base-package="cn.zhang.springmvc"></context:component-scan>

	<!-- 配置视图解析器 :如何把handler方法返回值解析为实际的物理视图-->
	<bean class="org.springframework.web.servlet.view.InternalResourceViewResolver">
		<property name="prefix" value="/WEB-INF/views/"></property>
		<property name="suffix" value=".jsp"></property>
	</bean>

	<!--
		default-servlet-handler 将在 SpringMVC 上下文中定义一个 DefaultServletHttpRequestHandler,
		它会对进入 DispatcherServlet 的请求进行筛查, 如果发现是没有经过映射的请求, 就将该请求交由 WEB 应用服务器默认的
		Servlet 处理. 如果不是静态资源的请求,才由 DispatcherServlet 继续处理;
		一般 WEB 应用服务器默认的 Servlet 的名称都是 default.
		若所使用的 WEB 服务器的默认 Servlet 名称不是 default,则需要通过 default-servlet-name 属性显式指定
	-->
	<mvc:default-servlet-handler/>

	<!--在实际开发中都需要配置mvc:annotation-driven标签  -->
	<mvc:annotation-driven conversion-service="conversionService"></mvc:annotation-driven>

	<!--配置ConversionService (<ref bean="employeeConverter"/>为转化器代码类首字母小写)-->
	<bean id="conversionService" class="org.springframework.context.support.ConversionServiceFactoryBean">
		<property name="converters">
			<set>
				<ref bean="employeeConverter"/>
			</set>
		</property>
	</bean>

</beans>
<mvc:annotation-driven conversion-service=“conversionService”/> 会将自定义的 ConversionService 注册到 Spring MVC 的上下文中;
测试类:
@Controller
public class SpringMVCTest {

	@Autowired
	private EmployeeDao employeeDao;

	@RequestMapping("/testConversionServiceConverer")
	public String testConverter(@RequestParam("employee") Employee employee) {
		System.out.println("save: " + employee);
		employeeDao.save(employee);
		return "redirect:/emps";
	}
}
提交页面:
(省略了页面中的其他信息)
	<form action="testConversionServiceConverer" method="POST">
		<!-- lastname-email-gender-department.id 例如: zh-[email protected]-0-105-->
		Employee: <input type="text" name="employee"/>
		<input type="submit" value="Submit"/>
	</form>
	<br><br>
转化器代码:( 实现了Converter<String, Employee>)
@Component
public class EmployeeConverter implements Converter<String, Employee> {

	@Override
	public Employee convert(String source) {
		if(source!=null) {
			String [] vals = source.split("-");//通过-进行分割
			if(vals != null && vals.length == 4) {
				String lastName = vals[0];
				String email = vals[1];
				Integer gender = Integer.parseInt(vals[2]);
				Department department =new Department();
				department.setId(Integer.parseInt(vals[3]));
				Employee employee = new Employee(null,lastName,email,gender,department);
				System.out.println(source +" [convert] "+employee);
				return employee;
			}
		}
		return null;
	}
}
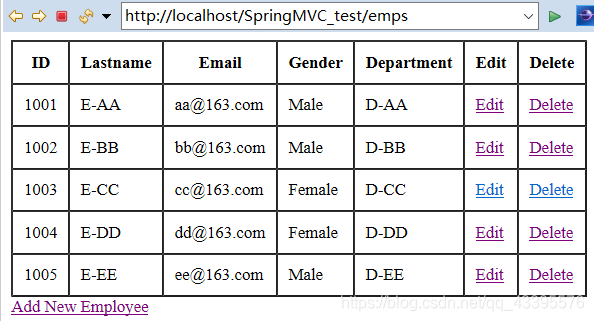
初始表单信息:
点击按钮(通过需求的输入格式输入原始数据):

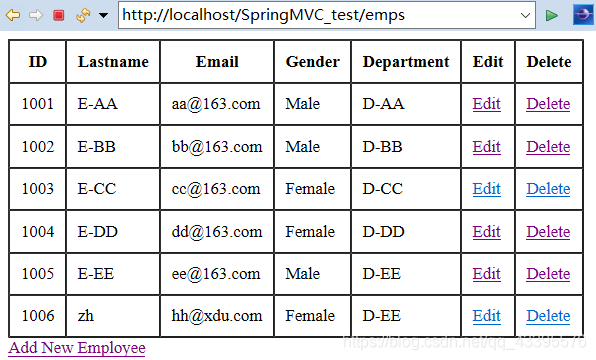
结果表单回显且可发现新加入的Employee(zh)对象:
同时控制台输出:
[email protected] [convert] Employee [id=null, lastName=zh, [email protected], gender=0, department=Department [id=105, departmentName=null], birth=null, salary=null]
save: Employee [id=null, lastName=zh, [email protected], gender=0, department=Department [id=105, departmentName=null], birth=null, salary=null]
即测试Success!!
