###网络设定###
##############
1、常用网络协议ipv4
ip:
32 2进制
11111110.111111110.111111110.11111110 == 254.254.254.254
netmask:
用来标实ip的网络位和主机位
网络位表示网络区域
主机位表示网络区域中的某台主机
netmask非0位所对应的ip地址数值为这个ip的网络位
netmask0位所对应的ip地址数值为这个ip的主机位
网络位一致主机位不一致的两个ip是可以直接通信的
这样的两台主机叫做直连网络
2.设定ip
方法一
ifconfig device ip netmask 255.255.255.0
ifconfig eth0 172.25.254.100 netmask 255.255.255.0
这样的设定是临时的,在网络服务重启后失效
例:

方法2
nm-connection-editor #图形的设定ip的方式
nmtui #当系统没有图形时可以用此命令开启网络设定的ui界面
网络设备设定ip的方式有两种
dhcp # 动态获取,ip不固定
static #静态ip为操作者自行设定,ip固定
在此图形工具中选择dhcp为动态网络
在此图形工具中选择manual为静态网络,ip须自行手动输入
例:


方法3
nmcli device ...
nmcli device status eth0 #显示eth0状态
nmcli device show eth0 #显示eth0的详细信息
nmcli device disconnect eth0 #关闭eth0
nmcli device connect eth0 #开启eth0
nmcli connection...
nmcli connection down westos #关闭指定链接
nmcli connection up westos #开启指定链接
nmcli connection show westos #显示所有网络链接
nmcli connection delete westos #删除指定链接
nmcli connection add type ethernet con-name westos ifname eth0 autoconnect yes #添加DHCP网络
nmcli connection add type ethernet con-name westos ifname eth0 ip4 172.25.254.108/24 #添加静态网络
dhcp ---->static
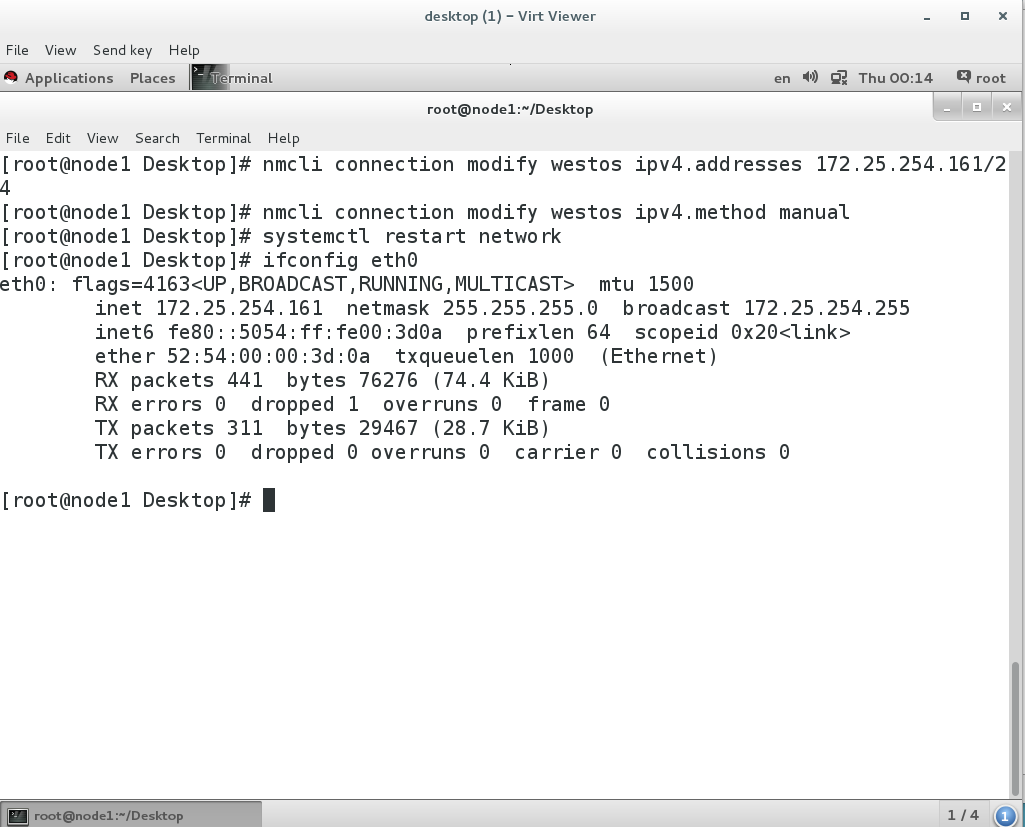
nmcli connection modify westos ipv4.addresses 172.25.254.108/24 #改变westos的工作方式为静态
nmcli connection modify westos ipv4.method manual
systemctl restart network
static ---->dhcp
nmcli connection modify westos ipv4.method auto #改变westos的工作方式为动态
systemctl restart network
更改ip
nmcli connection modify westos ipv4.addresses 172.25.254.208/24 #改变westos的ip
systemctl restart network
例:显示eth0状态,显示eth0的详细信息:

关闭eth0,开启eth0:

关闭指定链接,开启指定链接:

删除指定链接:

添加静态网络:

添加DHCP网络:

改变westos的工作方式由动态为静态:
改变westos的工作方式由静态为动态:

改变westos的ip:

方法4
cd /etc/sysconfig/network-scripts/
vim ifcfg-xxxx
DEVICE=网卡
ONBOOT=yes
BOOTPR0T0=dhcp| none|static
IPADDR=ip
NETMASK=子网掩码|PREFIX=子网掩码缩写
[NAME=连接名词]
systemctl restart network
DHCP
cd /etc/sysconfig/network-scripts/
vim ifcfg-westos
DEVICE=eth0
ONBOOT=yes
BOOTPROTO=dhcp
systemctl restart network
静态网络:
cd /etc/sysconfig/network-scripts
vim ifcfg-westos
DEVICE=eth0
ONBOOT=yes
BOOTPROTO=none
IRADDR=172.25.254.108
PREFIX=24
一个静态网卡设定多个ip
cd /etc/sysconfig/network-scripts/
vim ifcfg-westos
DEVICE=eth0
ONBOOT=yes
BOOTPROTO=none
IRADDR0=172.25.254.100
PREFIX0=24
IPADDR1=172.25.0.100
PREFIX1=24
systemctl restart network
ip addr show eth0 #查看所有IP
例:vim ifcfg-westos:

设定静态网络:

vim ifcfg-westos:

一个静态网卡设定多个ip:

vim ifcfg-westos:

设定动态网络:

3、vim /etc/sysconfig/network :GATEWAY=172.25.254.61 #设置网关
systemctl restart network
route -n #查看网关
ping 220.181.112.244
vim /etc/resolv.conf:nameserver 114.114.114.114 #设定DNS
vim /etc/hosts #添加的网址才可上网
113.142.21.81 www.qq.com
182.140.245.49 www.taobao.com
例:vim /etc/sysconfig/network 设定网关:

node1可以上网:

vim /etc/resolv.conf 设定DNS:

所有网址都能访问:

关闭DNS:

添加qq网址:

只可以登陆qq网址:

4、主机:
route -n
vim /etc/sysconfig/network-scripts/ifcfg-br0 文件中的GATEWAY0去掉
systemctl restart network
连wifi
ping www.baidu.com
systemctl start firewalld
firewall-cmd --add-masquerade
firewall-cmd --list-all
ifconfig
虚拟机:
vim /etc/sysconfig/network-scripts/ifcfg-westos
systemctl restart network
route -n
ping www.baidu.com
例:主机:


虚拟机:
