1、创建两个空项目 start、autoStart
1)两个项目的关系是:start引用autoStart, 使用者只需要引用start即可
2)相当于start为接口, 而实现它的是autoStart
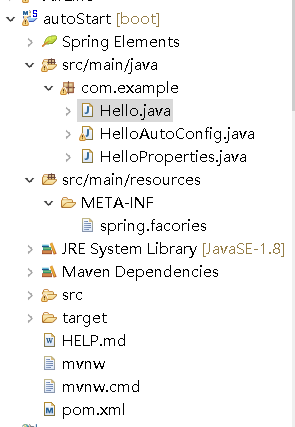
2、autoStart
文件目录
1)依赖引入
		<!--spring-boot-starter是所有starter都要引入的基本配置 -->
		<dependency>
			<groupId>org.springframework.boot</groupId>
			<artifactId>spring-boot-starter</artifactId>
		</dependency>
只需引入这个依赖(其他的可以不要,所以test文件目录、主程序也可以删了, 因为你这个是一个基本配置项目)
2)创建配置类 HelloAutoConfig
package com.example;

import org.springframework.beans.factory.annotation.Autowired;
import org.springframework.boot.autoconfigure.condition.ConditionalOnWebApplication;
import org.springframework.boot.context.properties.EnableConfigurationProperties;
import org.springframework.context.annotation.Bean;
import org.springframework.context.annotation.Conditional;
import org.springframework.context.annotation.Configuration;

@Configuration
@ConditionalOnWebApplication
@EnableConfigurationProperties(HelloProperties.class)
public class HelloAutoConfig {

	@Bean
	public Hello hello(){
		Hello hello = new Hello();
		return hello;
	}
}
大意是将Hello这个类添加到容器中, 使用者就可以调用Hello类的方法了
3)Hello类
package com.example;

import org.springframework.beans.factory.annotation.Autowired;

public class Hello {
	@Autowired
	HelloProperties helloProperties;

	public String hello(String name){
		return  helloProperties.getPrefix() + "_" + name + "_" + helloProperties.suffix;
	}
}
3)HelloProperties类
package com.example;

import org.springframework.boot.context.properties.ConfigurationProperties;

@ConfigurationProperties(prefix="huang.hel")
public class HelloProperties {
	String prefix;
	String suffix;

	public String getPrefix() {
		return prefix;
	}
	public void setPrefix(String prefix) {
		this.prefix = prefix;
	}
	public String getSuffix() {
		return suffix;
	}
	public void setSuffix(String suffix) {
		this.suffix = suffix;
	}


}
4)添加调用配置类Hello的spring.factories文件使配置类生效(注:要在resources文件下的META-INF文件创建,自己自行创建哦)
org.springframework.boot.autoconfigure.EnableAutoConfiguration=\
com.example.HelloAutoConfig
com.example.HelloAutoConfig表示要使这个配置类生效
那么autoStart就搞好了, 接下来就简单了~
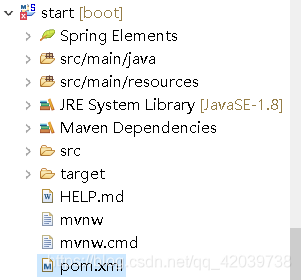
3、start
文件目录(和刚创建的springboot项目一样)
1)将autoStart项目的pom.xml中的
	<groupId>com.example</groupId>
	<artifactId>autoStart</artifactId>
	<version>0.0.1-SNAPSHOT</version>
复制到start的pom.xml的依赖当中
		<!--引入自动配置模块 -->
		<dependency>
			<groupId>com.example</groupId>
			<artifactId>autoStart</artifactId>
			<version>0.0.1-SNAPSHOT</version>
		</dependency>
意思表示start项目要引用autoStart项目的配置
start项目也OK了~
现在来展示如何使用start项目中的配置
4、使用start配置
1)像之前那样将start的
	<groupId>com.example</groupId>
	<artifactId>start</artifactId>
	<version>0.0.1-SNAPSHOT</version>
引入到你要使用的项目中
		<dependency>
			<groupId>com.example</groupId>
			<artifactId>start</artifactId>
			<version>0.0.1-SNAPSHOT</version>
		</dependency>
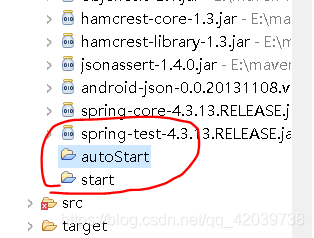
运行一下项目, maven就会添加了autoStart、auto了
那么你现在的项目就可以调用start项目中引用的autoStart项目的Hello类的方法了~~
在项目中创建一个类
package com.example.test;

import org.springframework.beans.factory.annotation.Autowired;
import org.springframework.web.bind.annotation.GetMapping;
import org.springframework.web.bind.annotation.RestController;

import com.example.Hello;

@RestController
public class T2Listener{
	@Autowired
	Hello hello;

	@GetMapping("/hello")
	public String aa(){
		return hello.hello("dawwdaadw");
	}
}
项目就会自动检测到你导入的start项目中的Hello配置了
当然, 这个例子要加上application.yml文件才能完全展示成功
huang:
  hel:
    prefix: shuaiuuuu
    suffix: ting
意思是配置前缀和后缀的值, 这些在HelloProperties里面有写到
总结:
我也是刚接触到如何写start, 虽然有点繁琐, 但了解了一点之后还是挺好懂的, 就是引用东西嘛, start是外观, 那么autoStart就是实现它的东西,使用者只需要引用start。 怎么引用? 只需要像导入依赖一样就OK了!
