监控服务部署环境:
系统版本:
[root@localhost ~]# cat  /etc/redhat-release
CentOS Linux release 7.6.1810 (Core)
zabbix版本 4.0
第一个历程:下载更新yum源
提示:此处有两种方式,一个是官方源,一个是清华源,考虑到下载速度的因素,我选择的清华源。
[root@localhost yum.repos.d]# rpm -ivh https://mirrors.tuna.tsinghua.edu.cn/zabbix/zabbix/4.0/rhel/7/x86_64/zabbix-release-4.0-1.el7.noarch.rpm
Retrieving https://mirrors.tuna.tsinghua.edu.cn/zabbix/zabbix/4.0/rhel/7/x86_64/zabbix-release-4.0-1.el7.noarch.rpm
warning: /var/tmp/rpm-tmp.ZJ5iLc: Header V4 RSA/SHA512 Signature, key ID a14fe591: NOKEY
Preparing...                          ################################# [100%]
Updating / installing...
   1:zabbix-release-4.0-1.el7         ################################# [100%]
此时进入到/etc/yum.repo.d/目录下,ll查看会发现多了一个名为zabbix.repo的文件
修改调整yum源文件
提示:如果网速允许,不调整也可以,我这里选择调整
vim /etc/yum.repos.d/zabbix.repo
	:%s#http://repo.zabbix.com/#https://mirrors.tuna.tsinghua.edu.cn/zabbix/#g
调整后的zabbix.repo文件
[root@localhost yum.repos.d]# cat zabbix.repo
[zabbix]
name=Zabbix Official Repository - $basearch
baseurl=https://mirrors.tuna.tsinghua.edu.cn/zabbix/zabbix/4.0/rhel/7/$basearch/
enabled=1
gpgcheck=1
gpgkey=file:///etc/pki/rpm-gpg/RPM-GPG-KEY-ZABBIX-A14FE591

[zabbix-non-supported]
name=Zabbix Official Repository non-supported - $basearch
baseurl=https://mirrors.tuna.tsinghua.edu.cn/zabbix/non-supported/rhel/7/$basearch/
enabled=1
gpgkey=file:///etc/pki/rpm-gpg/RPM-GPG-KEY-ZABBIX
gpgcheck=1
第二个历程:下载zabbix软件包
[root@localhost yum.repos.d]# yum install zabbix-server-mysql zabbix-web-mysql -y
zabbix-server-mysql 构建zabbix服务端软件
zabbix-web-mysql: 构建zabbix前端软件 A(apache) P(php)
安装完成后查看一下安装的软件包
[root@localhost yum.repos.d]# rpm -qa |grep  zabbix
zabbix-web-4.0.17-2.el7.noarch
zabbix-server-mysql-4.0.17-2.el7.x86_64
zabbix-web-mysql-4.0.17-2.el7.noarch
zabbix-release-4.0-1.el7.noarch
[root@localhost yum.repos.d]#
第三个历程:构建数据库服务
[root@localhost yum.repos.d]# yum install -y mariadb-server
启动数据库服务
[root@localhost yum.repos.d]# systemctl restart mariadb
提示:先启动服务后再进行初始化服务
初始化数据库:
[root@localhost yum.repos.d]# mysql_secure_installation
[root@localhost yum.repos.d]# mysql_secure_installation

NOTE: RUNNING ALL PARTS OF THIS SCRIPT IS RECOMMENDED FOR ALL MariaDB
      SERVERS IN PRODUCTION USE!  PLEASE READ EACH STEP CAREFULLY!

In order to log into MariaDB to secure it, we'll need the current
password for the root user.  If you've just installed MariaDB, and
you haven't set the root password yet, the password will be blank,
so you should just press enter here.

Enter current password for root (enter for none):
OK, successfully used password, moving on...

Setting the root password ensures that nobody can log into the MariaDB
root user without the proper authorisation.

Set root password? [Y/n]
New password:
Re-enter new password:
Sorry, passwords do not match.

New password:
Re-enter new password:
Password updated successfully!
Reloading privilege tables..
 ... Success!


By default, a MariaDB installation has an anonymous user, allowing anyone
to log into MariaDB without having to have a user account created for
them.  This is intended only for testing, and to make the installation
go a bit smoother.  You should remove them before moving into a
production environment.

Remove anonymous users? [Y/n] y
 ... Success!

Normally, root should only be allowed to connect from 'localhost'.  This
ensures that someone cannot guess at the root password from the network.

Disallow root login remotely? [Y/n] y
 ... Success!

By default, MariaDB comes with a database named 'test' that anyone can
access.  This is also intended only for testing, and should be removed
before moving into a production environment.

Remove test database and access to it? [Y/n] y
 - Dropping test database...
 ... Success!
 - Removing privileges on test database...
 ... Success!

Reloading the privilege tables will ensure that all changes made so far
will take effect immediately.

Reload privilege tables now? [Y/n] y
 ... Success!

Cleaning up...

All done!  If you've completed all of the above steps, your MariaDB
installation should now be secure.

Thanks for using MariaDB!
解释:
Enter current password for root (enter for none):   初始化01:确认root用户密码(输入当前密码)
	Set root password? [Y/n] 初始化02:设置root用户密码
Remove anonymous users? [Y/n] y初始化03:是否移除数据库匿名用户
Disallow root login remotely? [Y/n] y 初始化04:是否允许root用户远程登录
Remove test database and access to it? [Y/n] y初始化05:是否移除测试数据库
Reload privilege tables now? [Y/n] y初始化06:是否重新刷新授权表
创建数据库 创建用户 创建表信息:
mysql -uroot -poldboy123 -hlocalhost  登录数据库(我这里是因为在上一步初始化的时候设置了root密码)
create database zabbix character set utf8 collate utf8_bin;                   创建数据库并设置字符集
grant all privileges on zabbix.* to zabbix@localhost identified by 'zabbix';  创建用户设置密码
导入数据表信息
[root@localhost yum.repos.d]# zcat /usr/share/doc/zabbix-server-mysql-4.0.17/create.sql.gz |mysql -uzabbix -pzabbix zabbix;
这里可以再次登录进去查看一下,以免出现错误不好排查。
MariaDB [(none)]> use  zabbix;
Reading table information for completion of table and column names
You can turn off this feature to get a quicker startup with -A

Database changed
MariaDB [zabbix]> show tables;
+----------------------------+
| Tables_in_zabbix           |
+----------------------------+
| acknowledges               |
| actions                    |
| alerts                     |
| application_discovery      |
| application_prototype      |
| application_template       |
| applications               |
| auditlog                   |
| auditlog_details           |
| autoreg_host               |
| conditions                 |
| config                     |
| corr_condition             |
| corr_condition_group       |
| corr_condition_tag         |
| corr_condition_tagpair     |
| corr_condition_tagvalue    |
| corr_operation             |
| correlation                |
| dashboard                  |
| dashboard_user             |
| dashboard_usrgrp           |
| dbversion                  |
| dchecks                    |
| dhosts                     |
| drules                     |
| dservices                  |
| escalations                |
| event_recovery             |
| event_suppress             |
| event_tag                  |
| events                     |
| expressions                |
| functions                  |
| globalmacro                |
| globalvars                 |
| graph_discovery            |
| graph_theme                |
| graphs                     |
| graphs_items               |
| group_discovery            |
| group_prototype            |
| history                    |
| history_log                |
| history_str                |
| history_text               |
| history_uint               |
| host_discovery             |
| host_inventory             |
| hostmacro                  |
| hosts                      |
| hosts_groups               |
| hosts_templates            |
| housekeeper                |
| hstgrp                     |
| httpstep                   |
| httpstep_field             |
| httpstepitem               |
| httptest                   |
| httptest_field             |
| httptestitem               |
| icon_map                   |
| icon_mapping               |
| ids                        |
| images                     |
| interface                  |
| interface_discovery        |
| item_application_prototype |
| item_condition             |
| item_discovery             |
| item_preproc               |
| items                      |
| items_applications         |
| maintenance_tag            |
| maintenances               |
| maintenances_groups        |
| maintenances_hosts         |
| maintenances_windows       |
| mappings                   |
| media                      |
| media_type                 |
| opcommand                  |
| opcommand_grp              |
| opcommand_hst              |
| opconditions               |
| operations                 |
| opgroup                    |
| opinventory                |
| opmessage                  |
| opmessage_grp              |
| opmessage_usr              |
| optemplate                 |
| problem                    |
| problem_tag                |
| profiles                   |
| proxy_autoreg_host         |
| proxy_dhistory             |
| proxy_history              |
| regexps                    |
| rights                     |
| screen_user                |
| screen_usrgrp              |
| screens                    |
| screens_items              |
| scripts                    |
| service_alarms             |
| services                   |
| services_links             |
| services_times             |
| sessions                   |
| slides                     |
| slideshow_user             |
| slideshow_usrgrp           |
| slideshows                 |
| sysmap_element_trigger     |
| sysmap_element_url         |
| sysmap_shape               |
| sysmap_url                 |
| sysmap_user                |
| sysmap_usrgrp              |
| sysmaps                    |
| sysmaps_elements           |
| sysmaps_link_triggers      |
| sysmaps_links              |
| tag_filter                 |
| task                       |
| task_acknowledge           |
| task_check_now             |
| task_close_problem         |
| task_remote_command        |
| task_remote_command_result |
| timeperiods                |
| trends                     |
| trends_uint                |
| trigger_depends            |
| trigger_discovery          |
| trigger_tag                |
| triggers                   |
| users                      |
| users_groups               |
| usrgrp                     |
| valuemaps                  |
| widget                     |
| widget_field               |
+----------------------------+
144 rows in set (0.00 sec)

MariaDB [zabbix]>
第四个历程:实现连接数据库服务
zabbix服务端进行连接数据库;修改zabbix服务端配置文件
[root@localhost yum.repos.d]# vim /etc/zabbix/zabbix_server.conf
DBHost=localhost     --- 设置本地方式连接数据库
    DBName=zabbix        --- 设置连接数据库名称
    DBUser=zabbix        --- 设置连接数据库用户名称
    DBPassword=zabbix    --- 设置连接数据库用户密码信息
启动zabbix服务并查看端口信息
[root@localhost yum.repos.d]# systemctl start  zabbix-server.service
[root@localhost yum.repos.d]# netstat  -ntpl |grep  10051
tcp        0      0 0.0.0.0:10051           0.0.0.0:*               LISTEN      13806/zabbix_server
tcp6       0      0 :::10051                :::*                    LISTEN      13806/zabbix_server
检查服务日志:
[root@localhost yum.repos.d]# tail -f /var/log/zabbix/zabbix_server.log
zabbix前端页面连接数据库:
开启网站服务:
[root@localhost yum.repos.d]# systemctl start httpd
修改网站时区:
[root@localhost yum.repos.d]# vim  /etc/httpd/conf.d/zabbix.conf
 php_value date.timezone Asia/Shanghai
重启一下最好:
[root@localhost yum.repos.d]# systemctl restart httpd
页面安装初始化:
http://ip地址/zabbix/setup.php
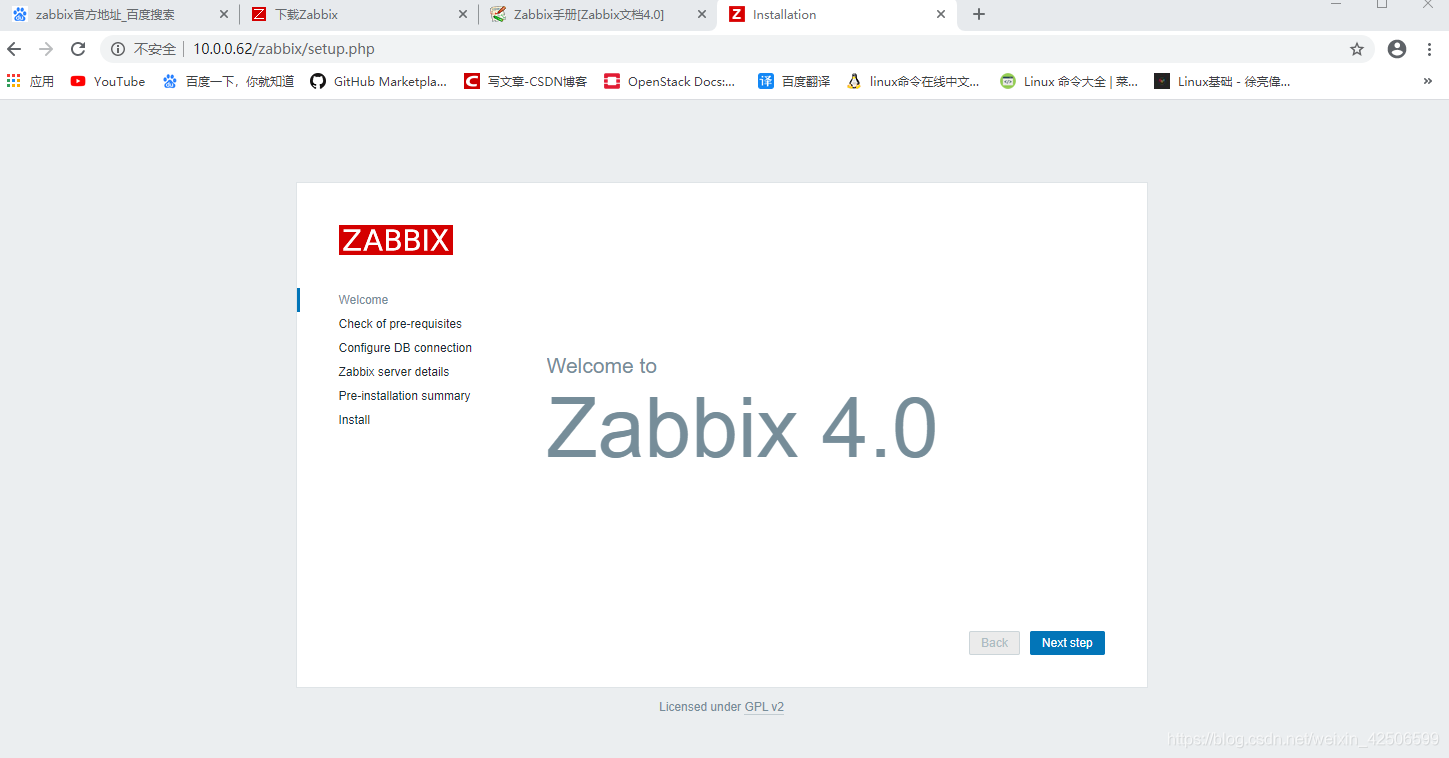
提示:初始化密码
Admin 用户 zabbix 密码
我就是因为不知道初始的默认用户名和密码导致很久都以为自己设置密码时输错了。。。。
补充:/etc/zabbix/web/zabbix.conf.php — 连接数据库文件
