根据论文:Physically-Based Shading at Disney
中提到的开源项目:https://github.com/wdas/brdf
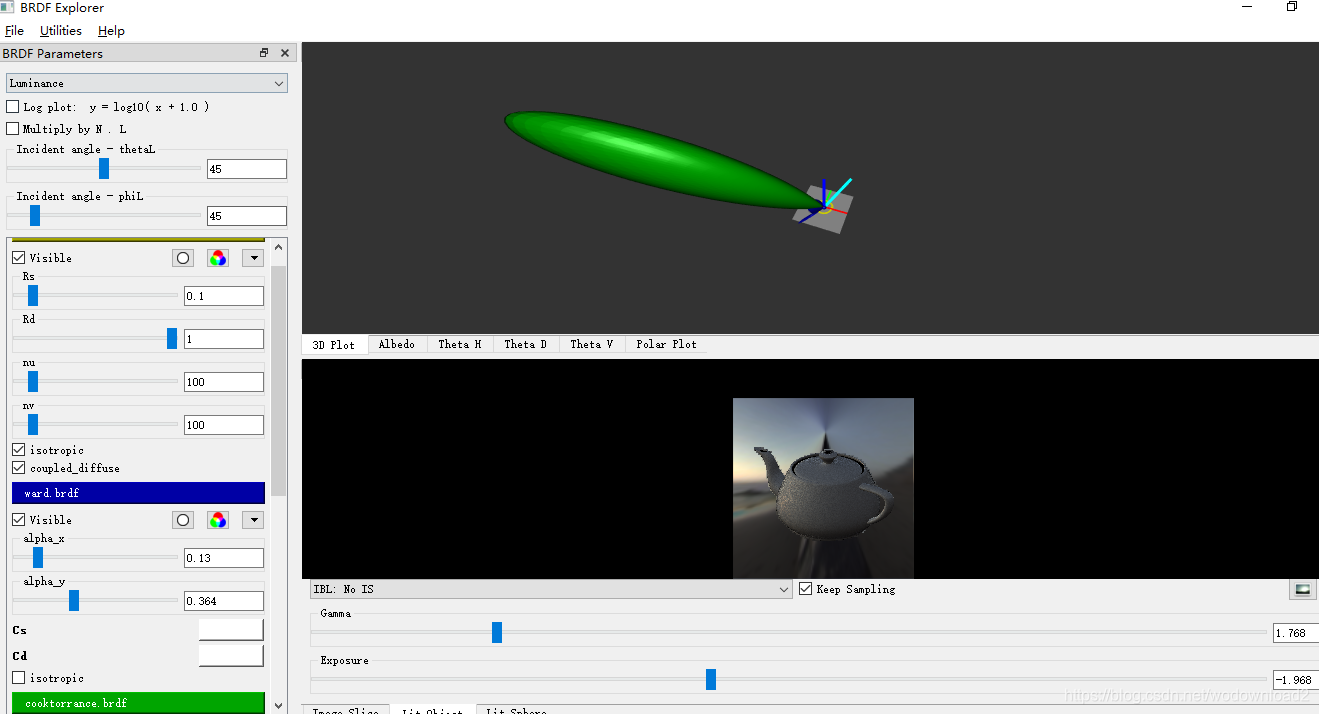
进行配置,其最终的结果为:
其中编译的过程还是废了一番周折的。
1.qtcreator的安装
我安装的是:qt-opensource-windows-x86-5.14.0.exe
qt-opensource-windows-x86-5.14.1.exe这个的居然没有QTZlib头文件,无语了。
2.zlib库还需要自己的去编译,这里参考:https://blog.csdn.net/wodownload2/article/details/104266901
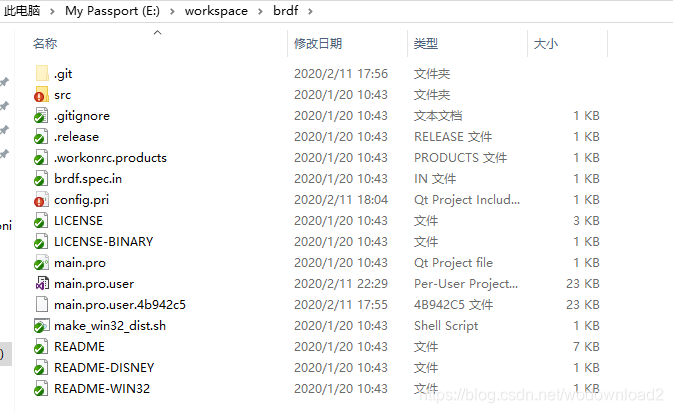
3.clone出项目之后,结构如下:
4.做一定的修改
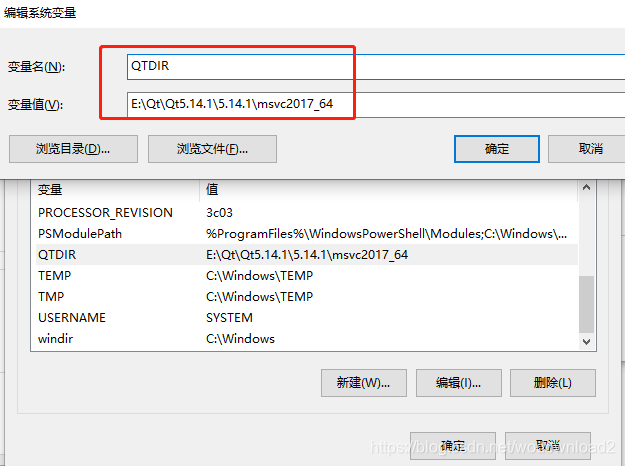
4.1 安装好qtcreator之后,配置环境变量:
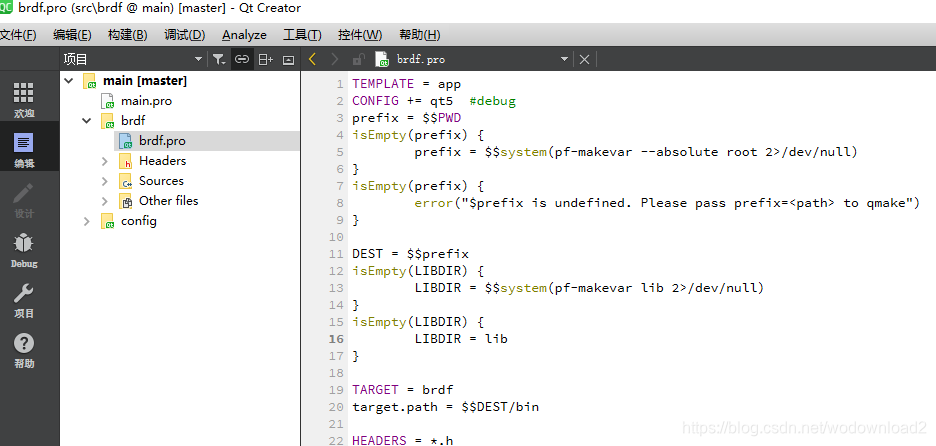
4.2打开qtcreator之后,打开项目中的main.pro
即可打开项目。
4.3对编译环境进行设置:
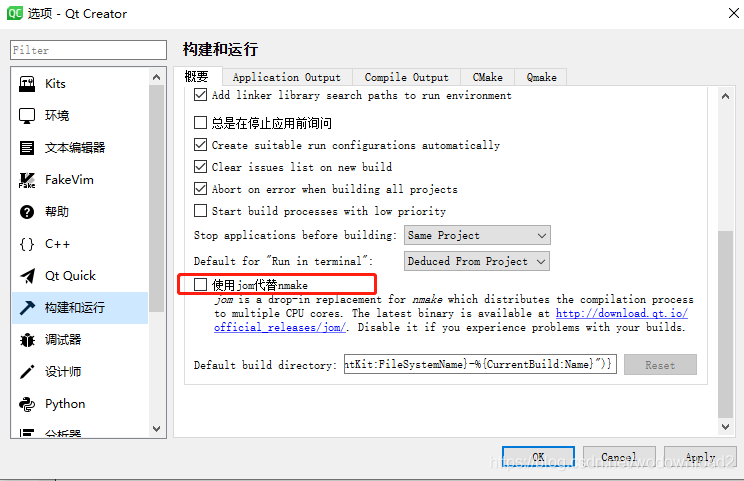
取消勾选。
4.5对brdf.pro文件进行修改,如下:
TEMPLATE = app
CONFIG += qt5  #debug
prefix = $$PWD
isEmpty(prefix) {
	prefix = $$system(pf-makevar --absolute root 2>/dev/null)
}
isEmpty(prefix) {
	error("$prefix is undefined. Please pass prefix=<path> to qmake")
}

DEST = $$prefix
isEmpty(LIBDIR) {
	LIBDIR = $$system(pf-makevar lib 2>/dev/null)
}
isEmpty(LIBDIR) {
	LIBDIR = lib
}

TARGET = brdf
target.path = $$DEST/bin

HEADERS = *.h
SOURCES = \
    Quad.cpp \
    Sphere.cpp \
    BRDFAnalytic.cpp \
    BRDFBase.cpp \
    BRDFImageSlice.cpp \
    BRDFMeasuredAniso.cpp \
    BRDFMeasuredMERL.cpp \
    ColorVarWidget.cpp \
    FloatVarWidget.cpp \
    DGLFrameBuffer.cpp \
    DGLShader.cpp \
    IBLWidget.cpp \
    IBLWindow.cpp \
    ImageSliceWidget.cpp \
    ImageSliceWindow.cpp \
    LitSphereWindow.cpp \
    main.cpp \
    glerror.cpp \
    MainWindow.cpp \
    ViewerWindow.cpp \
    ParameterGroupWidget.cpp \
    ParameterWindow.cpp \
    SharedContextGLWidget.cpp \
    ShowingDockWidget.cpp \
    PlotCartesianWindow.cpp \
    PlotCartesianWidget.cpp \
    PlotPolarWidget.cpp \
    Plot3DWidget.cpp \
    LitSphereWidget.cpp \
    SimpleModel.cpp \
    Paths.cpp \
    ptex/PtexReader.cpp \
    ptex/PtexUtils.cpp \
    ptex/PtexCache.cpp \
    ptex/PtexHalf.cpp


QT   += widgets opengl
DEFINES += PTEX_STATIC NOMINMAX

macx {
    CONFIG -= app_bundle
}

brdfs.path = $$DEST/brdf/brdfs
brdfs.files = ../brdfs/*

data.path = $$DEST/brdf/data
data.files = ../data/*

images.path = $$DEST/brdf/images
images.files = ../images/*

probes.path = $$DEST/share/brdf/probes
probes.files = ../probes/*

shaderTemplates.path = $$DEST/share/brdf/shaderTemplates
shaderTemplates.files = ../shaderTemplates/*

pkgconfig.path = $$DEST/$$LIBDIR/pkgconfig
pkgconfig.files = brdf.pc

INSTALLS = target brdfs data images probes shaderTemplates pkgconfig

win32-msvc*{
    INCLUDEPATH += ZLIB_DIR
    DEFINES += ZLIB_WINAPI
    LIBS += E:\workspace\x64\ZlibDllDebug\zlibwapi.lib
}

win32-g++*{
    LIBS += -lz
}

unix*{
    LIBS += -lz
}

# Windows cross compile at disney
linux-mingw32-custom{
    WINDOWS_BUILD=/jobs2/soft/users/aselle/windows-build
    LIBS += -static-libgcc
}
4.6编译好的zlib,使用其中的:E:\workspace\x64\ZlibDllDebug\zlibwapi.lib
即可。
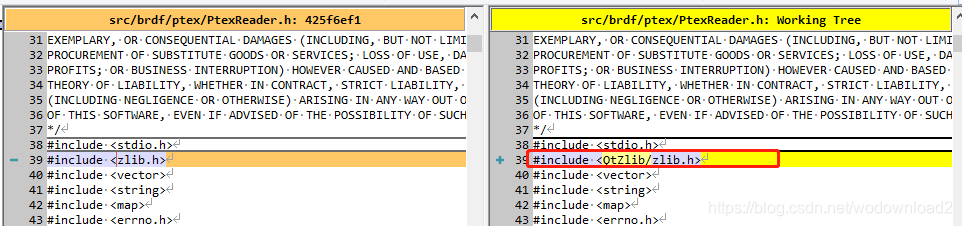
4.7找不到zlib.h文件,需要改为:
经过这几步的设置,基本能够正确运行。但是可能还会报错,是因为opengl es3.0以上的限制,我换了个电脑配置成功了,其原因不详,当然这整个在选择:
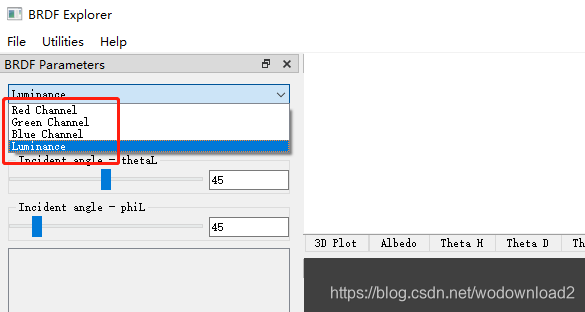
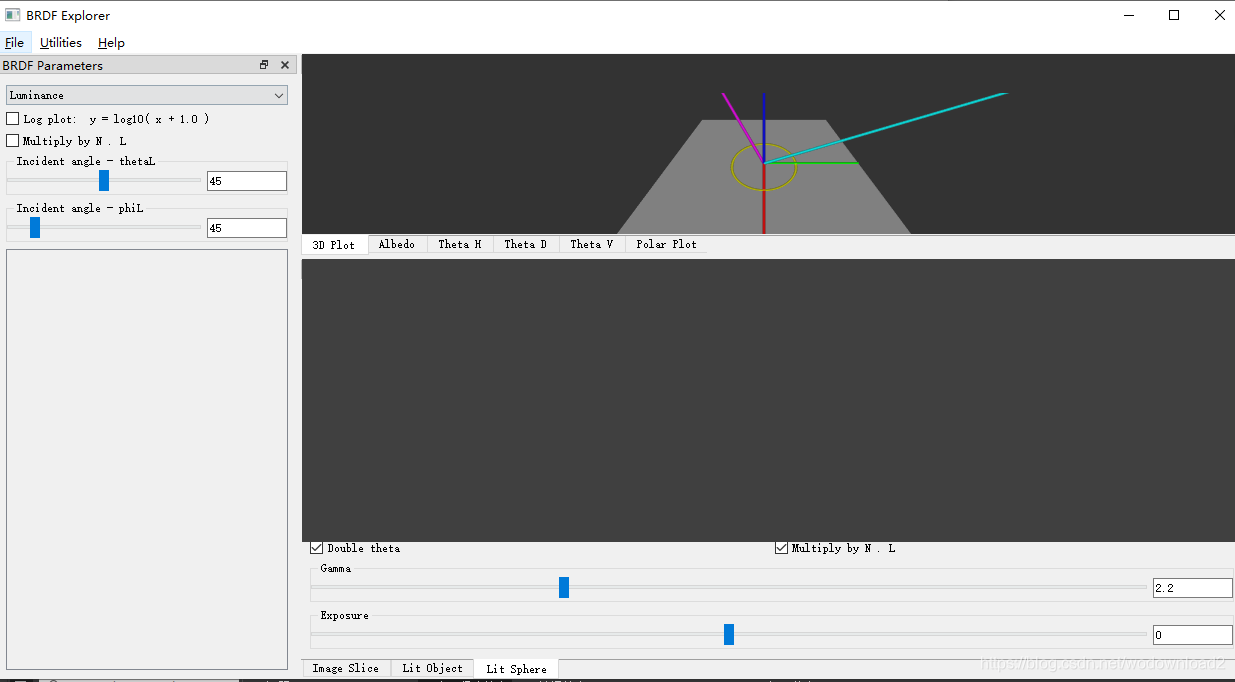
时候直接崩溃,以及加载模型:
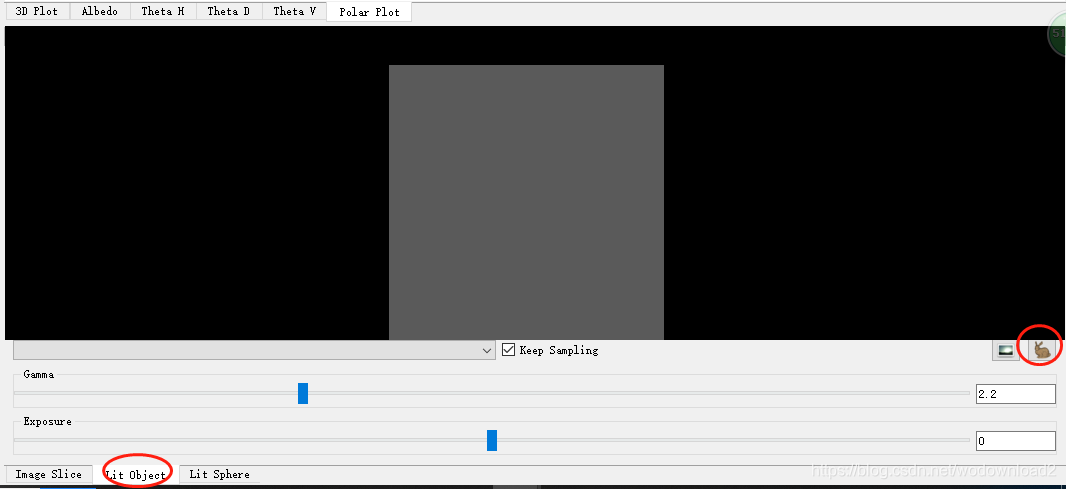
无法正确的显示问题,还需要进一步的排查问题。
以上基本是配置原文提供的brdf的全部的过程,坑未踩完,仍需继续,源码阅读也将在后续的文章中进行剖析,敬请期待。
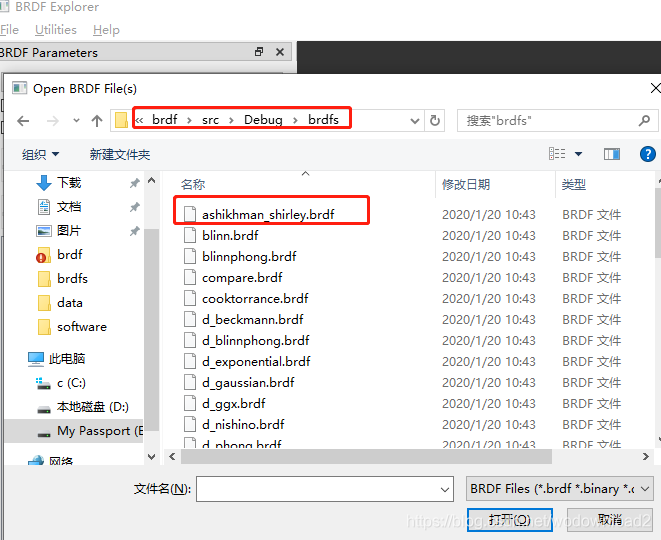
要选择打开brdf文件之后,才不会报错: