vscode插件和npm包区别:
ESLint插件和ESLint npm包是相辅相成的,ESLint插件首先调用的,
就是当前项目目录下的ESLint包,如果没有,就会去查找有没有全局安装的ESLint包。
所以,以ESLint为例,vscode插件和npm包的区别:
1.vscode中的ESLint插件,需要项目里或者全局安装ESLint包,插件检查代码时,还是在调用ESLint包来进行检查,然后将报错反馈给vscode,这样我们才能在vscode编辑器里,直接看到代码里的红色波浪线等错误提示;
2.如果只安装了ESLintnpm包,没有安装ESLint插件,那在vscode中,代码不会有红色波浪线等警告提示,我们要进行代码质量检查的话,需要在终端里通过./node_modules/.bin/eslint xx.js命令,在终端中来查看xx.js文件的ESLint报错信息。
一、首先
在vscode安装插件
ESLint插件 和 prettier插件

二、在项目中全局安装npm插件
1. 在新项目中 选择全局安装
npm install -g eslint
2.在项目根目录 cmd初始化eslint
//初始化eslint 选择对应配置
eslint --init
这个项目图片为vue,例子我是用的react
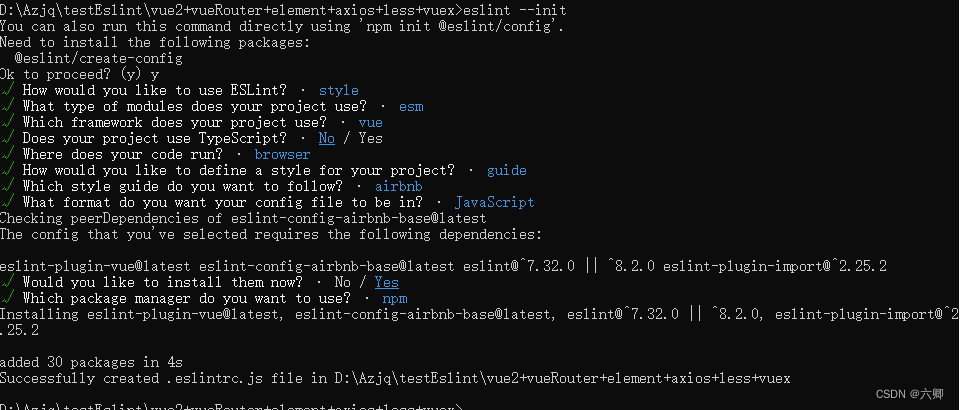
会生成一个.eslintrc.js文件。
3.下载使用prettier的代码样式
npm i -D prettier eslint-config-prettier
具体实现在 .eslintrc.js中extends属性中
一定要写在最后,不然替换不了
  extends: [
    'plugin:react/recommended',
    'airbnb',
    "prettier"
  ],
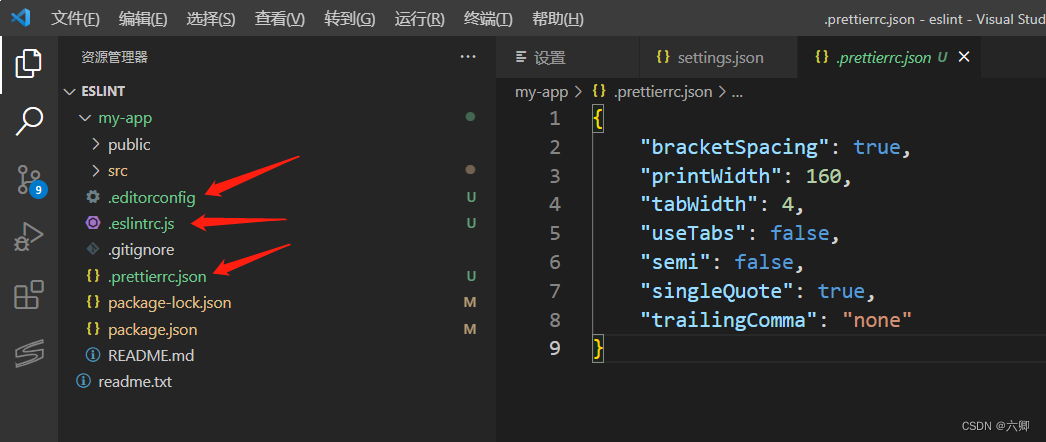
.editorconfig对vscode的配置。
.prettierrc.json对代码风格的控制。
.eslintrc.js对代码的要求。
当然可以写prettierrc的过滤文件名
同样的根目录 .prettierignore
不管是使用eslint还是prettierrc最终都是vscode在执行。(vscode直接报警告波浪线为成功)
三、对eslint、prettier的具体配置
eslint
/*
 * @Descripttion:
 * @version:
 * @Author: ZhangJunQing
 * @Date: 2022-07-15 15:02:27
 * @LastEditors: ZhangJunQing
 * @LastEditTime: 2022-07-15 15:25:17
 */
module.exports = {


  root: true,
  env: {


    browser: true,
    es2021: true,
    node: true,
  },
  extends: [
    'plugin:react/recommended',
    'airbnb',
    "prettier"
  ],
  parserOptions: {


    ecmaFeatures: {


      jsx: true,
    },
    ecmaVersion: 'latest',
    sourceType: 'module',
  },
  plugins: [
    'react',
  ],
  rules: {


    // "no-console": "off",
    // 不校验是linux或者是windows的空格
    // Git提供了一个“换行符自动转换”功能。这个功能默认处于“自动模式”,当你在签出文件时,它试图将 UNIX 换行符(LF)替换为 Windows 的换行符(CRLF);当你在提交文件时,它又试图将 CRLF 替换为 LF。Git 的“换行符自动转换”功能听起来似乎很智能、很贴心,因为它试图一方面保持仓库内文件的一致性(UNIX 风格),一方面又保证本地文件的兼容性(Windows 风格)。但遗憾的是,这个功能是有 bug 的,而且在短期内都不太可能会修正。
    'linebreak-style': [0, "error", "windows"],
    quotes: "off", // ['error', 'single'], //js使用单引号
    "no-multi-spaces": "off", // 不能用多余的空格
    // 使用 === 替代 ==
    eqeqeq: [2, "allow-null"],
    "no-const-assign": 2, // 禁止修改const声明的变量
    "no-constant-condition": 2, // 禁止在条件中使用常量表达式 if(true) if(1)
    "no-redeclare": 2, // 禁止重复声明变量
    "no-spaced-func": 2, // 函数调用时 函数名与()之间不能有空格
    "no-undef": 1, // 不能有未定义的变量
    "no-unreachable": 2, // 不能有无法执行的代码
    "no-unused-vars": [2, {

     vars: "all", args: "after-used" }], // 不能有声明后未被使用的变量或参数
    "no-use-before-define": 2, // 未定义前不能使用
    "no-useless-call": 2, // 禁止不必要的call和apply
    "no-var": 0, // 禁用var,用let和const代替
    "func-names": 0, // 函数表达式必须有名字
    "func-style": [0, "declaration"], // 函数风格,规定只能使用函数声明/函数表达式
    "use-isnan": 2, // 禁止比较时使用NaN,只能用isNaN()
    "no-mixed-spaces-and-tabs": [0], // 关闭禁止混用tab和空格

    'no-cond-assign': 'error', // 禁止条件语句出现赋值
    'no-constant-condition': 'error', // 禁止使用已知数判断
    'no-dupe-args': 'error', // 禁止出现同名参数
    'no-dupe-keys': 'error', // 禁止出现重复的key
    'no-duplicate-case': 'error', // 不允许出现重复的case
    'no-empty': 'error', // 禁止出现空语法块
    'no-ex-assign': 'error', // 禁止对catch参数重新赋值
    'no-extra-boolean-cast': 'error', // 禁止不必要的布尔转换

    'no-global-assign': 'error', // 禁止对只读的对象属性赋值
    'no-redeclare': 'error', // 禁止声明多个相同的变量
    // indent: ['error', 4], // 空格为4个字符

    // semi: ['error', 'always'], // 结尾需要分号
    "no-trailing-spaces": "off",
    "comma-dangle": "off",//尾随逗号
    "object-curly-newline": "off", // 引入变量 还得换行 关闭!!!
    "react/jsx-filename-extension": [0],
    "arrow-parens": "off",//箭头函数 可以不写 ()
  },
};
prettier
{


    "bracketSpacing": true,
    "printWidth": 160,
    "tabWidth": 4,
    "useTabs": false,
    "semi": false,
    "singleQuote": true,
    "trailingComma": "none"
}
我们可以配置针对eslint或者prettier的过滤文件,类似git的忽略文件。
.eslintignore
.prettierignore
# 忽略build目录下类型为js的文件的语法检查
build/*.js
# 忽略src/assets目录下文件的语法检查
src/assets
# 忽略src/utils目录下文件的语法检查
src/utils
# 忽略public目录下文件的语法检查
public
# 忽略当前目录下为js的文件的语法检查
#*.js
# 忽略当前目录下为vue的文件的语法检查
#*.vue
src/axios
src/com
src/styles
src/reportWebVitals.js
四、最开始我们安装了编辑器的插件eslint和prettier
配置编辑器的设置
ESLint则是用于代码质量检查,可以提示和更正代码错误
1.选择左下角齿轮 ---- 设置 — 文本编辑器 —下拉选择 在settings.json 中打开
在文件中增加:
   "editor.codeActionsOnSave": {


        "source.fixAll": true,
        "source.fixAll.eslint":true
    },
    //每次保存自动格式化
    "editor.formatOnSave": true,
    // 每次保存将代码按照eslint格式吸附
    // "eslint.autoFixOnSave": true,
    "eslint.enable": true,
    "eslint.validate": [
        "javascriptreact",
        "javascript",
        "html",
        "vue",
        "react",
    ],
    "eslint.options": {


        //  "configFile": "E:/projects/.eslintrc.js", //此路径值指向上一步创建的.eslintrc.js文件地址(如果是放在项目根目随项目走,这句无需配置)
        "plugins": [
            "html"
        ],
        "settings": {


            "html/html-extensions": [
                ".html",
                ".vue",
                ".js",
                ".jsx",
            ]
        }
    },
    "eslint.run": "onType",
    "eslint.workingDirectories": [
        ".eslintrc.js"
    ],
    "eslint.nodePath": "D:\\node_modules",
    "security.workspace.trust.untrustedFiles": "open"
结果:
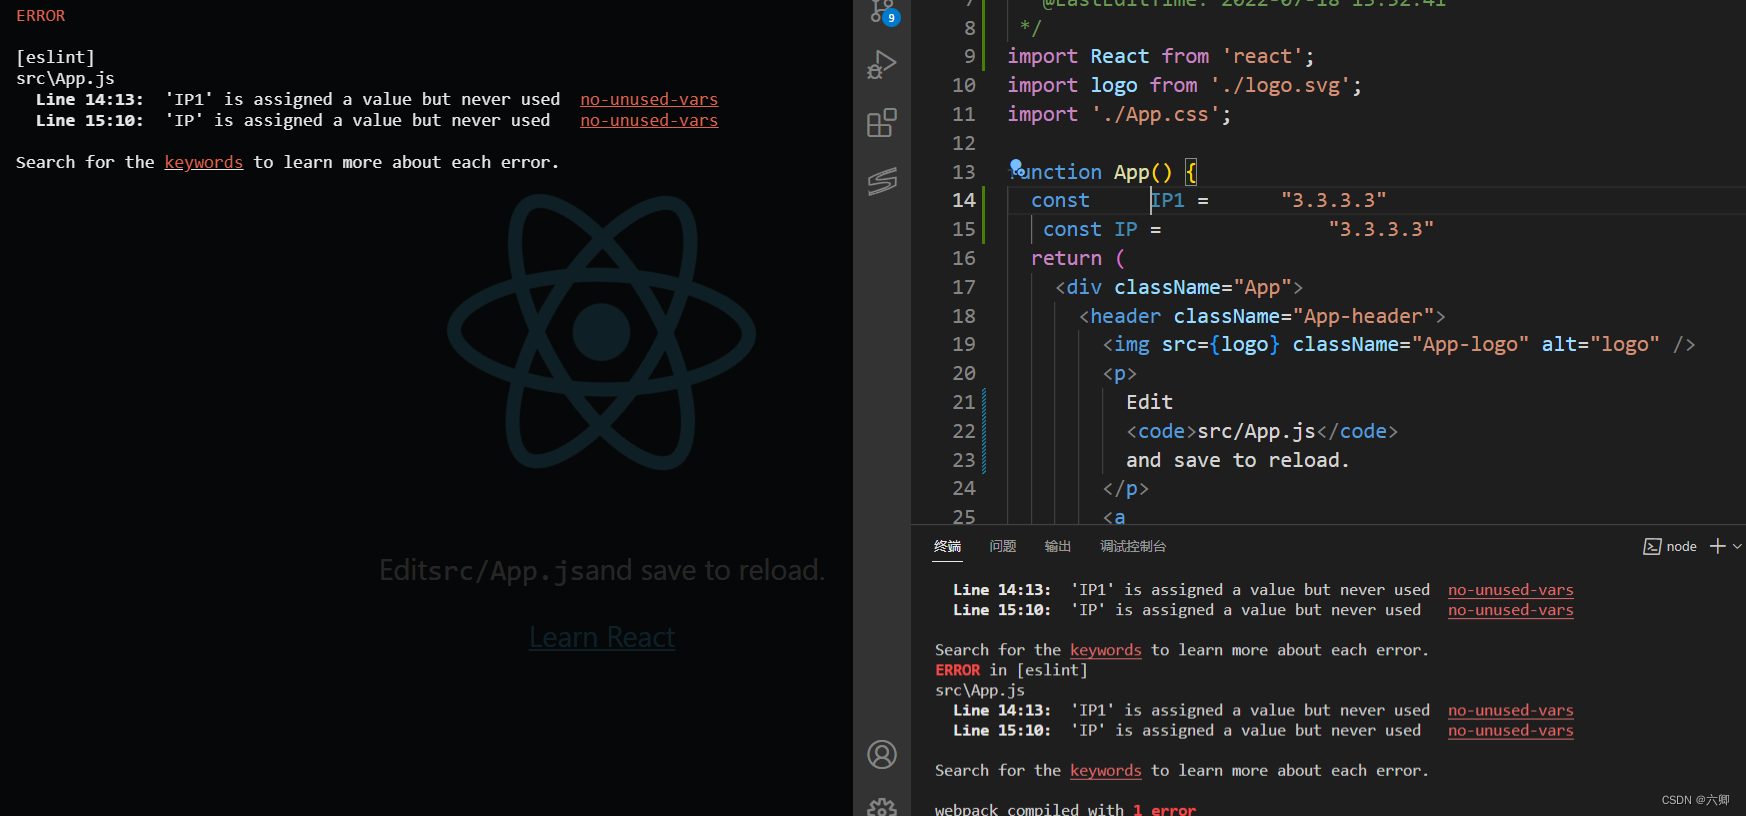
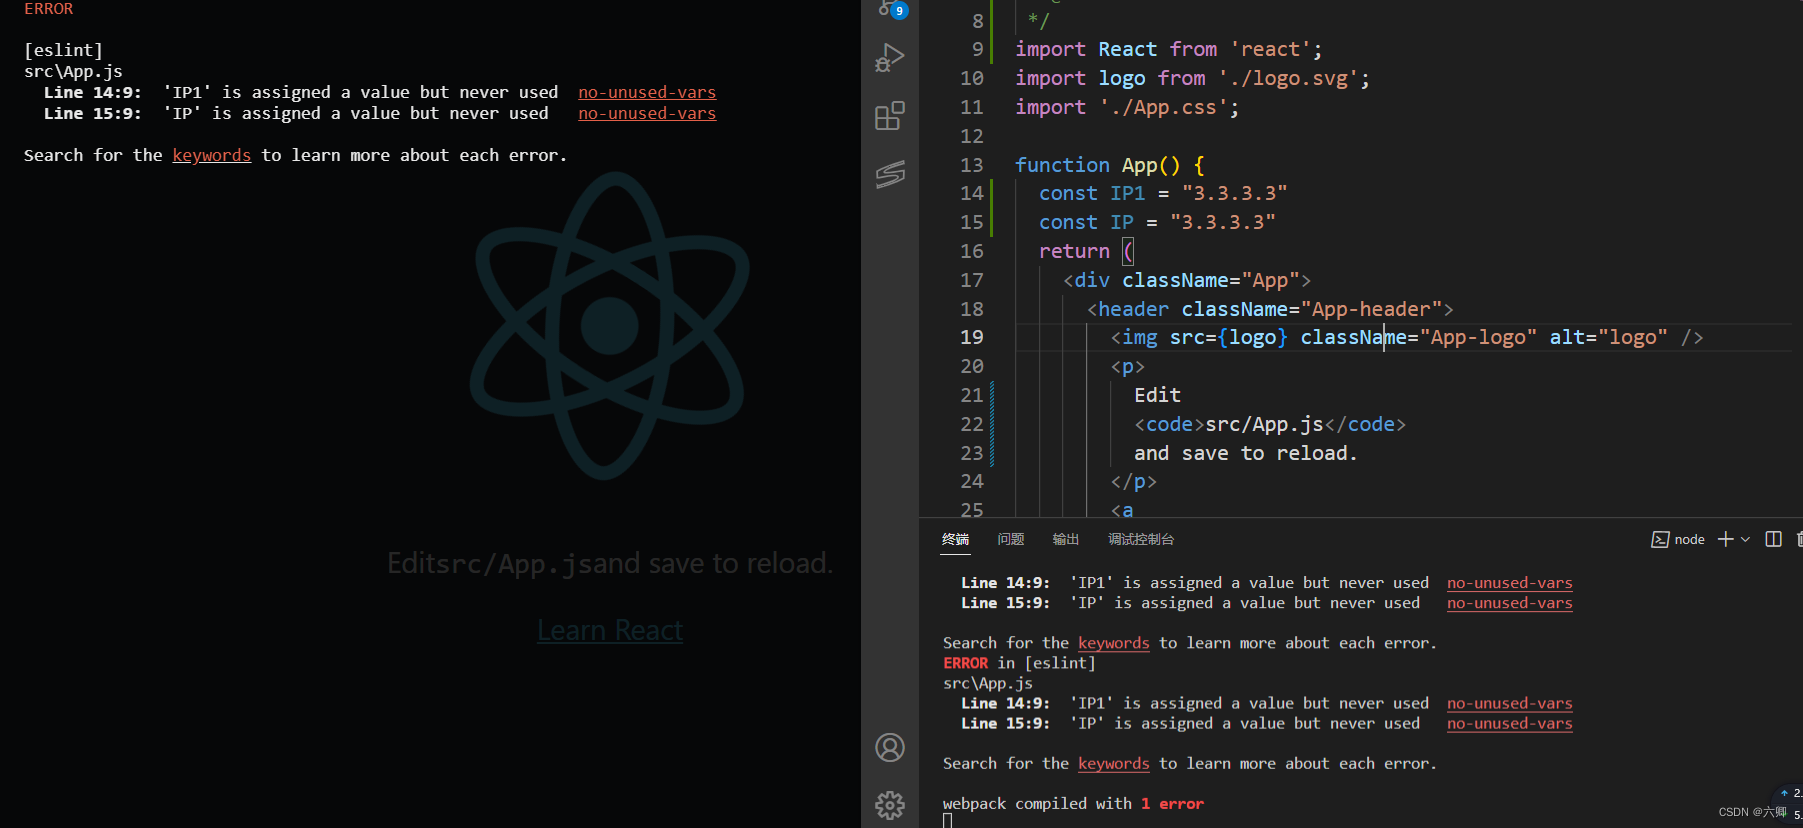

保存后能自动格式化,并且会按照eslint的配置给我们报错,vscode会出现报错波浪线提醒。
记一次配置eslint,过程肯定不是很标准,理解可能不是很到位,如有不对,还请留言,我斧正。