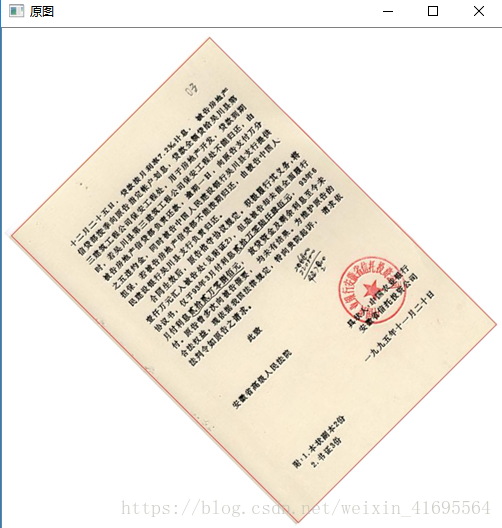
这是来源于一个真实的案例,扫描仪扫描到的法律文件,需要切除白边,去掉边缘空白,这样看上去才更真实。如果采用人工操作,其成本和时间花费都太高了。我们希望通过一个程序,既准确又高效地完成任务。
其实本案例不需要扩展模块当中的特征提取就可以实现,运用基本的图像处理的知识,我们来尝试。
实现思路:通过边缘检测+轮廓检测或者直线检测最大外接矩形实现。
首先我们拿到一种倾斜的照片,我们在进行切边之前需要校正图片,即对图像进行旋转操作,程序如下:
#include <opencv2/opencv.hpp>
#include<vector>
#include <iostream>
#include <math.h>
using namespace cv;
using namespace std;
Mat src_img, gray_img, dst_img;
int threshold_value = 100; // 定义阈值,全局变量
int max_level = 255; // 定义最大阈值,全局变量
const string output_win = "Contours Result";
const string roi_win = "Final Result";
void FindROI(int, void*); //声明函数,用于找到兴趣区域
void Check_Skew(); //声明函数,用于纠正倾斜
int main( )
{
src_img = imread("456.png");
if (src_img.empty())
{
printf("could not load the image...\n");
return -1;
}
namedWindow("原图", CV_WINDOW_AUTOSIZE);
imshow("原图", src_img);
Check_Skew(); //纠正倾斜
/*
src_img = imread("2018.4.25.jpg");
if (src_img.empty())
{
printf("could not load the image...\n");
return -1;
}
namedWindow(output_win, CV_WINDOW_AUTOSIZE);
// 接下来提取兴趣区域
createTrackbar("Threshold:",output_win, &threshold_value, max_level, FindROI);
FindROI(0, 0);
*/
waitKey(0);
return 0;
}
void Check_Skew()
{
Mat canny_output;
cvtColor(src_img, gray_img, COLOR_BGR2GRAY); //将原图转化为灰度图
Canny(gray_img, canny_output, threshold_value, threshold_value * 2, 3, false); // canny边缘检测
vector<vector<Point>> contours;
vector<Vec4i> hireachy;
findContours(canny_output, contours, hireachy, RETR_TREE, CHAIN_APPROX_SIMPLE, Point(0, 0)); // 找到所有轮廓
Mat drawImg = Mat::zeros(src_img.size(), CV_8UC3);
float max_width = 0; // 定义最大宽度
float max_height = 0; // 定义最大高度
double degree = 0; // 定义旋转角度
for (auto t = 0; t < contours.size(); ++t) // 遍历每一个轮廓
{
RotatedRect minRect = minAreaRect(contours[t]); // 找到每一个轮廓的最小外包旋转矩形,RotatedRect里面包含了中心坐标、尺寸以及旋转角度等信息
degree = abs(minRect.angle);
if (degree > 0)
{
max_width = max(max_width, minRect.size.width);
max_height = max(max_height, minRect.size.height);
}
}
RNG rng(12345);
for (auto t = 0; t < contours.size();++t)
{
RotatedRect minRect = minAreaRect(contours[t]);
if (max_width == minRect.size.width && max_height == minRect.size.height)
{
degree = minRect.angle; // 保存目标轮廓的角度
Point2f pts[4];
minRect.points(pts);
Scalar color = Scalar(rng.uniform(0, 255), rng.uniform(0, 255), rng.uniform(0, 255)); //产生随机颜色
for (int i = 0; i < 4; ++i)
{
line(drawImg, pts[i], pts[(i + 1) % 4], color, 2, 8, 0);
}
}
}
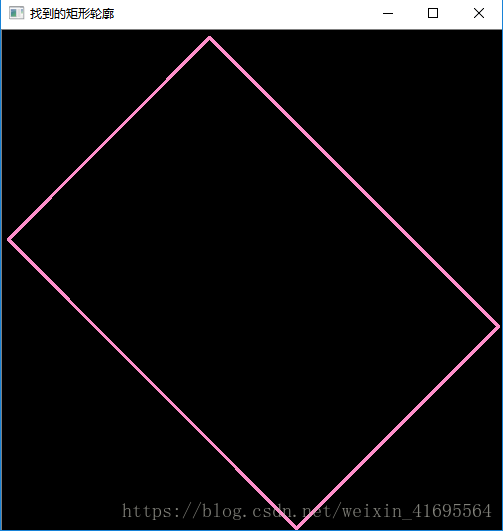
imshow("找到的矩形轮廓", drawImg);
Point2f center(src_img.cols / 2, src_img.rows / 2);
Mat rotm = getRotationMatrix2D(center, degree, 1.0); //获取仿射变换矩阵
Mat dst;
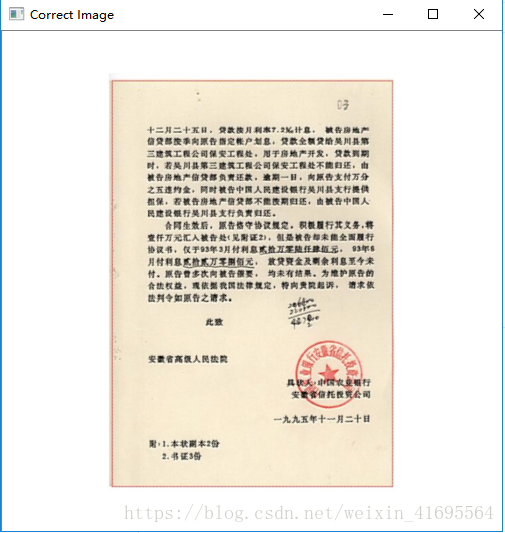
warpAffine(src_img, dst, rotm, src_img.size(), INTER_LINEAR, 0, Scalar(255, 255, 255)); // 进行图像旋转操作
imwrite("123.png", dst); //将校正后的图像保存下来
imshow("Correct Image", dst);
}
运行程序,我们可以看到:
再得到正立摆放的图像之后,我们就可以对其进行切变操作了,代码如下:
#include <opencv2/opencv.hpp>
#include<vector>
#include <iostream>
#include <math.h>


using namespace cv;
using namespace std;

Mat src_img, gray_img, dst_img;
int threshold_value = 100;      // 定义阈值,全局变量
int max_level = 255;          // 定义最大阈值,全局变量
const string output_win = "Contours Result";
const string roi_win = "Final Result";
void FindROI(int, void*);           //声明函数,用于找到兴趣区域
void Check_Skew();        //声明函数,用于纠正倾斜


int main( )
{
	/*
	src_img = imread("456.png");
	if (src_img.empty())
	{
		printf("could not load the image...\n");
		return -1;
	}
	namedWindow("原图", CV_WINDOW_AUTOSIZE);
	imshow("原图", src_img);
	Check_Skew();         //纠正倾斜
	*/
	src_img = imread("123.png");
	if (src_img.empty())
	{
		printf("could not load the image...\n");
		return -1;
	}
	namedWindow(output_win, CV_WINDOW_AUTOSIZE);
	// 接下来提取兴趣区域
	createTrackbar("Threshold:",output_win, &threshold_value, max_level, FindROI);
    FindROI(0, 0);

	waitKey(0);
	return 0;
}
/*
void Check_Skew()
{
	Mat canny_output;
	cvtColor(src_img, gray_img, COLOR_BGR2GRAY);         //将原图转化为灰度图
	Canny(gray_img, canny_output, threshold_value, threshold_value * 2, 3, false);      // canny边缘检测

	vector<vector<Point>> contours;
	vector<Vec4i> hireachy;
	findContours(canny_output, contours, hireachy, RETR_TREE, CHAIN_APPROX_SIMPLE, Point(0, 0));    // 找到所有轮廓
	Mat drawImg = Mat::zeros(src_img.size(), CV_8UC3);
	float max_width = 0;       // 定义最大宽度
	float max_height = 0;      // 定义最大高度
	double degree = 0;         // 定义旋转角度
	for (auto t = 0; t < contours.size(); ++t)            // 遍历每一个轮廓
	{
		RotatedRect minRect = minAreaRect(contours[t]);        // 找到每一个轮廓的最小外包旋转矩形,RotatedRect里面包含了中心坐标、尺寸以及旋转角度等信息
		degree = abs(minRect.angle);
		if (degree > 0)
		{
			max_width = max(max_width, minRect.size.width);
			max_height = max(max_height, minRect.size.height);
		}
	}
	RNG rng(12345);
	for (auto t = 0; t < contours.size();++t)
	{
		RotatedRect minRect = minAreaRect(contours[t]);
		if (max_width == minRect.size.width && max_height == minRect.size.height)
		{
			degree = minRect.angle;   // 保存目标轮廓的角度
			Point2f pts[4];
			minRect.points(pts);
			Scalar color = Scalar(rng.uniform(0, 255), rng.uniform(0, 255), rng.uniform(0, 255));  //产生随机颜色
			for (int i = 0; i < 4; ++i)
			{
				line(drawImg, pts[i], pts[(i + 1) % 4], color, 2, 8, 0);
			}
		}
	}

	imshow("找到的矩形轮廓", drawImg);
	Point2f center(src_img.cols / 2, src_img.rows / 2);
	Mat rotm = getRotationMatrix2D(center, degree, 1.0);    //获取仿射变换矩阵
	Mat dst;
	warpAffine(src_img, dst, rotm, src_img.size(), INTER_LINEAR, 0, Scalar(255, 255, 255));    // 进行图像旋转
	imwrite("2018.4.25.jpg", dst);
	imshow("Correct Image", dst);

}
*/

void FindROI(int, void*)
{
	printf("**************当前阈值:%d******************************\n", threshold_value);
	cvtColor(src_img, gray_img, COLOR_BGR2GRAY);      //将原图转化为灰度图
	Mat canny_output;
	Canny(gray_img, canny_output, threshold_value, threshold_value * 2, 3, false);                // canny边缘检测
	imshow("canny_output", canny_output);
	vector<vector<Point>> contours;
	vector<Vec4i> hireachy;
	findContours(canny_output, contours, hireachy, RETR_TREE, CHAIN_APPROX_SIMPLE, Point(0, 0));    // 调用API,找到轮廓

	// 筛选contours中的轮廓,我们需要最大的那个轮廓
	int min_width = src_img.cols*0.75;          // 矩形的最小宽度
	int min_height = src_img.rows*0.75;         // 矩形的最小高度
	RNG rng(12345);                            //定义一个随机数产生器,用来产生不同颜色的矩形框
	Mat drawImage = Mat::zeros(src_img.size(), CV_8UC3);
	Rect bbox;
	for (auto t = 0; t < contours.size();++t)        // 遍历每一个轮廓
	{
		RotatedRect minRect = minAreaRect(contours[t]);        // 找到每一个轮廓的最小外包旋转矩形,RotatedRect里面包含了中心坐标、尺寸以及旋转角度等信息
		float degree = abs(minRect.angle);                    // 最小外包旋转矩形的旋转角度
		if (minRect.size.width > min_width && minRect.size.height > min_height && minRect.size.width < (src_img.cols - 5))   //筛选最小外包旋转矩形
		{
			printf("current angle : %f\n", degree);
			Mat vertices;       // 定义一个4行2列的单通道float类型的Mat,用来存储旋转矩形的四个顶点
			boxPoints(minRect, vertices);    // 计算旋转矩形的四个顶点坐标
			bbox = boundingRect(vertices);   //找到输入点集的最小外包直立矩形,返回Rect类型
			cout <<"最小外包矩形:"<< bbox << endl;
			Scalar color = Scalar(rng.uniform(0, 255), rng.uniform(0, 255), rng.uniform(0, 255));   //产生随机颜色
			for (int i = 0; i < 4; i++)             // 遍历每个旋转矩形的四个顶点坐标
			{
				// 在相邻的顶点之间绘制直线
				Mat p1 = vertices.row(i); // 使用成员函数row(i)和col(j)得到矩阵的第i行或者第j列,返回值仍然是一个单通道的Mat类型
				int j = (i + 1) % 4;
				Mat p2 = vertices.row(j);
				Point p1_point = Point(p1.at<float>(0,0), p1.at<float>(0, 1)); //将Mat类型的顶点坐标转换为Point类型
				Point p2_point = Point(p2.at<float>(0, 0), p2.at<float>(0, 1));
				line(drawImage, p1_point, p2_point, color, 2, 8, 0);    // 根据得到的四个顶点,通过连接四个顶点,将最小旋转矩形绘制出来
			}
		}
	}
	imshow(output_win, drawImage);

	if (bbox.width > 0 && bbox.height > 0 )
	{
		Mat roiImg = src_img(bbox);        //从原图中截取兴趣区域
		namedWindow(roi_win, CV_WINDOW_AUTOSIZE);
		imshow(roi_win, roiImg);
	}

	return;
}
运行程序,可以看到:
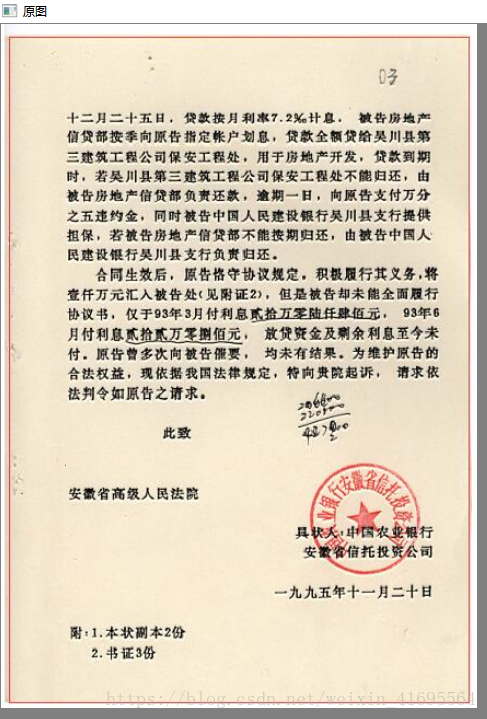
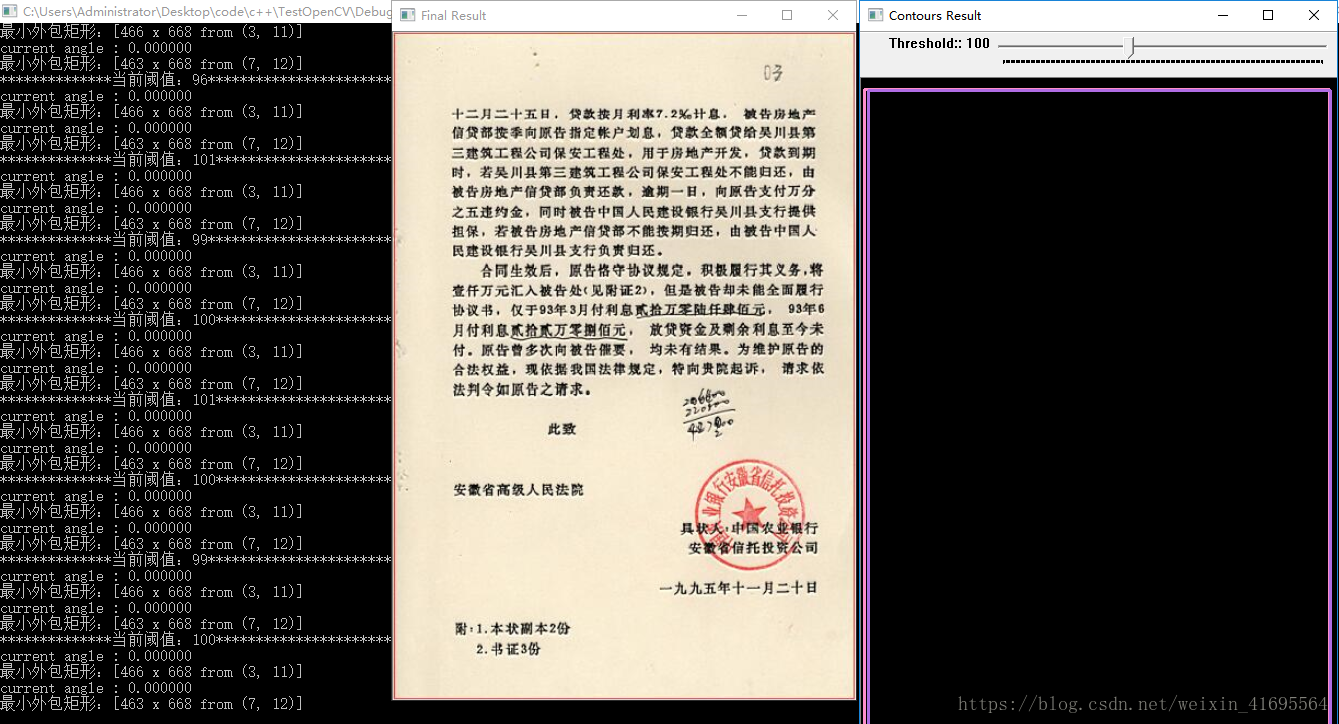
改变阈值,可以看到:
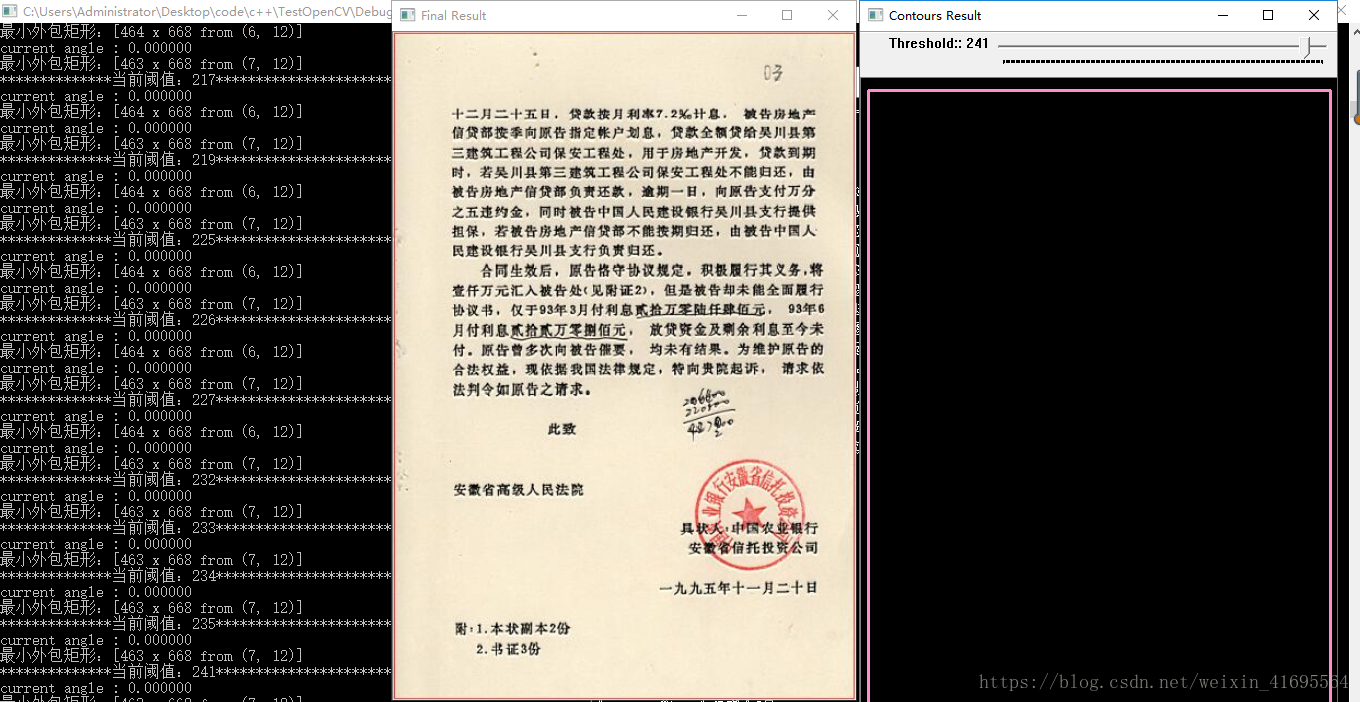
效果还是蛮好的!