1、新建一个空项目,新建一个module,命名eureka-server,选中eureka server。新建一个Module,命名provider-ticket,选中eureka discovery client。新建一个Module,命名consumer-user,选中eureka discovery client。
2、设置服务注册中心。在eureka-server的application.properties中配置:
server.port=8761
#主机名
eureka.instance.hostname=eureka-server
#不将自己注册到eureka上
eureka.client.register-with-eureka=false
#不从eureka上来获取服务的注册信息
eureka.client.fetch-registry=false
eureka.client.service-url.defaultZone=http://localhost:8761/eureka/
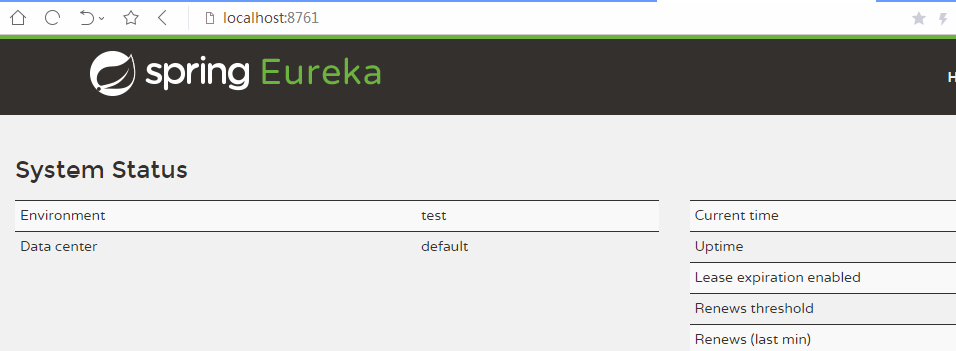
同时在其启动入口上加上@EnableEurekaServer注解。启动服务器输入localhost:8761
3、注册服务
需要再引入spring-boot-starter-web启动器。在provider-ticket中的application.properties配置:
server.port=8001
spring.application.name=provider-ticket
#注册服务的时候使用服务的ip地址
eureka.instance.prefer-ip-address=true
eureka.client.service-url.defaultZone=http://localhost:8761/eureka/
新建一个controller包:
package com.gong.providerticket.controller;

import com.gong.providerticket.service.TicketService;
import org.springframework.beans.factory.annotation.Autowired;
import org.springframework.web.bind.annotation.GetMapping;
import org.springframework.web.bind.annotation.RestController;

@RestController
public class TicketController {
    @Autowired
    TicketService ticketService;

    @GetMapping("/ticket")
    public String getTicket(){
        return ticketService.getTicket();
    }
}
新建一个service包:
package com.gong.providerticket.service;

import org.springframework.stereotype.Service;

@Service
public class TicketService {

    public String getTicket(){return "唐人街探案3";
    }
}
然后利用maven进行打包。将打好的包复制出来放在一个文件夹中,并加上后缀8001。修改port=8002,再进行打包,将打好的包复制出来放在一个文件夹中,并加上后缀8002。进入到放置的文件夹中,分别用java -jar 运行。


再刷新:http://localhost:8761/

两个服务都注册进来了。
4、发现服务并消费
需要再引入spring-boot- starter-web启动器。首先是consumer-user中的application.properties
server.port=8200
spring.application.name=consumer-user
#注册服务的时候使用服务的ip地址
eureka.instance.prefer-ip-address=true
eureka.client.service-url.defaultZone=http://localhost:8761/eureka/
然后是启动入口文件中:
package com.gong.consumeruser;

import org.springframework.boot.SpringApplication;
import org.springframework.boot.autoconfigure.SpringBootApplication;
import org.springframework.cloud.client.discovery.EnableDiscoveryClient;
import org.springframework.cloud.client.loadbalancer.LoadBalanced;
import org.springframework.context.annotation.Bean;
import org.springframework.web.client.RestTemplate;


@EnableDiscoveryClient
@SpringBootApplication
public class ConsumerUserApplication {

    public static void main(String[] args) {
        SpringApplication.run(ConsumerUserApplication.class, args);
    }

    @LoadBalanced//使用负载均衡机制
    @Bean
    public RestTemplate restTemplate(){
        return new RestTemplate();
    }
}
接着新建一个controller包:
package com.gong.consumeruser.controller;

import org.springframework.beans.factory.annotation.Autowired;
import org.springframework.web.bind.annotation.GetMapping;
import org.springframework.web.bind.annotation.RestController;
import org.springframework.web.client.RestTemplate;

@RestController
public class UserController {

    @Autowired
    RestTemplate restTemplate;

    @GetMapping("/buy")
    public String buyTicket(String name){
        return name+"购买了"+restTemplate.getForObject("http://PROVIDER-TICKET/ticket",String.class);
    }
}
启动服务器:输入localhost:8200
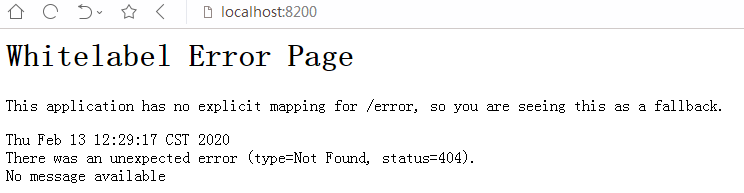
说明是启动成功了,再看下http://localhost:8761/

也成功注册到注册中心了。
接着我们去访问:localhost:8200/buy?name=张三

成功的从provider-ticket那里获取到了信息。
由于使用了负载均衡,所以每次请求都会轮流访问8001端口和8002端口。