使用CLI2自动化创建的项目
目录:
main.js:
import Vue from 'vue'
import App from './App'

// 原本导入写法
// import router from './router/index'

// 如果导入的是一个文件夹,它默认会去找index.js
import router from './router'

Vue.config.productionTip = false

new Vue({
  el: '#app',
  router, // 挂载路由
  render: h => h(App) // 渲染App组件
})
App.vue:
<template>
  <div id="app">
    <h2>我是APP组件</h2>
    <!-- router-link是全局组件
      router最终会被渲染成a标签
      tag是组件类型
      跳转默认是pushState(可后退前进)
      replace表示的是replaceState()模式
     -->
    <!--<router-link to="/home" tag="button" replace active-class="active">首页</router-link>-->
    <!--<router-link to="/about" tag="button" replace active-class="active">关于</router-link>-->
    <!--<router-link to="/home" tag="button" replace>首页</router-link>-->
    <!--<router-link to="/about" tag="button" replace>关于</router-link>-->
    <button @click="homeClick">首页</button>
    <button @click="aboutClick">关于</button>
    <!--
      router-view是点击router-link后渲染的区域(位置)
     -->
    <router-view></router-view>
  </div>
</template>

<script>
export default {
  name: 'App', // 本文件(也可以说是本组件)对外导出的名字
  methods: {
    homeClick() {
      // 通过代码的方式修改路由 vue-router
      // push => pushState
      // this.$router.push('/home')
      this.$router.replace('/home')
      console.log('homeClick');
    },
    aboutClick() {
      // this.$router.push('/about')
      this.$router.replace('/about')
      console.log('aboutClick');
    }
  }
}
</script>

<style>

  /*
  默认拥有的样式属性
  .router-link-active {*/
    /*color: #f00;*/
  /*}*/

  .active {
    color: #f00;
  }
</style>
index.js
// 配置路由相关的信息
import VueRouter from 'vue-router'
import Vue from 'vue'

import Home from '../components/Home'
import About from '../components/About'

// 1.通过Vue.use(插件), 安装插件
Vue.use(VueRouter) // 只是安装,并还没有实例化

// 2.创建VueRouter对象
// 配置映射关系数组,一个url对应一个组件
const routes = [
  // 这不是url,而是path,因为这里不是完整的url
  // 完整的url包含协议头://host/query
  {
    path: '', // 默认值,对于特殊的要放在最前面
    // redirect重定向
    redirect: '/home'
  },
  {
    path: '/home',
    component: Home
  },
  {
    path: '/about',
    component: About
  }
]


const router = new VueRouter({
  // 配置路由和组件之间的应用关系
  // 路由配置的名字是routes(系统属性),而不是router
  routes, // (缩写) 相当于 routes: routes  // 很重要的属性

  mode: 'history', // 修改url的模式,默认是hash(结果会带#号)
  linkActiveClass: 'active' //激活链接时所用的样式
})

// 3.将router对象传入到Vue实例(导出)
export default router
About.vue
<template>
<div>
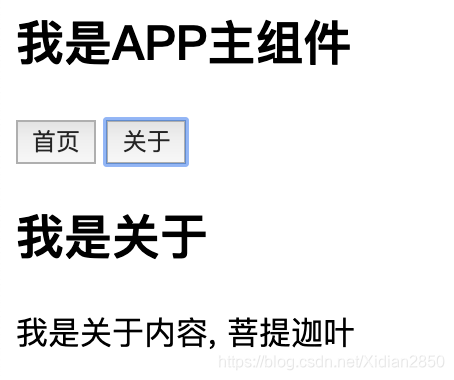
<h2>我是关于</h2>
<p>我是关于内容, 菩提迦叶</p>
</div>
</template>
<script>
export default {
name: "About"
}
</script>
<style scoped>
</style>
Home.vue
<template>
<div>
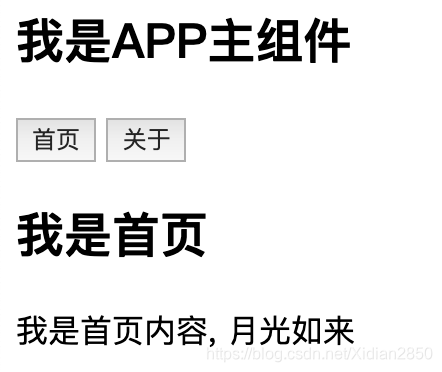
<h2>我是首页</h2>
<p>我是首页内容, 月光如来</p>
</div>
</template>
<script>
export default {
name: "Home"
}
</script>
<style scoped>
</style>
运行结果:
首页:
关于:
来源:coderwhy老师
