第一步搭建springboot项目,引入依赖
以及父类依赖
编写启动类
@SpringBootApplication
public class SpringBApplication {
public static void main(String[] args) {
    SpringApplication.run(SpringBApplication.class,args);
}
}
配置application.yml(或者application.properties)
1.设置端口号,默认为8080以及编码集
server:
port: 8989
http:
encoding:
force: true
charset: utf-8
设置请求项目名。http://ip:端口号/xxx/方法映射名
servlet:
context-path: /xxx
整合jsp页面 在整合jsp页面时需引入两个依赖
{
}
spring:
mvc:
view:
prefix: /WEB-INF/jsp/
suffix: .jsp
在引入插件
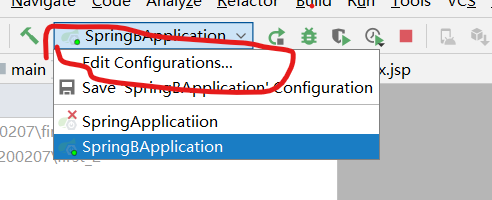
使用maven--->plugins--->spring-boot--->spring-boot:run启动
这样就可以访问jsp页面
其中有个问题:用启动类访问jsp没有成功 最后经过修改一下配置成功解决问题