自定义注解简单实现类似Feign的功能
- 最近在玩spring源码,上文 spring自定义组件扫描,模仿@MapperScan 利用spring的beanFactoryProcessor进行扫描注册,最后结合jdbc完成简单封装。
- feign的源码怎么样子我没看过,只知道基于http调用(本文暂未集成配置中心)
- 本文内容深度依赖于spring。
涉及主要知识点:
- spring的BeanPostProcessor后置处理器
- jdk动态代理
- restTemplate进行http请求
1.注解定义
@EnableRemoteClient 开启,对比一下@EnableFeignClients
/**
 * 开启http远程调用,为什么叫rpc,因为本项目要结合dubbo一起使用
 * @author authorZhao
 * @date 2019/12/20
 */
@Target(ElementType.TYPE)
@Retention(RetentionPolicy.RUNTIME)
@Documented
@Import(RpcInstantiationAwareBeanPostProcessor.class)//这个类重点注意
public @interface EnableRemoteClient {
}
@RpcClient 对比一下@FeignClient
@Target(ElementType.TYPE)
@Retention(RetentionPolicy.RUNTIME)
@Documented
public @interface RpcClient {

    /**
     * 服务在注册中心的名称,暂未集成配置中心,预计使用nacos
     * @return
     */
    String value() default "";

    /**
     * url前缀,访问的url前缀,如果没有注册中心这个路径代表访问的url前缀
     * @return
     */
    String URLPre() default "";


    /**
     * 调用方式包括http、rpc
     * @return
     */
    String cllType() default "";

}
2.@EnableRemoteClient 注解的解析
说明:本文采用beanPostProcessor形式进行bean的代理生成,不采用上篇文章的beanFactoryPosrProcessor进行注册,目的是为了理解springaop的实现.
BeanPostProcessor的功能
- 在bean实例化前后执行一些事情,类似自己的初始化和销毁方法
- BeanPostProcessor有一个子接口的执行时机和一般的不一样,InstantiationAwareBeanPostProcessor 接口实在bean创建之前执行,aop这篇先不多说
spring源码分析
- finishBeanFactoryInitialization(beanFactory);spring创建bean的方法,不清楚的可以看看spring的refresh()方法
	try {
			//在创bean实例化之前给一个后置处理器返回代理对象的机会,这里就是操作的地方
			// Give BeanPostProcessors a chance to return a proxy instead of the target bean instance.//给后置处理器一个机会返回一个目标代理对象
			Object bean = resolveBeforeInstantiation(beanName, mbdToUse);
			if (bean != null) {
				return bean;
			}
		}
		catch (Throwable ex) {
			throw new BeanCreationException(mbdToUse.getResourceDescription(), beanName,
					"BeanPostProcessor before instantiation of bean failed", ex);
		}

		try {
			Object beanInstance = doCreateBean(beanName, mbdToUse, args);
			if (logger.isTraceEnabled()) {
				logger.trace("Finished creating instance of bean '" + beanName + "'");
			}
			return beanInstance;
		}
spring的分析暂时结束
RpcInstantiationAwareBeanPostProcessor 的作用
- RpcInstantiationAwareBeanPostProcessor 重写了postProcessBeforeInstantiation方法,就是上面spring源码需要重写的方法
- 为什么实现ApplicationContextAware ,我用来检测本地有没有注册自己的接口定义,不然代理不到,debug用的,可以不用实现
/**
 * @author authorZhao
 * @date 2019/12/20
 */
@Slf4j
public class RpcInstantiationAwareBeanPostProcessor implements InstantiationAwareBeanPostProcessor , ApplicationContextAware {


    private ApplicationContext applicationContext;
    /**
     * 实例化前,后面的方法可以不用看了
     * @param beanClass
     * @param beanName
     * @return
     * @throws BeansException
     */
    @Override
    public Object postProcessBeforeInstantiation(Class<?> beanClass, String beanName) throws BeansException {

        log.info("正在为:{}生成代理对象,被代理的类为:{}",beanName,beanClass.getName());
		//检测需要实例化的bean有没有@RpcClient注解,有的话进行代理,没有返回null就行
        RpcClient rpcClient = AnnotationUtil.getAnnotation(beanClass, RpcClient.class);
        if (rpcClient == null) return null;
		//动态代理里面需要实现的方法,本文采用的是jdk动态代理
        Supplier<ProxyMethod<Object, Method, Object[], Object>> supplier = RpcMethodImpl::httpRemote;
        //返回代理对象
        Object object = ProxyUtil.getObject(beanClass, supplier.get());
        return object;

    }

    /**
     * 实例化后
     * @param bean
     * @param beanName
     * @return
     * @throws BeansException
     */
    @Override
    public boolean postProcessAfterInstantiation(Object bean, String beanName) throws BeansException {
        return true;
    }

    @Override
    public PropertyValues postProcessProperties(PropertyValues pvs, Object bean, String beanName) throws BeansException {
        return pvs;
    }


    /**
     * 初始化钱
     * @param bean
     * @param beanName
     * @return
     * @throws BeansException
     */
    @Override
    public Object postProcessBeforeInitialization(Object bean, String beanName) throws BeansException {
        return bean;
    }

    /**
     * 初始化后
     * @param bean
     * @param beanName
     * @return
     * @throws BeansException
     */
    @Override
    public Object postProcessAfterInitialization(Object bean, String beanName) throws BeansException {
        return bean;
    }

    @Override
    public void setApplicationContext(ApplicationContext applicationContext) throws BeansException {

        this.applicationContext=applicationContext;
    }
}
@RequestMapping的解析
- 已经深度使用spring了,就直接利用spring的注解
使用方式
//使用案例如下
@RpcClient(URLPre="http://localhost:8099/menu")
public interface MenuService {

    @PostMapping("/getMenuByQuery")
    ApiResult getMenuByQuery();


    @GetMapping("/getMenuByRoleId")
    ApiResult getMenuByRoleId(@PathVariable String roleId);
}
代理方法
//这个就是jdk的动态代理所需要实现的方法,不熟悉的看作者上一篇文章即可
public static ProxyMethod<Object, Method,Object[],Object> httpRemote() {
        ProxyMethod<Object, Method,Object[],Object>  cgLibProxyMethod =
                (proxy,method,args)->{
                    //1.决定请求方式

                    String methodName = method.getName();
                    String url = "";

                    //2.得到请求路径
                    RpcClient annotationImpl = AnnotationUtil.getAnnotationImpl(proxy.getClass(), RpcClient.class);//这里的AnnotationUtil是自己写的,简单获取注解,后面带s的是spring的可以获得元注解信息
                    if(annotationImpl!=null)url = annotationImpl.URLPre();

                    HttpMapping requestMapping = getRequestMapping(method);//HttpMapping用于统一GetMapping、PostMapping、RequestMapping的
                    //@RpcClient 的请求前缀
                    String urlFix = requestMapping.getValue();
                    if(StringUtils.isBlank(urlFix)){
                    //如果没写,默认将方法名作为路径
                        url = url+"/"+methodName;
                    }else{
                        url = url +urlFix;
                    }
					//3.执行http请求
                    return doHttp(url,method,args, requestMapping.getHttpMethod());
                };
        return cgLibProxyMethod;
    }
dohttp
private static Object doHttp(String url, Method method, Object[] args, HttpMethod httpMethod) {

        //1.restTemplate构建
        RestTemplate restTemplate = new RestTemplate();
        //2.请求头与请求类型
        //这个执行了两次,暂时未调整
        HttpMapping httpMapping = getRequestMapping(method);

        //1.获得请求头
        HttpHeaders headers = getHeader(); // http请求头

        List<MediaType> mediaTypeList = new ArrayList<>();
        mediaTypeList.add(MediaType.APPLICATION_JSON_UTF8);
        //content-type的设置,默认json+u8,毕竟后台接口返回的都是json
        //2.设置consumer
        String[] consumes = httpMapping.getConsumes();
        if(consumes!=null&&consumes.length>0)headers.setContentType(MediaType.parseMediaType(consumes[0]));
        String[] produces = httpMapping.getProduces();
        if(produces!=null&&produces.length>0)mediaTypeList.add(MediaType.parseMediaType(produces[0]));
        headers.setAccept(mediaTypeList);
        MultiValueMap<String, Object> form = new LinkedMultiValueMap<>();

        Map<String, Object> map = new HashMap<>();
		//重点注解解析
        //支持三个注解,不要乱用
        //1.PathVariable,将带有这个注解的放在url上面,这列采用手工操作

        Annotation[][] parameterAnnotations = method.getParameterAnnotations();
        Parameter[] parameters = method.getParameters();

        for (int i = 0; i < parameters.length; i++) {
            Parameter parameter = parameters[i];
            if(parameter==null)continue;
            String paramname = parameter.getName();
            PathVariable pathVariable = parameter.getAnnotation(PathVariable.class);
            if(pathVariable!=null){
                //为空会报错
                url = url +"/"+args[i].toString();
            }
            //@RequestParam的value作为http请求参数的key,如果没有采用方法的参数名,注意方法的参数名没做处理可能会是args0等
            RequestParam requestParam = parameter.getAnnotation(RequestParam.class);
            if(requestParam!=null){
                String name = requestParam.value();
                paramname = StringUtils.isNotBlank(name)?name:paramname;
            }
            if(args[i]!=null){
                form.add(paramname,(args[i]));
            }
        }
		//@RequestBody,如果带有这个注解的话将所有非url参数转化为json
        for (int i = 0; i < parameters.length; i++) {
            Parameter parameter = parameters[i];
            RequestBody requestBody = parameter.getAnnotation(RequestBody.class);
            if(requestBody!=null){
                headers.setContentType(MediaType.APPLICATION_JSON_UTF8);
                //带有requestBody时候全体当做一个参数打包成json
                String json = JSON.toJSONString(form);
                log.error("正在发送json形式的请求,请求数据为:{}",json);
                HttpEntity<String> httpEntity = new HttpEntity<>(json, headers);
                return httpEntity;
            }
        }
        //2.RequestBody
        //3.PathVariable
        //RequestParam,
        //RequestBody,
        //PathVariable
        //3.设置参数
        //普通post
        //json
        //headers.setContentType(MediaType.APPLICATION_JSON_UTF8); // 请求头设置属性
        //headers.setContentType(MediaType.parseMediaType("multipart/form-data; charset=UTF-8"));
        //
        HttpEntity<MultiValueMap<String, Object>> httpEntity = new HttpEntity<>(form, headers);
        //3.参数解析
        //4.结果返回
        Class<?> returnType = method.getReturnType();

        //后台接收的地址
        //String url = "http://localhost:8092/process/saveProcess";

        log.info("正发起http请求,url={},请求参数={}",url,httpEntity.getBody().toString());
        //restTemplate.postForEntity()
        ResponseEntity result = restTemplate.exchange(url, httpMethod, httpEntity, returnType);

            log.info("http请求结果为{}", JSON.toJSONString(result.getBody()));
            log.info("http请求结果为{}", JSON.toJSONString(result.getBody()));
        return result.getBody();
    }
测试
1.启动类
@SpringBootApplication
@ComponentScan({"com.git.file","com.git.gateway.controller","com.git.gateway.service"})//扫描
@MapperScan("com.git.file.mapper")
@EnableRemoteClient//开启http代理
@Import({TestService.class,ArticleService.class, MenuService.class})//接口注册,注意接口上面加@Services的时候spring不不会注册这个bean定义的
2.controller,消费者,我这里是网关的
@RestController
@RequestMapping("/test")
public class TestController {

    @Autowired
    private TestService testService;

    @Autowired
    private ArticleService articleService;

    @Autowired
    private MenuService menuService;

    @RequestMapping("/getById/{id}")
    public ApiResult getById(@PathVariable String id){
        return testService.getById(id);

    }

    @RequestMapping("/read/{id}")
    public ApiResult read(@PathVariable String id){
        return articleService.getById(id);

    }

    @RequestMapping("/getMenuByQuery")
    public ApiResult getMenuByQuery(){
        return menuService.getMenuByQuery();

    }

    @RequestMapping("/getMenuByRoleId/{id}")
    public ApiResult getMenuByRoleId(@PathVariable String id){
        return menuService.getMenuByRoleId(id);

    }

}
3.service
这个就不全部列出来了,其中json的还未测试
/**
 * @author authorZhao
 * @date 2019/12/20
 */

@RpcClient(URLPre="http://localhost:8099/menu")
public interface MenuService {

    @PostMapping("/getMenuByQuery")
    ApiResult getMenuByQuery();

    @GetMapping("/getMenuByRoleId")
    ApiResult getMenuByRoleId(@PathVariable String roleId);
}
4.启动另一个服务提供接口
这里不展示了
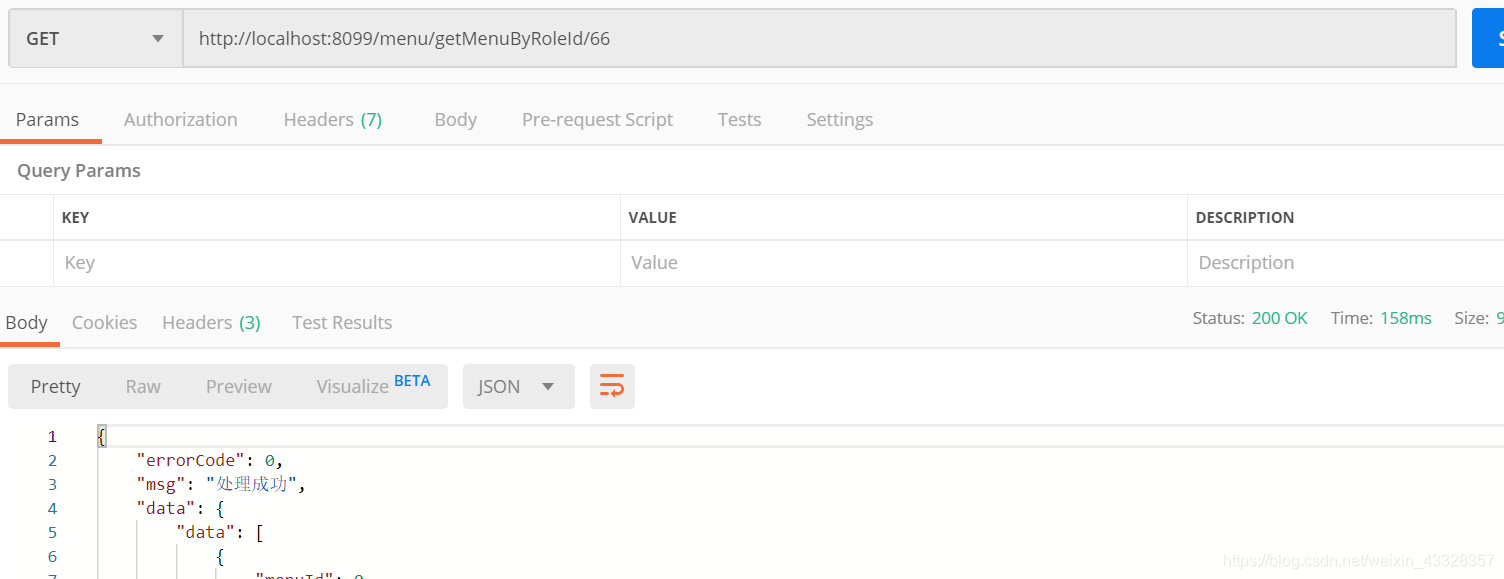
5.效果图
1.网管的截图
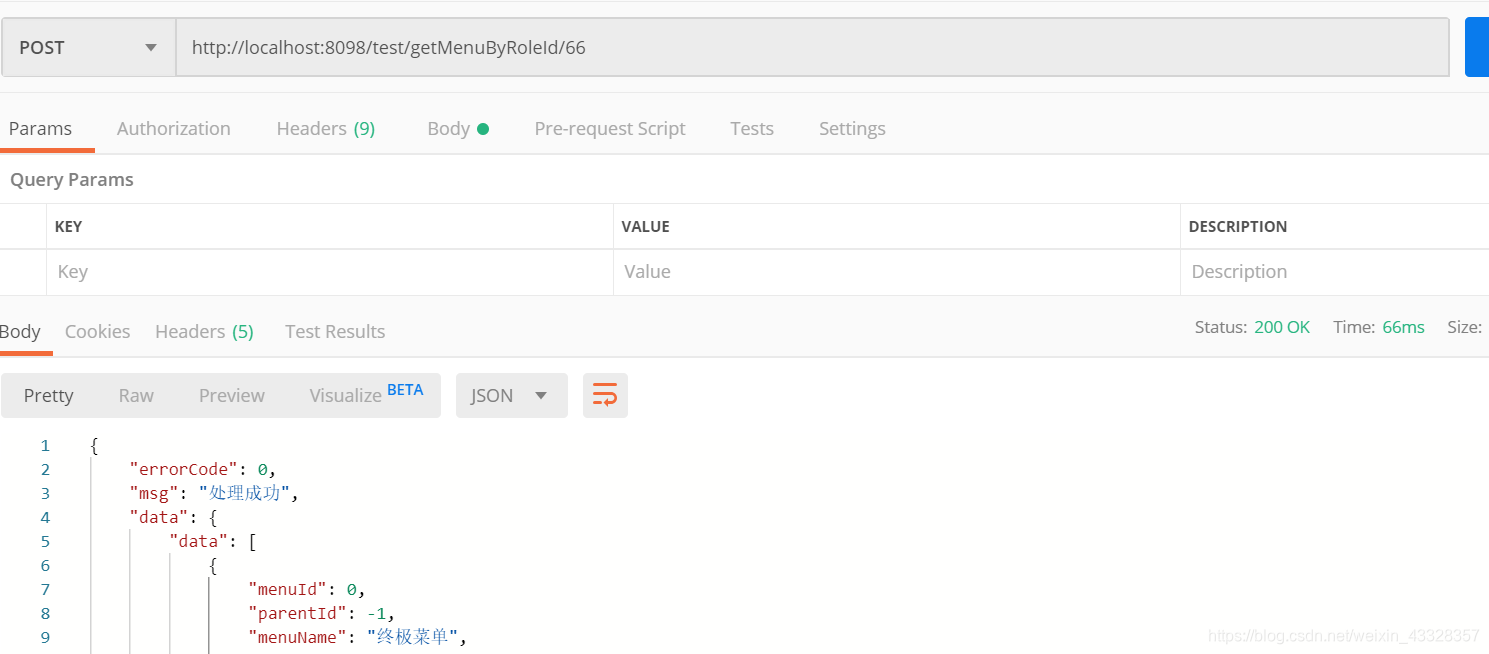
2.员服务直接调用的
3.网关的日志

结束
1.说明
- 本文还有很多方法未实现
- 本文的注解工具类一个是自己写的,一个是spring的,spring的带s,并且可以获得元注解,这个很重要
- 本文还未实现与注册中心的对接
- 本文为贴出来的代码暂时没有公开有不理解的直接留言即可,作者还在继续学习继续完善中
2.打码感想 - 虽然没有看feign的源码们现在也基本猜到怎么实现的了,不包括注册中心和负载均衡等等组件
- 对spring注册bean和创房bean的认识进一步加深
本文为作者原创,转载请申明
