这篇文章主要介绍了Python实现多线程的两种方式,结合实例形式分析了通过自定义函数传递Thread对象以及继承Thread类两种多线程实现方式相关操作技巧,需要的朋友可以参考下
本文实例讲述了Python实现多线程的两种方式。分享给大家供大家参考,具体如下:
目前python 提供了几种多线程实现方式 thread,threading,multithreading ,其中thread模块比较底层,而threading模块是对thread做了一些包装,可以更加方便的被使用。
2.7版本之前python对线程的支持还不够完善,不能利用多核CPU,但是2.7版本的python中已经考虑改进这点,出现了multithreading 模块。threading模块里面主要是对一些线程的操作对象化,创建Thread的class。一般来说,使用线程有两种模式:
A 创建线程要执行的函数,把这个函数传递进Thread对象里,让它来执行;
B 继承Thread类,创建一个新的class,将要执行的代码 写到run函数里面。
本文介绍两种实现方法。
第一种 创建函数并且传入Thread 对象中
t.py 脚本内容
import threading,time
from time import sleep, ctime
def now() :
 return str( time.strftime( '%Y-%m-%d %H:%M:%S' , time.localtime() ) )
def test(nloop, nsec):
 print 'start loop', nloop, 'at:', now()
 sleep(nsec)
 print 'loop', nloop, 'done at:', now()
def main():
 print 'starting at:',now()
 threadpool=[]
 for i in xrange(10):
  th = threading.Thread(target= test,args= (i,2))
  threadpool.append(th)
 for th in threadpool:
  th.start()
 for th in threadpool :
  threading.Thread.join( th )
 print 'all Done at:', now()
if __name__ == '__main__':
  main()
执行结果: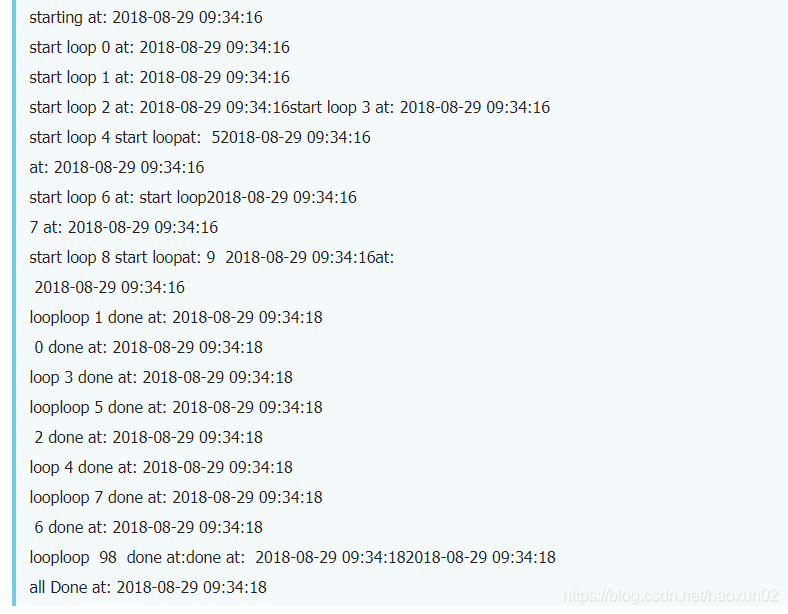
第二种 创建继承自Thread的类
thclass.py 脚本内容:
import threading , time
from time import sleep, ctime
def now() :
 return str(time.strftime('%Y-%m-%d %H:%M:%S' , time.localtime()))
class myThread (threading.Thread) :
 """docstring for myThread"""
 def __init__(self, nloop, nsec) :
  super(myThread, self).__init__()
  self.nloop = nloop
  self.nsec = nsec
 def run(self):
  print 'start loop', self.nloop, 'at:', ctime()
  sleep(self.nsec)
  print 'loop', self.nloop, 'done at:', ctime()
def main():
 thpool = []
 print 'starting at:', now()
 for i in xrange(10):
  thpool.append(myThread(i, 2))
 for th in thpool:
  th.start()
 for th in thpool:
  th.join()
 print 'all Done at:', now()
if __name__ == '__main__':
  main()
执行结果: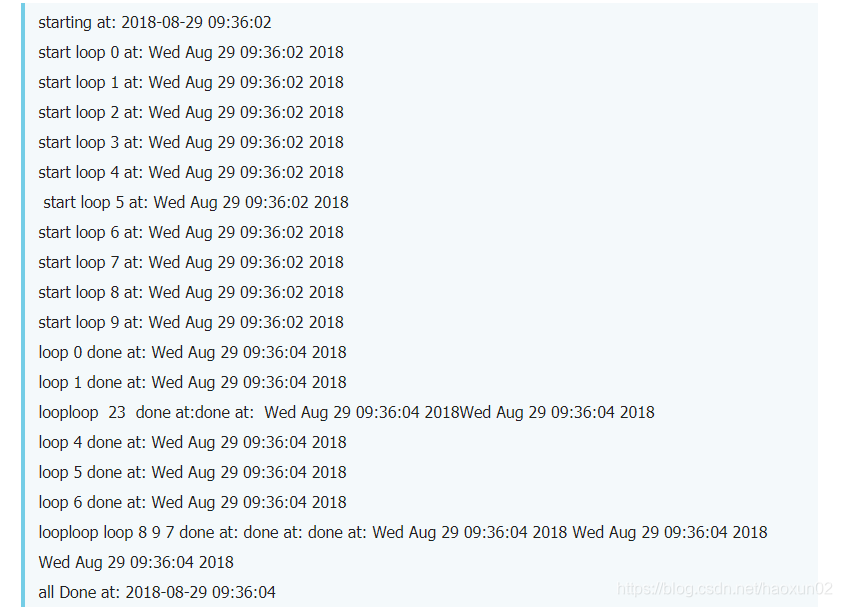
推荐我们的Python学习扣qun:774711191 ,看看前辈们是如何学习的!从基础的python脚本到web开发、爬虫、django、数据挖掘等【PDF,实战源码】,零基础到项目实战的资料都有整理。送给每一位python的小伙伴!每天都有大牛定时讲解Python技术,分享一些学习的方法和需要注意的小细节,点击加入我们的 python学习者聚集地
