通过url_map可以查看整个flask中的路由信息
print(app.url_map)
#coding:utf-8
#file: hello.py
#@author: young
#@contact: [email protected]
#@time: 2019/12/6 20:24
from flask import  Flask, current_app
# import  demo
# 创建flask的应用对象
# __name__   表示当前模块的名字
#模块名:flask以这个模块所在的目录为总目录,默认这个目录中的static为静态目录,templates为模板目录
app = Flask(__name__)
#定义视图函数,装饰器去做
@app.route("/")
def index():
    """定义视图函数
    return  "hello flask"
    """
if __name__ == '__main__':
    #通过url_map可以查看整个flask中的路由信息
    print(app.url_map)
    #启动flask程序
    app.run(debug = True)
结果:

结果有2个规则,一个是自己定义的/,对应的视图函数是index,除此之外还有处理静态文件static,对应的视图函数是static。
利用methods限制访问方式
标注处指出可以以什么请求进行访问,上图是以get方式。如果想调整访问方式,新定义一个post请求:
#通过methods限定访问方式
@app.route("/post_only",methods=["POST"])
def post_only():
    return "post_only page"
 通过加参数:methods,指明该视图函数以什么请求方式访问,将请求方式放入列表。
再次请求:
 因为之前是默认以get方式访问,我们改为post所以出错!显示405

当定义2个视图函数使用同一个路径:
@app.route("/hello")
def hello():
    return "hello 1"

@app.route("/hello")
def hello2():
    return  "hello 2"
 都出现在列表里,通过装饰器绑定2个视图函数定义同一个路径也是可以的。
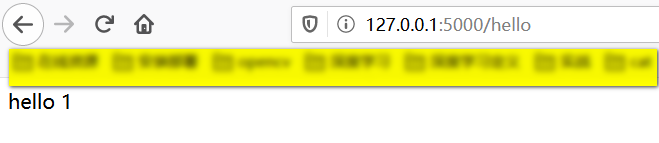
当我们访问页面,先显示第一个视图函数:
 若将第一个视图函数以POST方式访问,第二个视图函数以GET方式访问
@app.route("/hello",methods=["POST"])
def hello():
    return "hello 1"

@app.route("/hello",methods=["GET"])
def hello2():
    return  "hello 2"
访问结果:
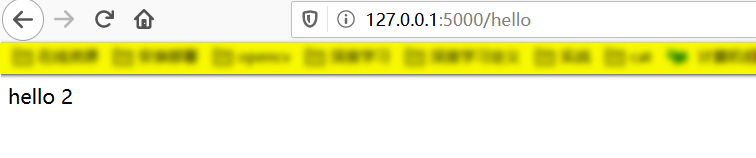 当路径和请求的方式相同的时候,上面的会将下面的覆盖掉。访问相同路径的请求方式不同时,仍是2个独立的逻辑。
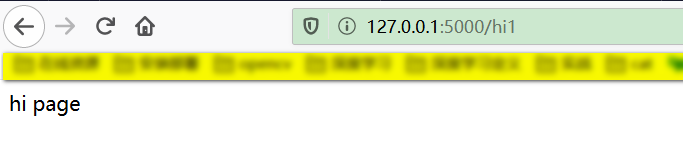
当定义2个不同的路径访问同一个视图函数:
@app.route("/hello1")
@app.route("/hello2")
def hi():
    return "hi page"
结果:
 访问hi1和hi2结果相同:

使用url_for进行反解析
导入:from flask import redirect,url_for #redirect引导跳转页面
第一种方式:写死
@app.route("/login")
def login():
    url = "/"
    return  redirect(url)
第二种方式:函数反推
def login():
    #使用url_for函数通过视图函数的名字找到对应的的url路径
    url = url_for("index")
    return  redirect(url)
 实现跳转,要用url_for。
