Java EE 目录:https://blog.csdn.net/dkbnull/article/details/87932809
Spring Boot 专栏:https://blog.csdn.net/dkbnull/category_9278145.html
Spring Cloud 专栏:https://blog.csdn.net/dkbnull/category_9287932.html
0. 开发环境
-
IDE:IntelliJ IDEA 2017.1 x64
-
jdk:1.8.0_91
-
Spring Boot:2.1.1.RELEASE
1. 文件下载
1.1 新建服务类
import cn.wbnull.springbootdemo.boot.GlobalException;
import org.springframework.stereotype.Service;

import javax.servlet.http.HttpServletResponse;
import java.io.BufferedInputStream;
import java.io.File;
import java.io.FileInputStream;
import java.io.OutputStream;

@Service
public class LogService {

    public void logDownload(String name, HttpServletResponse response) throws Exception {
        File file = new File("logs" + File.separator + name);

        if (!file.exists()) {
            throw new GlobalException(name + "文件不存在");
        }
        response.setContentType("application/force-download");
        response.addHeader("Content-Disposition", "attachment;fileName=" + name);

        byte[] buffer = new byte[1024];
        try (FileInputStream fis = new FileInputStream(file);
                      BufferedInputStream bis = new BufferedInputStream(fis)) {

            OutputStream os = response.getOutputStream();

            int i = bis.read(buffer);
            while (i != -1) {
                os.write(buffer, 0, i);
                i = bis.read(buffer);
            }
        }
    }
}
1.2 新建控制器类
import cn.wbnull.springbootdemo.service.LogService;
import org.springframework.beans.factory.annotation.Autowired;
import org.springframework.context.annotation.Scope;
import org.springframework.web.bind.annotation.GetMapping;
import org.springframework.web.bind.annotation.PathVariable;
import org.springframework.web.bind.annotation.RequestMapping;
import org.springframework.web.bind.annotation.RestController;

import javax.servlet.http.HttpServletResponse;

@RestController
@Scope("prototype")
@RequestMapping("/log")
public class LogController {

    @Autowired
    private LogService logService;

    /**
     * 下载日志接口
     *
     * @param name
     * @param response
     * @throws Exception
     */
    @GetMapping(value = "/download/{name}")
    public void logDownload(@PathVariable String name, HttpServletResponse response) throws Exception {
        logService.logDownload(name, response);
    }
}
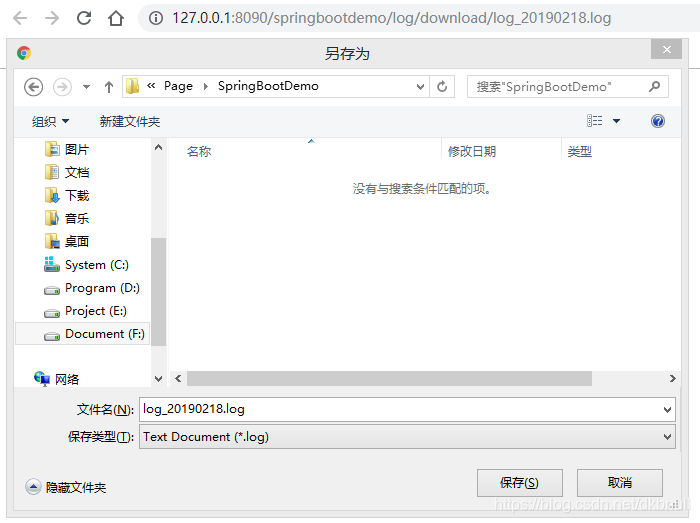
1.3 测试
上面接口是要下载logs文件夹下日志文件,以log_20190218.log日志文件为例,浏览器直接访问 http://127.0.0.1:8090/springbootdemo/log/download/log_20190218.log 即可完成下载。

2. 单文件上传
2.1 新建服务类
import cn.wbnull.springbootdemo.boot.GlobalException;
import cn.wbnull.springbootdemo.model.ReturnMessage;
import com.alibaba.fastjson.JSONObject;
import org.springframework.stereotype.Service;
import org.springframework.web.multipart.MultipartFile;

import javax.servlet.http.HttpServletResponse;
import java.io.*;

@Service
public class LogService {

    public JSONObject logUpload(MultipartFile file) throws Exception {
        if (file == null || file.isEmpty()) {
            throw new GlobalException("未选择需上传的日志文件");
        }

        String filePath = new File("logs_app").getAbsolutePath();
        File fileUpload = new File(filePath);
        if (!fileUpload.exists()) {
            fileUpload.mkdirs();
        }

        fileUpload = new File(filePath, file.getOriginalFilename());
        if (fileUpload.exists()) {
            throw new GlobalException("上传的日志文件已存在");
        }

        try {
            file.transferTo(fileUpload);

            return ReturnMessage.success();
        } catch (IOException e) {
            throw new GlobalException("上传日志文件到服务器失败:" + e.toString());
        }
    }
}
2.2 新建控制器类
import cn.wbnull.springbootdemo.service.LogService;
import com.alibaba.fastjson.JSONObject;
import org.springframework.beans.factory.annotation.Autowired;
import org.springframework.context.annotation.Scope;
import org.springframework.web.bind.annotation.*;
import org.springframework.web.multipart.MultipartFile;

import javax.servlet.http.HttpServletResponse;

@RestController
@Scope("prototype")
@RequestMapping("/log")
public class LogController {

    @Autowired
    private LogService logService;

    /**
     * 上传日志接口
     *
     * @param file
     * @return
     * @throws Exception
     */
    @PostMapping(value = "/upload")
    public JSONObject logUpload(@RequestParam("file") MultipartFile file) throws Exception {
        return logService.logUpload(file);
    }
}
2.3 新建HTML页面
log-upload.html
<!DOCTYPE html>
<html lang="en">
<head>
    <meta charset="UTF-8">
    <title>文件上传</title>
</head>
<body>
<form method="post" action="/log/upload" enctype="multipart/form-data">
    <input type="file" name="file">
    <br><br>
    <input type="submit" value="提交">
</form>
</body>
</html>
2.4 测试
浏览器打开页面 http://127.0.0.1:8090/springbootdemo/log-upload.html
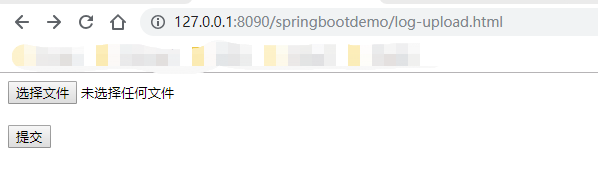
点击选择文件打开文件选择页面,选中需要上传的文件后,点击提交,返回如下则为文件上传成功。
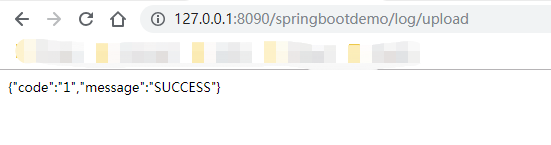
我们去logs_app文件夹下查看,生成了上传的日志文件。

2.5 Java客户端上传文件
上面我们上传文件的客户端为HTML页面,但我们实际生产中未必是WebAPP,这时我们可以通过模拟发送浏览器HTTP请求来实现上传文件。
2.5.1 引入依赖
        <dependency>
            <groupId>commons-httpclient</groupId>
            <artifactId>commons-httpclient</artifactId>
            <version>3.1</version>
        </dependency>
2.5.2 新建Java客户端
import org.apache.commons.httpclient.HttpClient;
import org.apache.commons.httpclient.methods.PostMethod;
import org.apache.commons.httpclient.methods.multipart.FilePart;
import org.apache.commons.httpclient.methods.multipart.MultipartRequestEntity;
import org.apache.commons.httpclient.methods.multipart.Part;
import org.apache.commons.httpclient.params.HttpMethodParams;
import org.junit.Test;

import java.io.File;
import java.io.IOException;

public class LogControllerTests {

    @Test
    public void logUpload() throws Exception {
        String url = "http://127.0.0.1:8090/springbootdemo/log/upload";
        String pathname = new File("logs" + File.separator + "log_20190310.log").getCanonicalPath();
        logUpload(url, pathname);
    }

    private static void logUpload(String url, String pathname) {
        HttpClient httpClient = new HttpClient();
        PostMethod postMethod = new PostMethod(url);

        try {
            FilePart filePart = new FilePart("file", new File(pathname));
            Part[] parts = {filePart};

            MultipartRequestEntity multipartRequestEntity = new MultipartRequestEntity(parts, new HttpMethodParams());
            postMethod.setRequestEntity(multipartRequestEntity);
            httpClient.executeMethod(postMethod);
            String result = postMethod.getResponseBodyAsString();

            System.out.println(result);
        } catch (IOException e) {
            e.printStackTrace();
        } finally {
            postMethod.releaseConnection();
        }
    }
}
这里,以下两行代码表示设置多媒体参数,作用类似form表单中的enctype=“multipart/form-data”
MultipartRequestEntity multipartRequestEntity = new MultipartRequestEntity(parts, new HttpMethodParams());
postMethod.setRequestEntity(multipartRequestEntity);
以下两行代码表示设定参数名称和值,类似form表单中的<input name="file” type=“file” />
FilePart filePart = new FilePart("file", new File(pathname));
Part[] parts = {filePart};
2.5.3 测试
测试类运行成功。
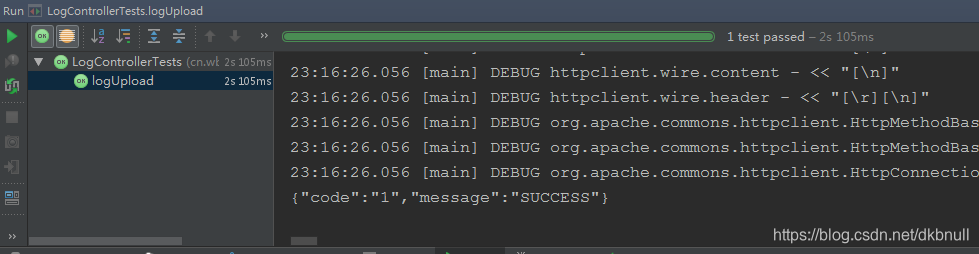
文件上传成功

3. 多文件上传
3.1 新建服务类
    public JSONObject logUploads(HttpServletRequest request) throws Exception {
        List<MultipartFile> files = ((MultipartHttpServletRequest) request).getFiles("file");

        for (MultipartFile file : files) {
            logUpload(file);
        }

        return ReturnMessage.success();
    }
3.2 新建控制器类
    /**
     * 批量上传日志接口
     *
     * @param request
     * @return
     * @throws Exception
     */
    @PostMapping(value = "/uploads")
    public JSONObject logUploads(HttpServletRequest request) throws Exception {
        return logService.logUploads(request);
    }
3.3 新建HTML页面
log-uploads.html
<!DOCTYPE html>
<html lang="en">
<head>
    <meta charset="UTF-8">
    <title>批量文件上传</title>
</head>
<body>
<form method="post" action="log/uploads" enctype="multipart/form-data">
    <input type="file" name="file"><br>
    <input type="file" name="file"><br>
    <input type="file" name="file"><br>
    <br>
    <input type="submit" value="提交">
</form>
</body>
</html>
3.4 测试
我们先把之前测试上传的logs_app文件夹整个删除,然后浏览器打开页面 http://127.0.0.1:8090/springbootdemo/log-uploads.html
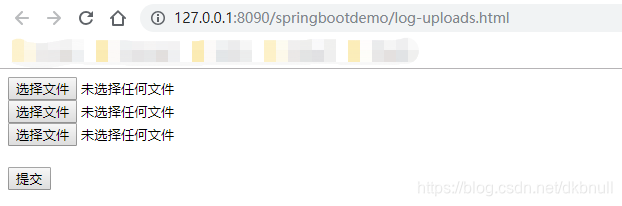
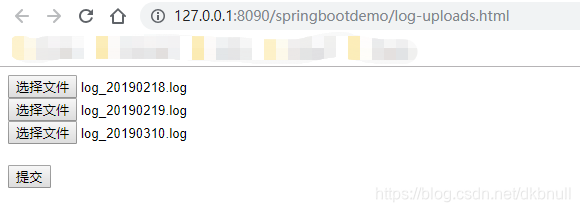
选择要上传的文件
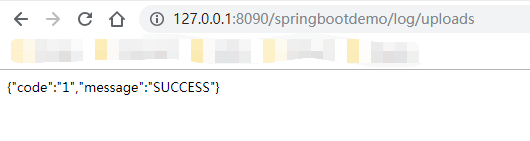
点击提交,返回如下则为上传成功。
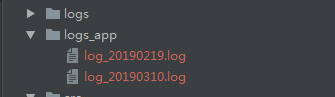
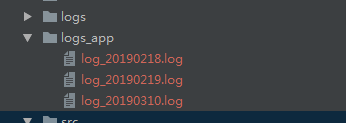
我们去logs_app文件夹下查看,生成了上传的日志文件。
3.5 Java客户端上传文件
这里如果我们也需要Java客户端实现多文件上传,可以仿照2.5实现。
GitHub:https://github.com/dkbnull/SpringBootDemo
微信:https://mp.weixin.qq.com/s/rd6yhfMjwU7Pn3c46bKj7w
