人生的第一个爬虫(python3)
前言
本篇blog用于记录本小白利用python写的第一个小工具。用时一天多一些,此外本人还处于不断学习中,该blog是本人的见解与笔记,会有许多纰漏与不足,望大牛指点。本篇论文较为基础,将会细致讲述从0到完成的每一步骤(本人用得少,到时候依靠笔记才能重新捡起来)。
该爬虫有三个功能:爬取源码、爬图与图片文字识别。
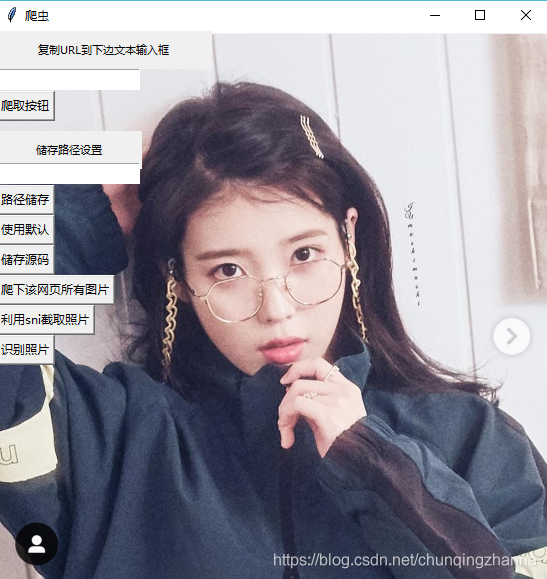
主体界面:
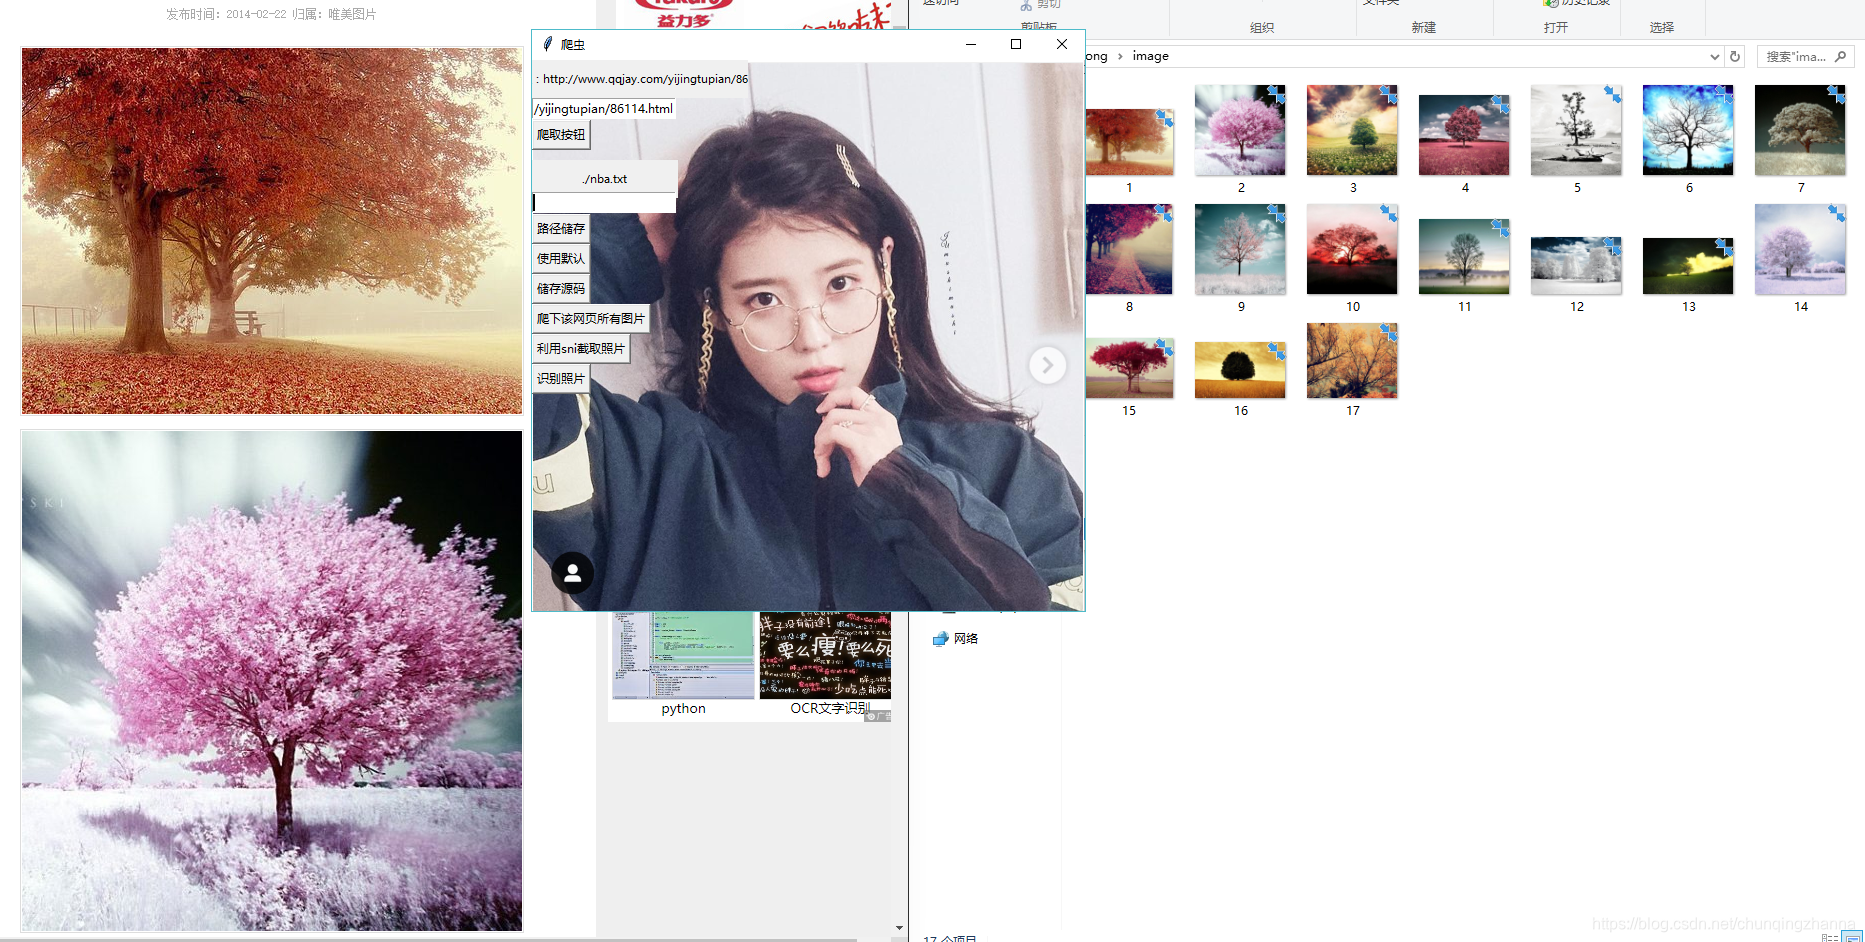
爬取图片:
识别图像中文字(配合Snipaste):

第一步:环境、库的配置
该工具涉及到了GUI界面设计(tkinter)、网址请求(requests)、下载(urllib.request)、图片截取(PIL)、字符串匹配(re)等。
库的安装,我所了解的有两种主要的方法。
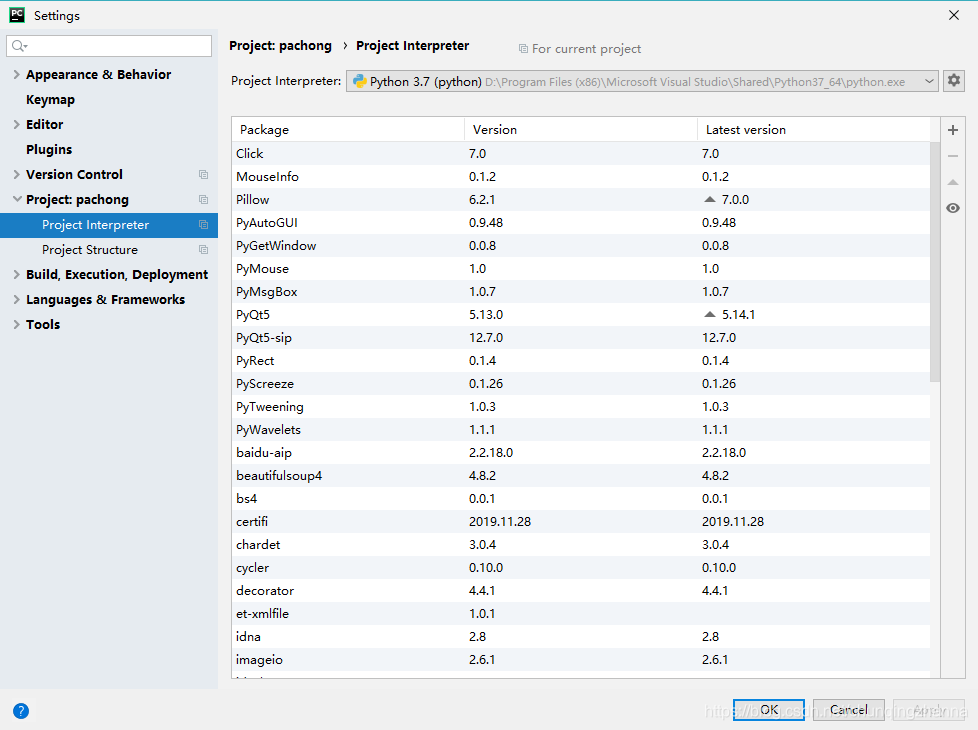
一、pycharm中setting添加库
file–setting–project interpret–install
二、cmd安装
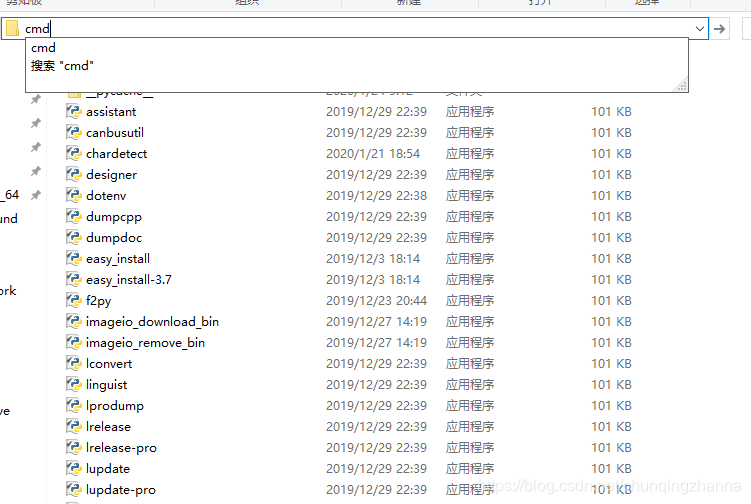
移步至解释器根目录下,找到Scripts文件夹,双击后在文件目录输入框内输入cmd,能够快速打开cmd并且快速进入该文件夹。pip install (库名字)
三、常见问题解决办法
1:初学小白极其遇到的问题:一台电脑中安装多个版本的解释器,例如用时存在:python3.6.6、python3.7等等。那么在库的安装时要选对解释器版本,在工程创建的时候就需要选择解释器,后期也能在setting中更改,否则可能出现不断加库,pip list 中库却无变化。
2:setting方法下无法安装,造成的原因有很多,例如版本不兼容(最为可能),点开红条内的detail,复制ERROR的原因去百度,往往能够迎刃而解。
3:cmd安装时显示无权限,关闭以管理员身份打开cmd。
4:平台版本不支持。这个问题在我于3.7版本安装pyhook时候遇到过,由于pip和pycharm里面下下来的资源并不匹配版本(win32/64,cp35、36、37),自行找whl文件可以解决。
若所有的库你都安装好了,你将会在代码调用的时候少些报错。
第二步: tkinter界面设计
网络上现成的tkinter库的科普已很全面,我讲讲我是如何使用的。
一 、主窗口
window = tk.Tk()
window.geometry("480x640") #这里是小写字母 x
window.mainloop()

二、元件摆放方式
1、place 以根窗口最上角为基点的绝对位置
xxx.place(x=0, y=304)
2、pack 自上而下排版,上下左右四个区域(适合前期调试时)
xxx.pack()
3、grid 虚拟网格,给定网格坐标进行排版
三、按键 button
xxx_button = tk.Button(window(根目录), text='按键文本', command=调用函数)
四、动态字符串搭配文本框 label
    self.URL_way_label = StringVar()
    self.URL_way_label.set('复制URL到下边文本输入框')
    self.URL_label = tk.Label(window, textvariable = self.URL_way_label, font=('微软雅黑', 8), width=30, height=2)
这里的height指的是高度,height = 2 会覆盖于1,0之上
五、输入框entry
    self.URL_entry = tk.Entry(width=20)
    self.URL_entry.place(x=0,y=38)
    print(self.URL_entry.get())
利用get函数获得文本框内容,加以处理
六、背景图片
	self.window = tk.Tk()
    self.window.title("爬虫")
    img = Image.open('./background/background.png')
    self.window_background = ImageTk.PhotoImage(img)
    w = self.window_background.width()
    h = self.window_background.height()
    self.window.geometry('%dx%d+0+0' % (w, h))

    background_label = tk.Label(self.window, image=self.window_background)
    background_label.place(x=0, y=0, relwidth=1, relheight=1)
高度为1,高于根窗口,低于按键。此外让窗口大小依着图片大小而定,除png以外,gif也适用(gif不会动)。
七、GUI源码
	#"储存路径设置(绝对/相对路径)"
    #初始化界面
    # 乘号是 小写字母 x
    self.window = tk.Tk()
    self.window.title("爬虫")
    img = Image.open('./background/IUUU.png')
    self.window_background = ImageTk.PhotoImage(img)
    w = self.window_background.width()
    h = self.window_background.height()
    self.window.geometry('%dx%d+0+0' % (w, h))

    background_label = tk.Label(self.window, image=self.window_background)
    background_label.place(x=0, y=0, relwidth=1, relheight=1)

    # URL提示文本框
    self.URL_way_label = StringVar()
    self.URL_way_label.set('复制URL到下边文本输入框')
    self.URL_label = tk.Label(self.window, textvariable = self.URL_way_label, font=('微软雅黑', 8), width=30, height=2)
    self.URL_label.place(x=0,y=0)
    # URL输入框
    self.URL_entry = tk.Entry(width=20)
    self.URL_entry.place(x=0,y=38)
    # 开始爬按钮
    self.URL_button = tk.Button(self.window, text='爬取按钮', command=self.URL_to_pachong)
    self.URL_button.place(x=0,y=60)
    # 储存提示文本框
    self.LAY_way_label = StringVar()
    self.LAY_way_label.set("储存路径设置")
    self.LAY_label = tk.Label(self.window, textvariable = self.LAY_way_label, font=('微软雅黑', 8), width=20,height=2)
    self.LAY_label.place(x=0,y=100)
    # URL输入框
    self.LAY_entry = tk.Entry(width=20)
    self.LAY_entry.place(x=0,y=132)
    # 储存路径确定按钮
    self.LAY_way_button = tk.Button(self.window, text='路径储存', command=self.LAY_way_confirm)
    self.LAY_way_button.place(x=0,y=154)
    # 默认路径确定按钮
    self.usual_LAY_way_button = tk.Button(self.window, text='使用默认', command=self.LAY_way_confirm_as_usual)
    self.usual_LAY_way_button.place(x=0,y=184)
    # 储存按钮
    self.LAY_button = tk.Button(self.window, text='储存源码', command=self.lay)
    self.LAY_button.place(x=0,y=214)
    # 图片下载按钮
    self.download_photo_button = tk.Button(self.window, text='爬下该网页所有图片', command=self.download_photo)
    self.download_photo_button.place(x=0,y=244)
    # 图片识别按钮
    self.cut_photo_button = tk.Button(self.window, text='利用sni截取照片', command=self.before_cut_photo)
    self.cut_photo_button.place(x=0,y=274)
    # 图片识别按钮
    self.read_photo_button = tk.Button(self.window, text='识别照片', command=self.image2text)
    self.read_photo_button.place(x=0,y=304)
    #循环检测
    self.window.mainloop()
注释掉command,更换图片路径,去掉self,应该能跑。
萌新小白的随心笔记,如果鄙人有什么不对、能够改进的地方,希望大佬们指点。1069193895,可以一同探讨学习。
