第一步:进入虚拟环境
ubuntu@VM-54-14-ubuntu:~$ source activate tensorflow_env
第二步:安装R必要的组件
(tensorflow_env) ubuntu@VM-54-14-ubuntu:~$ conda install r-essentials
第三步:启动jupyter notebook
(tensorflow_env) ubuntu@VM-54-14-ubuntu:~$ jupyter notebook --port 9000
第四步:打开浏览器登录jupyter notebook
http://you ip address:端口号
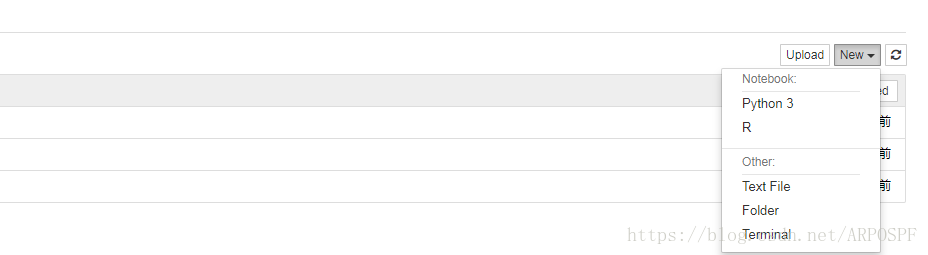
输入密码,点击New,即可创建R文件
安装Rstudio:
(1)R的安装:
$sudo vi /etc/apt/sources.list
增加镜像源:
deb http://cran.rstudio.com/bin/linux/ubuntu trusty/
保存退出
(2)运行命令下载公钥
$ sudo apt-key adv --keyserver keyserver.ubuntu.com --recv-keys 51716619E084DAB9更新
$ sudo apt-get update
(3)安装R
$ sudo apt-get install r-base
更新R相关的组件
$ sudo apt-get build-dep r-cran-foo
# 具体组件名称如下所示
    r-cran-boot
    r-cran-class
    r-cran-cluster
    r-cran-codetools
    r-cran-foreign
    r-cran-kernsmooth
    r-cran-lattice
    r-cran-mass
    r-cran-matrix
    r-cran-mgcv
    r-cran-nlme
    r-cran-nnet
    r-cran-rpart
    r-cran-spatial
    r-cran-survival
    r-cran-rodbc
R包的安装
# 安装包
> install.packages()
# 更新包
> update.packages(lib.loc = "/usr/local/lib/R/site-library")
(4)安装Rstudio
$ sudo apt-get install gdebi-core
$ wget https://download2.rstudio.org/rstudio-server-0.99.902-amd64.deb
$ sudo gdebi rstudio-server-0.99.902-amd64.deb
(5)启动Rstudio server
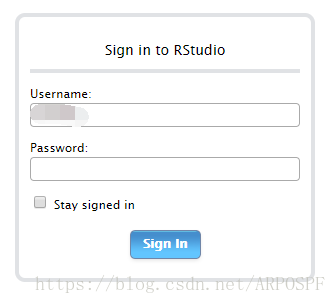
在浏览器中输入地址和端口
http://your ip address:8787
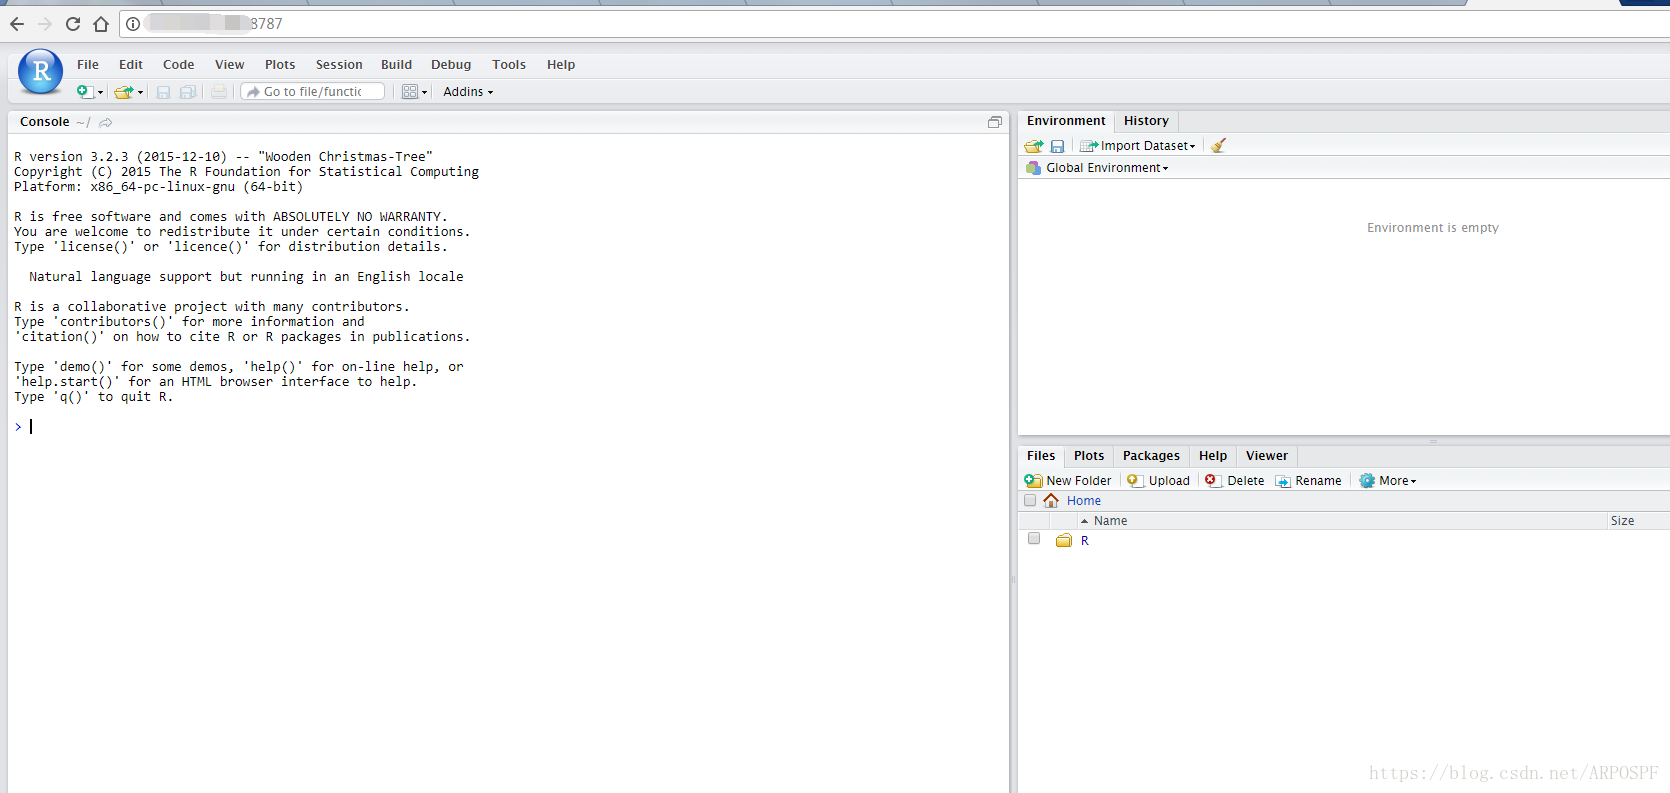
输入用户名和密码,也就是登录Ubuntu Server服务器的用户名和密码(可以创建专门的用户名和密码用以登录Rstudio)
创建新用户可参照如下步骤:

用新用户的用户名和密码登录即可
(6)Git代码共享
参考https://blog.csdn.net/xmuecor/article/details/42031481