本文转载,记录下来方便以后查找
原文链接:https://www.php.cn/css-tutorial-406575.html
方法一
直接设置img为圆形,这种情况下如果图片不是正方形,图片会被拉伸
<img class="circleImg" src="../img/photo/img.jpg" />
对应的css为:
.circleImg{
  border-radius: 30px;
  width:60px;
  height:60px;
}
方法二
通过背景图设置:
<p class="bgImg"></p>
对应的css为:
.bgImg{
  border-radius: 30px;
  width:60px;
  height:60px;
  background: url("../img/photo/img.jpg") no-repeat center;
  background-size:60px;
}
拖图片不是方形,则按照宽度等比例显示,则background-size设置为图片宽度,高度为auto,若需要按照高度等比例显示,则background-size:auto 60px;
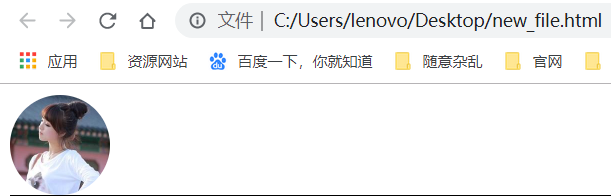
显示效果为

补充:2019.11.26
当图片是正方形时,会自动调整::::
<!DOCTYPE html>
<html>
<head>
<meta http-equiv="Content-Type" content="text/html; charset=UTF-8">
<title>Insert title here</title>
<style type="text/css">
.basicInfo-left{
	width: 80px;
	height: 80px;
}
.basicInfo-left img{
	width: 100%;
	height: 100%;
	border-radius: 50px;
}
</style>
</head>
<body>
	<div class='basicInfo-left' >
		<img src='img/touxiang.jpg'>
	</div>
</body>
</html>
截图: