1、整合JDBC
(1) 添加依赖
		<!--jdbc-->
		<dependency>
			<groupId>org.springframework.boot</groupId>
			<artifactId>spring-boot-starter-jdbc</artifactId>
		</dependency>
		<!--mysql驱动-->
		<dependency>
			<groupId>mysql</groupId>
			<artifactId>mysql-connector-java</artifactId>
			<scope>runtime</scope>
		</dependency>
(2) 编写配置文件
spring:
  datasource:
    username: root
    password: 123456
    url: jdbc:mysql://localhost:3306/jdbc?serverTimezone=UTC
    driver-class-name: com.mysql.cj.jdbc.Driver
2、整合Druid数据源
(1) 添加Druid依赖
	<!--Druid数据源 -->
	<dependency>
 	   <groupId>com.alibaba</groupId>
	    <artifactId>druid-spring-boot-starter</artifactId>
 	   <version>1.1.16</version>
	</dependency>
	<!--mysql驱动-->
	<dependency>
		<groupId>mysql</groupId>
		<artifactId>mysql-connector-java</artifactId>
		<scope>runtime</scope>
	</dependency>
(2) 编写配置文件
spring:
  datasource:
    username: root
    password: 123456
    url: jdbc:mysql://localhost:3306/jdbc?serverTimezone=UTC
    driver-class-name: com.mysql.cj.jdbc.Driver
    type: com.alibaba.druid.pool.DruidDataSource

    # 初始化大小,最小,最大
    initialSize: 5
    minIdle: 5
    maxActive: 20                         #最大并发连接数

    maxWait: 60000                        # 配置获取连接等待超时的时间
    timeBetweenEvictionRunsMillis: 60000  # 配置间隔多久才进行一次检测,检测需要关闭的空闲连接,单位是毫秒
    minEvictableIdleTimeMillis: 300000    # 配置一个连接在池中最小生存的时间,单位是毫秒

    validationQuery: SELECT 1 FROM DUAL   # 检测连接是否有效的sql
    testWhileIdle: true
    testOnBorrow: false
    testOnReturn: false
    poolPreparedStatements: true

    filters: stat,wall                  #   配置监控统计拦截的filters,去掉后监控界面sql无法统计,'wall'用于防火墙
    maxPoolPreparedStatementPerConnectionSize: 20
    useGlobalDataSourceStat: true                      # 合并多个DruidDataSource的监控数据
    connectionProperties: druid.stat.mergeSql=true;druid.stat.slowSqlMillis=500 # 通过connectProperties属性来打开mergeSql功能;慢SQL记录
(3) 编写DruidConfig:导入Druid数据源,并配置Druid的监控
@Configuration
public class DruidConfig {
    //导入Druid数据源
    @ConfigurationProperties(prefix = "spring.datasource")
    @Bean
    public DataSource druid(){
        return  new DruidDataSource();
    }

    //配置Druid的监控
    //1、配置一个管理后台的Servlet
    @Bean
    public ServletRegistrationBean statViewServlet(){
        ServletRegistrationBean bean = new ServletRegistrationBean(new StatViewServlet(), "/druid/*");
        Map<String,String> initParams = new HashMap<>();

        initParams.put("loginUsername","arcadia");
        initParams.put("loginPassword","arcadia");
        initParams.put("allow","");//默认就是允许所有访问
//        initParams.put("deny","");//拒绝此地址访问

        bean.setInitParameters(initParams);
        return bean;
    }


    //2、配置一个web监控的filter
    @Bean
    public FilterRegistrationBean webStatFilter(){
        FilterRegistrationBean bean = new FilterRegistrationBean();
        bean.setFilter(new WebStatFilter());

        Map<String,String> initParams = new HashMap<>();
        initParams.put("exclusions","*.js,*.css,/druid/*");//不拦截的请求

        bean.setInitParameters(initParams);

        bean.setUrlPatterns(Arrays.asList("/*"));//拦截所有请求

        return  bean;
    }
}
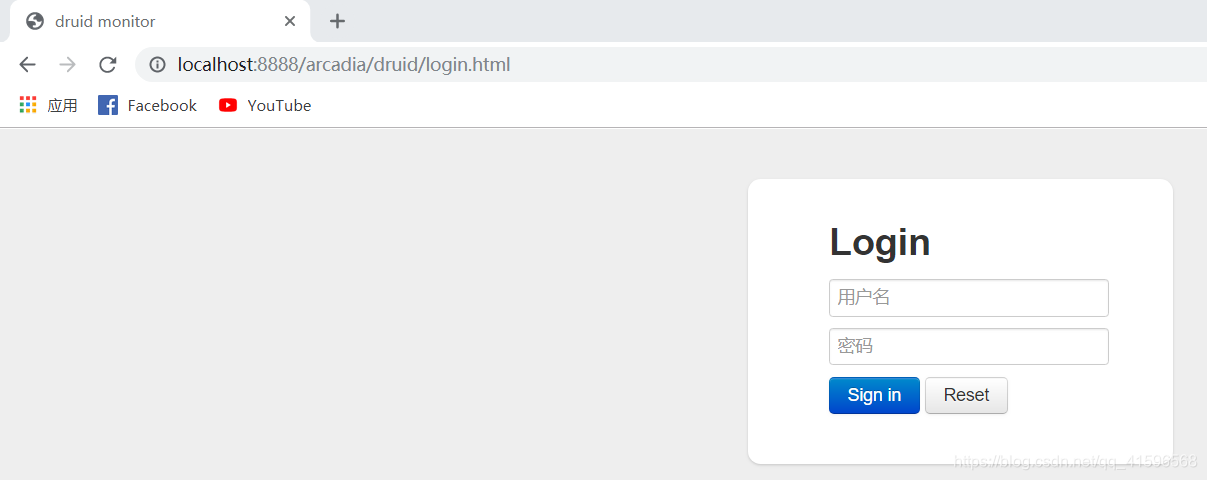
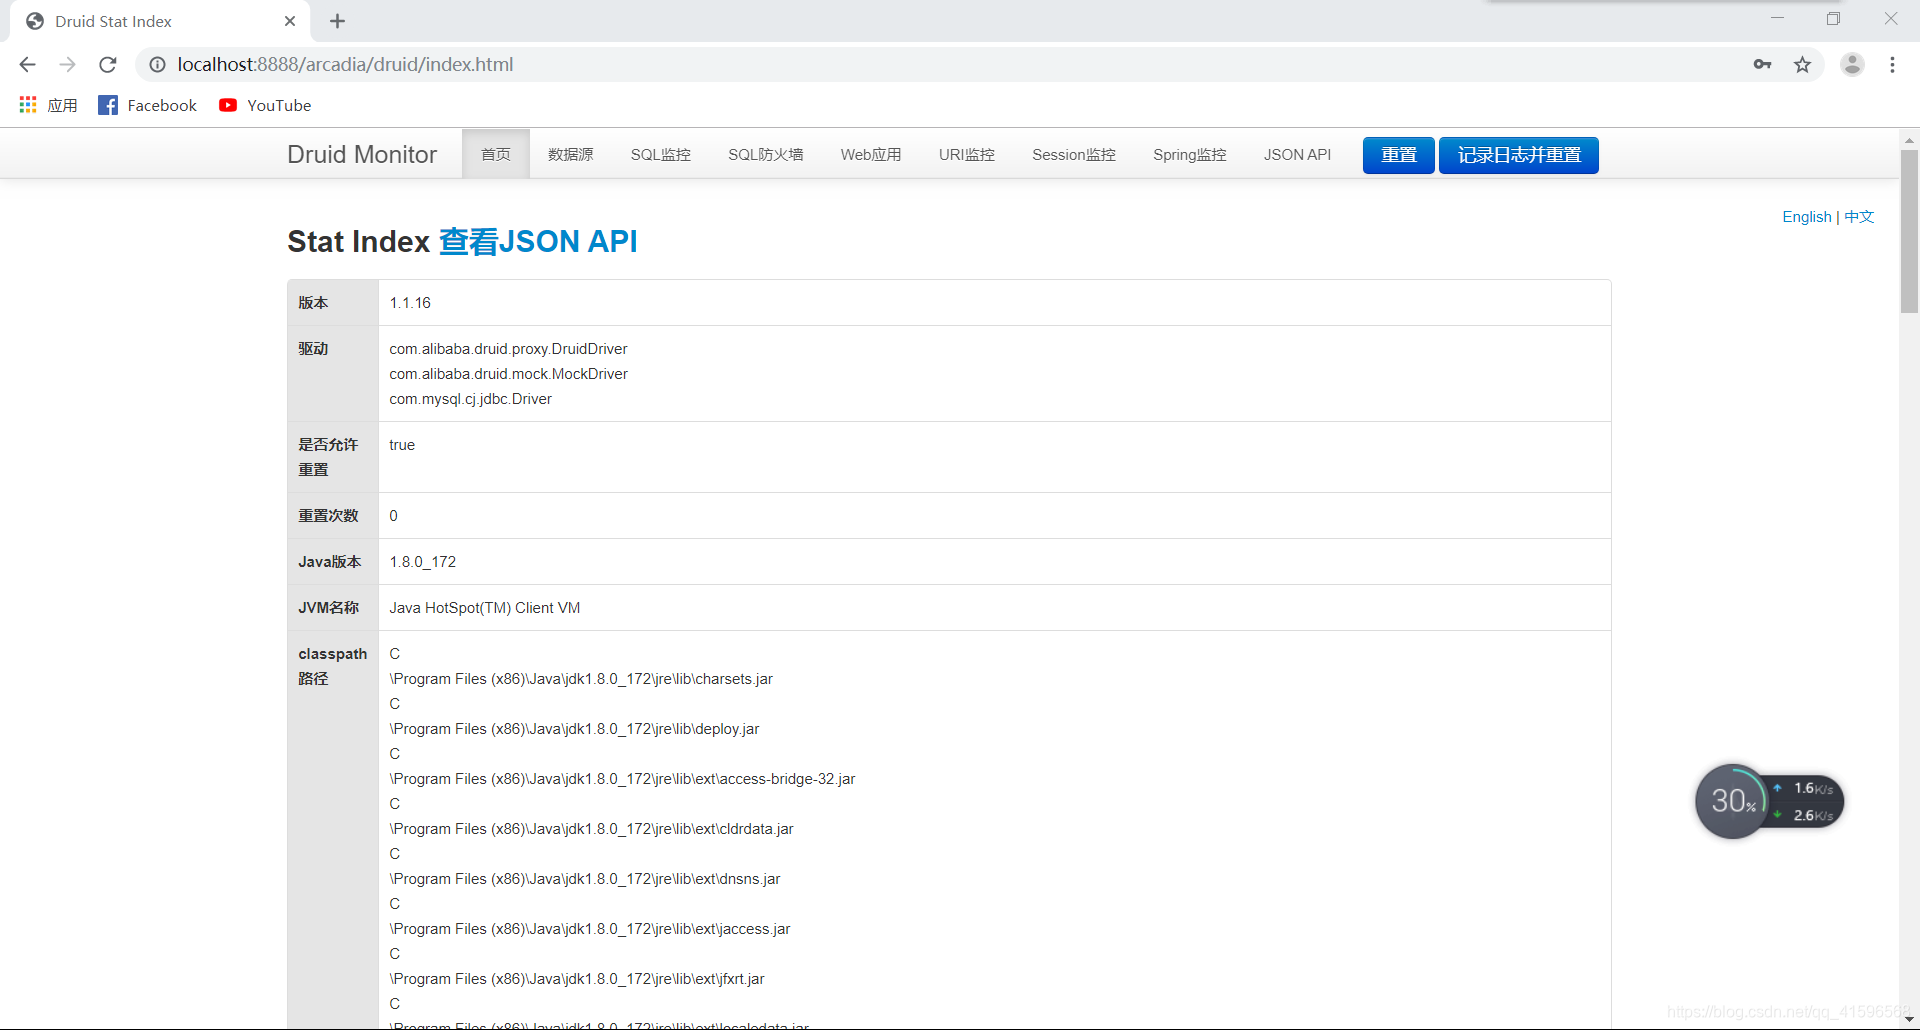
(4) 进入Druid数据源的监控
3、整合MyBatis
(1) 添加依赖
		<dependency>
            <groupId>org.mybatis.spring.boot</groupId>
            <artifactId>mybatis-spring-boot-starter</artifactId>
            <version>2.1.1</version>
        </dependency>
(2) 自定义MyBatis的配置配置文件
@org.springframework.context.annotation.Configuration
public class MyBatisConfig {

    @Bean
    public ConfigurationCustomizer configurationCustomizer(){
        return new ConfigurationCustomizer(){

            @Override
            public void customize(Configuration configuration) {
                //驼峰命名规则
                configuration.setMapUnderscoreToCamelCase(true);
            }
        };
    }
}
(3) 配置数据源相关属性(见配置Druid)
(4) 给数据库建表,创建JavaBean
(5) 注解版:使用@Mapper指定接口Mapper
//指定这是一个操作数据库的mapper
@Mapper
public interface testMapper {

    @Options(useGeneratedKeys = true,keyProperty = "name")
    @Insert("insert into test values(#{name},#{age})")
    public int insertTest(test t);

    @Select("select * from test where name=#{name}")
    public test getTestByName(String name);

}
注解版2:使用@MapperScan批量扫描所有的Mapper接口
@MapperScan(value = "com.aurora.arcadia.mapper")
@SpringBootApplication
public class SpringBootApplication {

	public static void main(String[] args) {
		SpringApplication.run(SpringBootApplication.class, args);
	}
}
配置文件版
mybatis:
  config-location: classpath:mybatis/mybatis-config.xml 	#指定全局配置文件的位置
  mapper-locations: classpath:mybatis/mapper/*.xml  		#指定sql映射文件的位置
