# -*- coding: utf-8 -*-
"""
@File : 200113:测试跟踪条tracebackbar().py
@Time : 2020/1/13 9:11
@Author : Dontla
@Email : [email protected]
@Software: PyCharm
"""
import cv2
import numpy as np
# 等比例调整图像分辨率大小
def img_resize(image):
height, width = image.shape[0], image.shape[1]
width_new = 1280
height_new = 720
# 判断图片的长宽比率
if width / height >= width_new / height_new:
img_new = cv2.resize(image, (width_new, int(height * width_new / width)))
else:
img_new = cv2.resize(image, (int(width * height_new / height), height_new))
return img_new
def nothing(x):
pass
# gamma函数处理
def gamma_trans(img, gamma):
gamma_table = [np.power(x / 255.0, gamma) * 255.0 for x in range(256)] # 建立映射表
gamma_table = np.round(np.array(gamma_table)).astype(np.uint8) # 颜色值为整数
return cv2.LUT(img, gamma_table) # 图片颜色查表。另外可以根据光强(颜色)均匀化原则设计自适应算法。
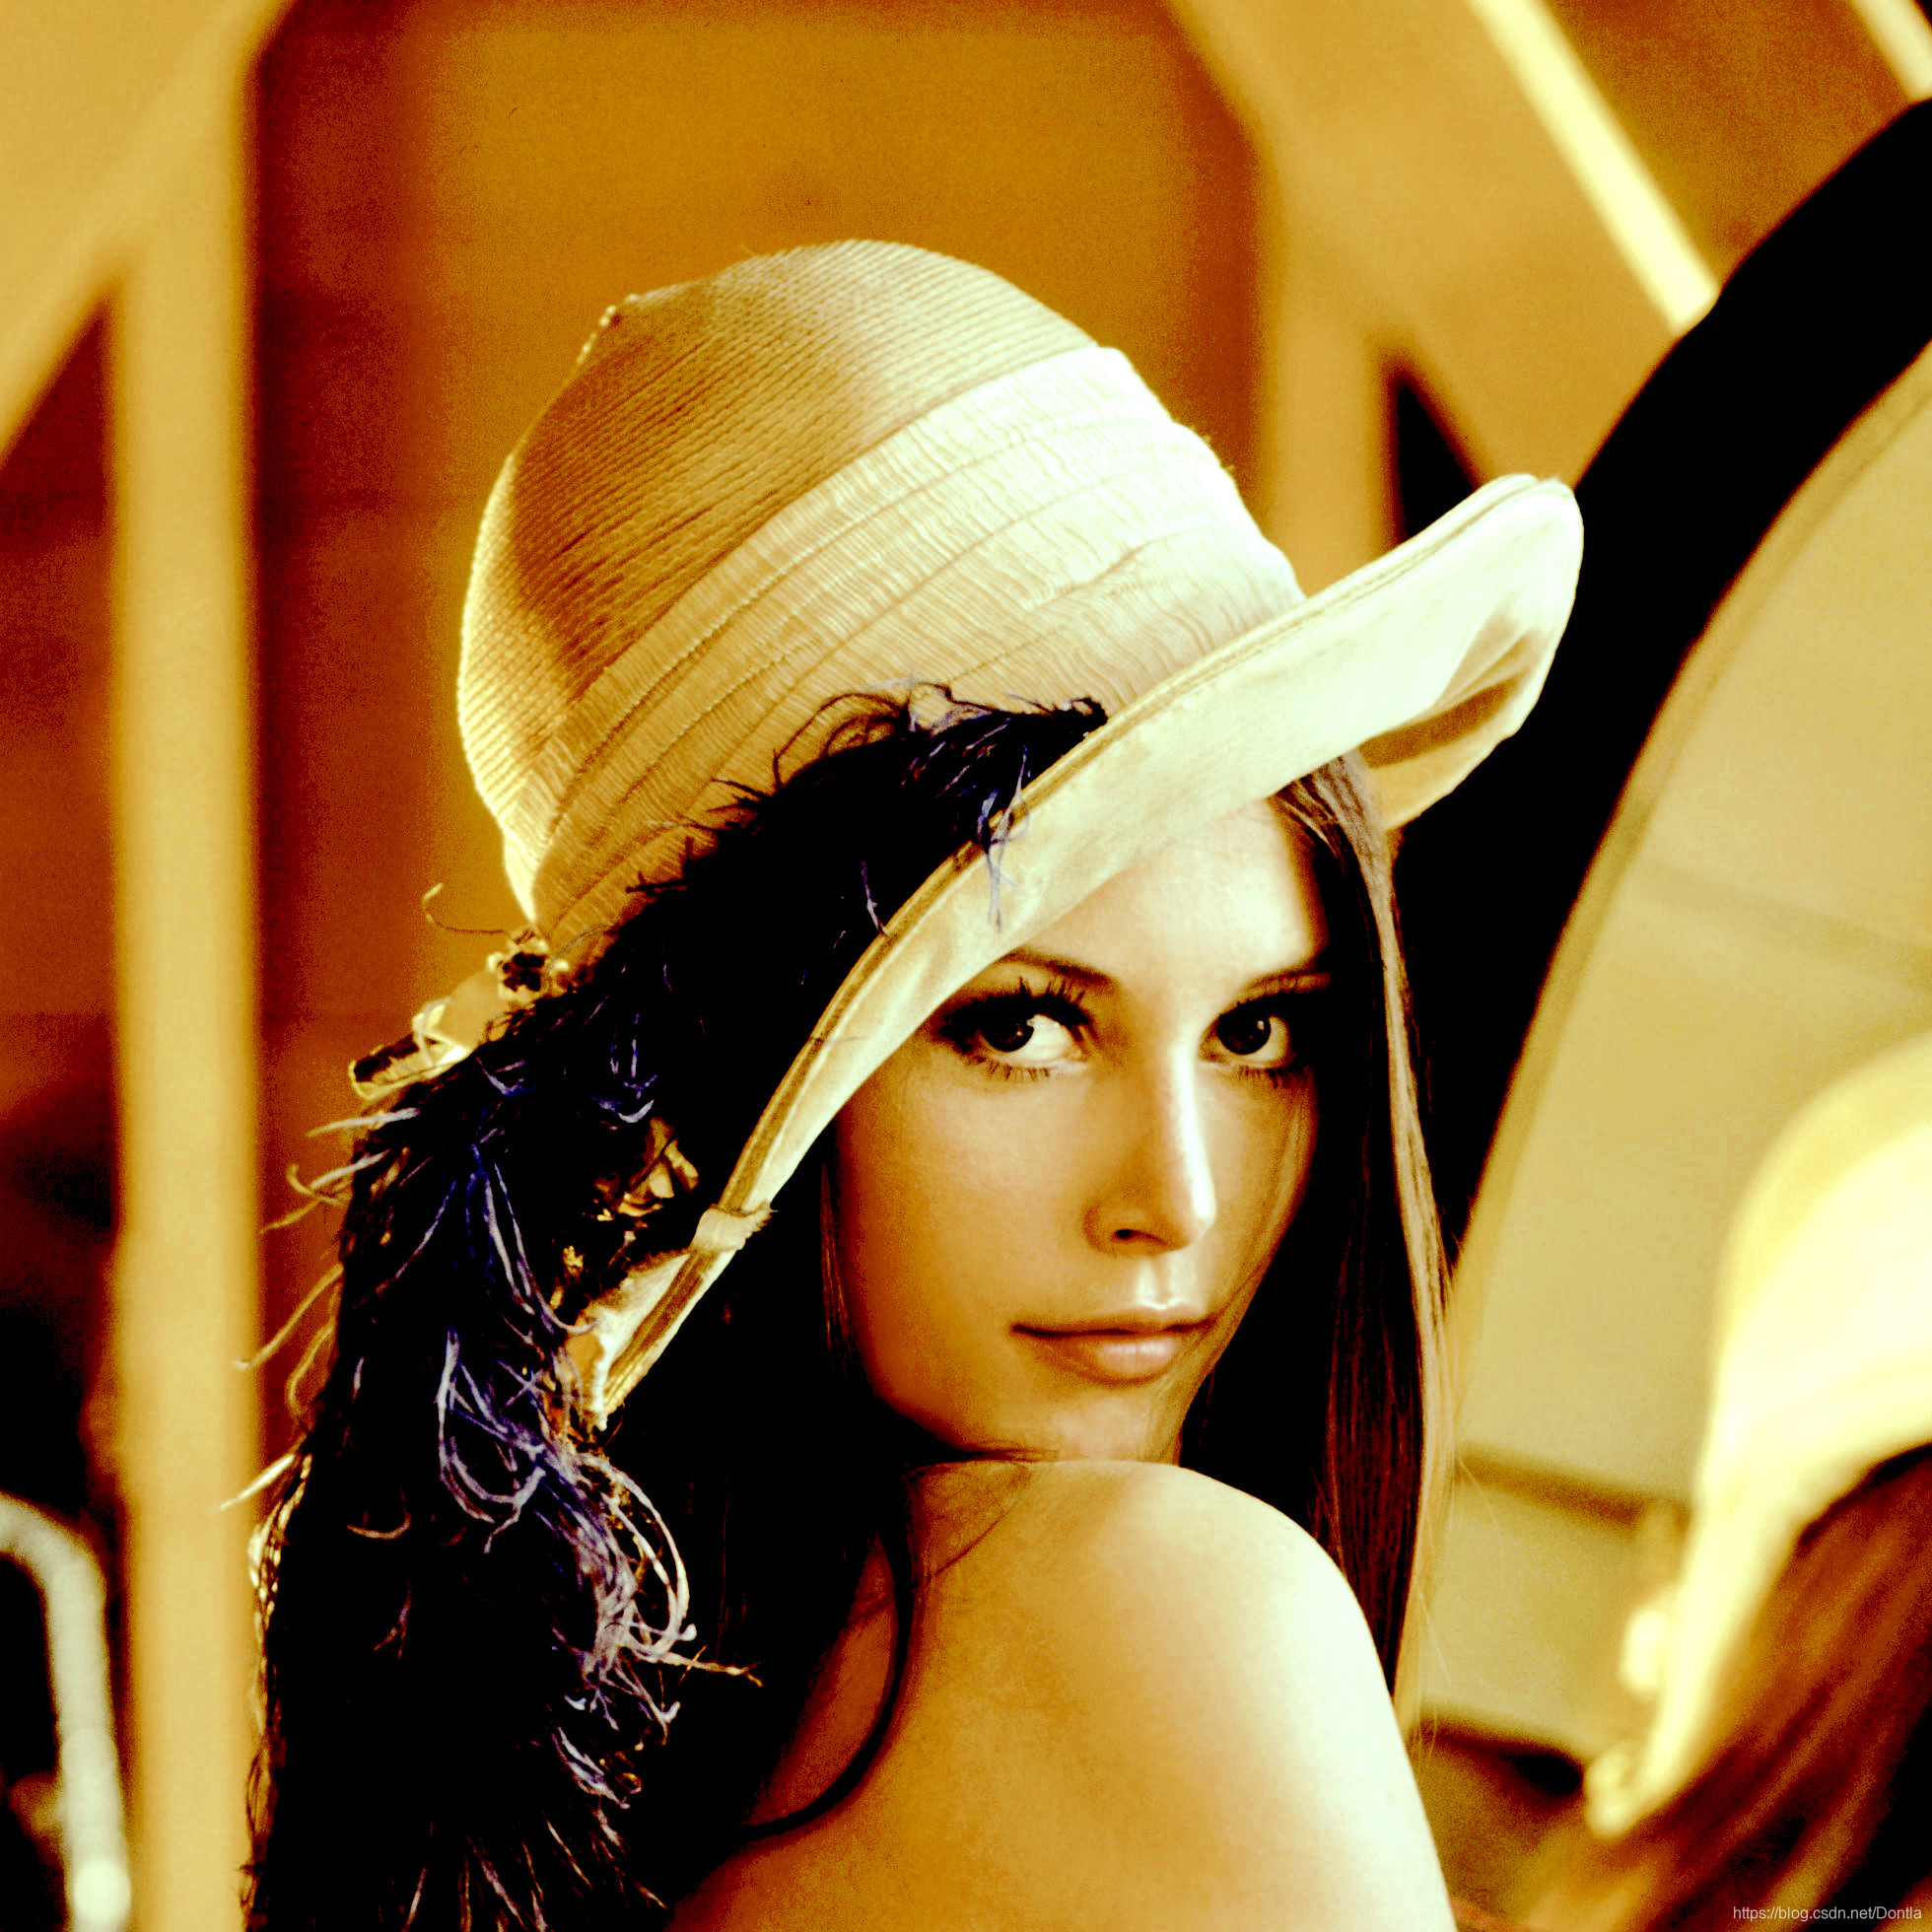
img = cv2.imread('lena_test.jpg')
# img = cv2.imread('mianhua.jpg')
img_new = img_resize(img)
print(img_new.shape)
cv2.namedWindow('win')
cv2.createTrackbar('Value of Gamma', 'win', 100, 1000, nothing)
# 创建滑块,注册回调函数 lambda x: None没有滑动时
# cv2.createTrackbar('Value of Gamma', 'win', 100, 1000, lambda x: None)
while True:
s = cv2.getTrackbarPos('Value of Gamma', 'win')
value_of_gamma = s * 0.01 # 压缩gamma范围,以进行精细调整
img_gamma = gamma_trans(img_new, value_of_gamma)
cv2.imshow('win', img_gamma)
cv2.waitKey(1)
运行结果:


参考文章1:python opencv-批量调整图片的曝光率
参考文章2:python opencv cv2.createTrackbar()方法 getTrackbarPos()方法 (创建窗口滑动条和获取滑动条当前值)
