一:方法简介
与RestTemplate 结合使用(@LoadBalanced)
通过Spring Cloud R巾bon的封装, 我们在微服务架构中使用客户端负载均衡调用非常简单, 只需要如下两步:
• 服务提供者只需要启动多个服务实例并注册到一个注册中心或是多个相关联的服务注册中心。
• 服务消费者直接通过调用被@LoadBalanced 注解修饰过的 RestTemplate 来实现面
向服务的接口调用。
这样,我们就可以将服务提供者的高可用以及服务消费者的负载均衡调用一起实现了。
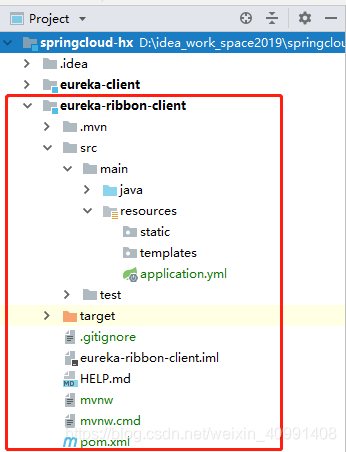
二:创建 eureka-ribbon-client 服务
2.1 在主Maven工程中创建一个新的 Module 工程,命名为eureka-ribbon-client。采用Spring Initializr 的方式的方式创建。
2.2 eureka-ribbon-client 的 pom.xml 的内容如下:
<?xml version="1.0" encoding="UTF-8"?>
<project xmlns="http://maven.apache.org/POM/4.0.0" xmlns:xsi="http://www.w3.org/2001/XMLSchema-instance"
         xsi:schemaLocation="http://maven.apache.org/POM/4.0.0 https://maven.apache.org/xsd/maven-4.0.0.xsd">
    <modelVersion>4.0.0</modelVersion>
    <parent>
        <groupId>com.springcloud</groupId>
        <artifactId>springcloud-hx</artifactId>
        <version>1.0-SNAPSHOT</version>
        <relativePath/> <!-- lookup parent from repository -->
    </parent>
    <groupId>com.example</groupId>
    <artifactId>eureka-ribbon-client</artifactId>
    <version>0.0.1-SNAPSHOT</version>
    <name>eureka-ribbon-client</name>
    <description>Demo project for Spring Boot</description>

    <properties>
        <java.version>1.8</java.version>
    </properties>

    <dependencies>
        <dependency>
            <groupId>org.springframework.cloud</groupId>
            <artifactId>spring-cloud-starter-netflix-eureka-client</artifactId>
        </dependency>
        <dependency>
            <groupId>org.springframework.cloud</groupId>
            <artifactId>spring-cloud-starter-netflix-ribbon</artifactId>
        </dependency>
        <dependency>
            <groupId>org.springframework.boot</groupId>
            <artifactId>spring-boot-starter-web</artifactId>
        </dependency>
        <dependency>
            <groupId>org.springframework.boot</groupId>
            <artifactId>spring-boot-starter-test</artifactId>
            <scope>test</scope>
        </dependency>
    </dependencies>

    <build>
        <plugins>
            <plugin>
                <groupId>org.springframework.boot</groupId>
                <artifactId>spring-boot-maven-plugin</artifactId>
            </plugin>
        </plugins>
    </build>

</project>
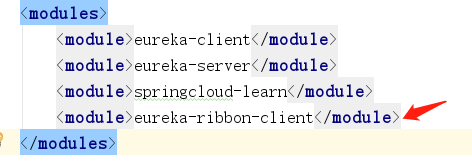
2.3 主Module 的 的 pom.xml 加上:
2.4 eureka-ribbon-client 的 配置文件 application.yml 的内容如下:
server:
  port: 8764

spring:
  #配置程序名为eureka-ribbon-client
  application:
    name: eureka-ribbon-client

eureka:
  client:
    #服务注册地址
    serviceUrl:
      #注意: Eureka Server 的注册地址
      #将服务提供者注册到三个Eureka Server中去
      #defaultZone: http://peer1:8001/eureka/,http://peer2:8002/eureka/,http://peer3:8003/eureka/
      #defaultZone: http://peer1:8001/eureka/
      defaultZone: http://localhost:8761/eureka/
2.5 在启动类上加上 @EnableDiscoveryClient 开启服务注册于发现,代码如下:
package com.example.eurekaribbonclient;

import org.springframework.boot.SpringApplication;
import org.springframework.boot.autoconfigure.SpringBootApplication;
import org.springframework.cloud.client.discovery.EnableDiscoveryClient;

//开启服务注册于发现
@EnableDiscoveryClient
@SpringBootApplication
public class EurekaRibbonClientApplication {

    public static void main(String[] args) {
        SpringApplication.run(EurekaRibbonClientApplication.class, args);
    }
}
2.6 如何将RestTemplate 和 Ribbon 相结合进行负载均衡?
- 只需要在程序的IOC容器中注入一个 RestTemplate 的 Bean,并在这个 Bean 上加上 @LoadBalanced 注解(负载均衡注解)
- 此时 RestTemplate 就结合 Ribbon 开启了负载均衡功能
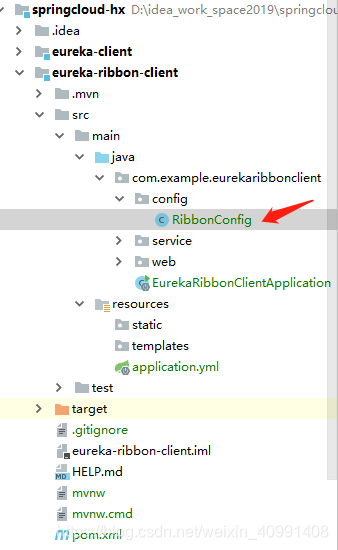
所以,我们先创建一个Ribbon 的 配置类 RibbonConfig ,代码如下:
package com.example.eurekaribbonclient.config;


import org.springframework.cloud.client.loadbalancer.LoadBalanced;
import org.springframework.context.annotation.Bean;
import org.springframework.context.annotation.Configuration;
import org.springframework.web.client.RestTemplate;

/**
 * 如何将RestTemplate 和 Ribbon 相结合进行负载均衡?
 * 只需要在程序的IOC容器中注入一个 RestTemplate 的 Bean,并在这个 Bean 上加上 @LoadBalanced 注解(负载均衡注解)
 * 此时 RestTemplate 就结合 Ribbon 开启了负载均衡功能
 *
 */

@Configuration
public class RibbonConfig {

    @Bean
    @LoadBalanced
    public RestTemplate restTemplate(){
        return new RestTemplate();
    }
}
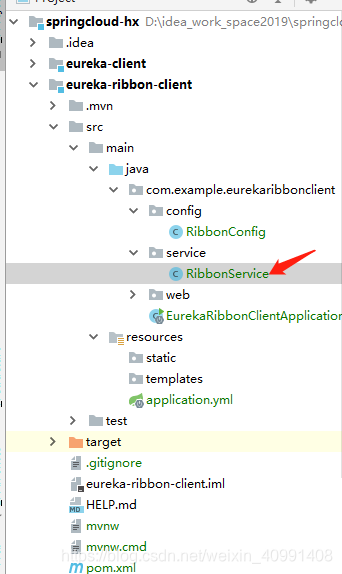
2.7 写一个 RibbonService 类,在该类的 hi() 方法 用 restTemplate 调用 eureka-client 的 API 接口,此时Uri 上不需要 硬编码 (例如 IP地址),只需要写服务名eureka-client 即可 ,代码如下:
package com.example.eurekaribbonclient.service;

import org.springframework.beans.factory.annotation.Autowired;
import org.springframework.stereotype.Service;
import org.springframework.web.client.RestTemplate;

@Service
public class RibbonService {
    @Autowired
    private RestTemplate restTemplate;

    public String helloRibbon(String name) {
        return restTemplate.getForObject("http://eureka-client/HiController/hi/" + name, String.class);
    }
}
2.8 接着写一个 RibbonController 类,代码如下:
package com.example.eurekaribbonclient.web;

import com.example.eurekaribbonclient.service.RibbonService;
import org.springframework.beans.factory.annotation.Autowired;
import org.springframework.web.bind.annotation.GetMapping;
import org.springframework.web.bind.annotation.PathVariable;
import org.springframework.web.bind.annotation.RequestMapping;
import org.springframework.web.bind.annotation.RestController;

@RestController
@RequestMapping("/RibbonController")
public class RibbonController {

   @Autowired
    private RibbonService ribbonService;

    @GetMapping("/hi/{name}")
    public String helloRibbon(@PathVariable("name") String name) {
        StringBuffer sb  = new StringBuffer();
        //模仿 50次用户请求
        for (int i=0;i<50;i++){
            if(i==49){
                sb.append(ribbonService.helloRibbon(name));
            }else {
                sb.append(ribbonService.helloRibbon(name)).append("---");
            }
        }
        return sb.toString();
    }

}
2.9 设置两个 eureka-client 的实例 ,端口分别为 8762 , 8763
具体方法参考:https://blog.csdn.net/weixin_40991408/article/details/103520154

2.10 分别启动 eureka-server , eureka-client-8762, eureka-client-8763 ,eureka-ribbon-client 服务。
浏览器访问 http://localhost:8761/
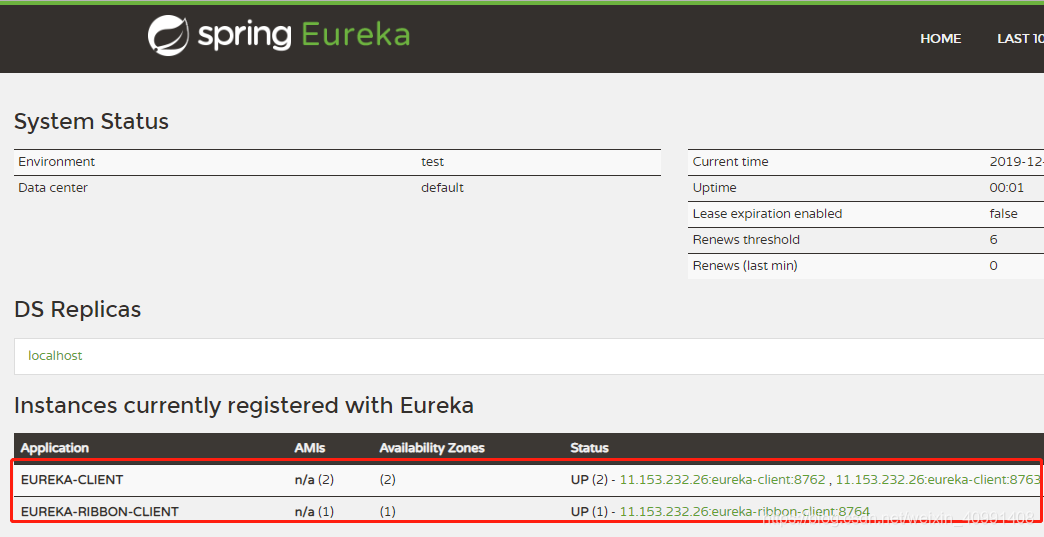
截止在浏览器上 输入 :http://localhost:8764/RibbonController/hi/java,得到结果如下:

这时可以发现,当访问 http://localhost:8764/RibbonController/hi/java 的API接口时,负载均衡器起了作用,负载均衡器会轮流地请求 eureka-client 的两个实例中的 “/hi” API接口。
