写在前面
本文主要描述了lnmp环境搭建,文章可能还有很多不足,请大家谅解,欢迎大佬提意见。
本文使用到的东西
- CentOS 7
- Nginx 1.16.1
- Mysql 5.6.46
- PHP 7.2.24
1.LNMP简介
L: linux计算机操作系统
N: nginx高性能HTTP和反向代理服务器
M: Mysql关系型数据库系统
P: PHP嵌入式脚本语言
2.安装Nginx
1.输入以下命令安装Nginx
yum install -y nginx
如果出现找不到可用软件包情况请看yum安装提示没有可用软件包
2.启动
//启动Nginx
sudo systemctl start nginx.service

//设置开机自动运行
sudo systemctl enable nginx.service
3.验证
浏览器输入你主机的地址能显示“welcome nginx”界面即可,有时候会显示“welcome of CentOS”,因为nginx默认目录下的index.html指向了welcome of CentOS的html文件。
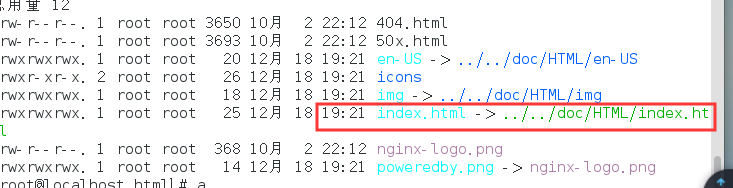
nginx安装完,具体配置这里不进行详细描述
3.安装Mysql
1.依次输入以下三条命令命令安装Mysql,安装完成会替代mariadb
wget http://repo.mysql.com/mysql-community-release-el7-5.noarch.rpm

yum -y install mysql-community-release-el7-5.noarch.rpm

yum -y install mysql-community-server
2.启动
//启动mysql
systemctl start mysqld.service
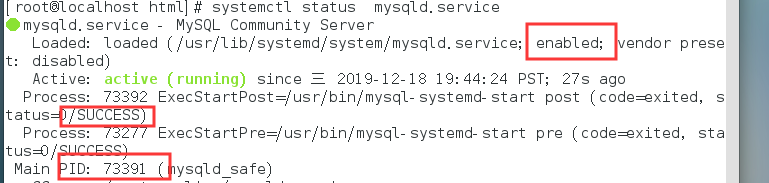
//查看运行状态
systemctl status mysqld.service
3.添加开机自启
查看mysql是否已经开机自启动了
//查看开机自启
systemctl list-unit-files|grep enabled
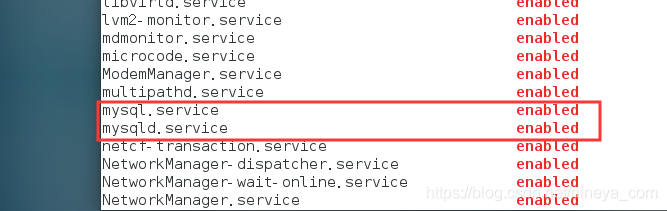
如果没有开机自启动输入以下命令添加
sudo systemctl enable mysql.service
sudo systemctl enable mysqld.service
4.查看密码
grep 'temporary password' /var/log/mysqld.log
5.修改密码
我这里出现过log文件中没有密码的情况,如果没有密码,在等时直接回车跳过密码输入即可
//登录mysql,输入刚才查看到的密码
mysql -uroot -p

//修改密码
set password for root@localhost = password('361654768');
6.允许所有ip访问
//让防火墙通过mysql的3306端口
sudo firewall-cmd --zone=public --add-port=3306/tcp --permanent

//重启防火墙生效配置
service firewalld restart

//修改权限
grant all privileges on *.* to root@'%' identified by 'root';

//使修改生效
FLUSH PRIVILEGES;
4.安装PHP
1.安装
//添加php的源
yum localinstall https://mirror.webtatic.com/yum/el7/webtatic-release.rpm

//安装php及其插件
yum -y install php72w php72w-cli php72w-common php72w-devel php72w-embedded php72w-fpm php72w-gd php72w-mbstring php72w-mysqlnd php72w-opcache php72w-pdo php72w-xml
2.启动
//启动php
systemctl start php-fpm

//查看版本
php -v

//添加开机自启动
sudo systemctl enable php-fpm.service
5.Nginx代理PHP
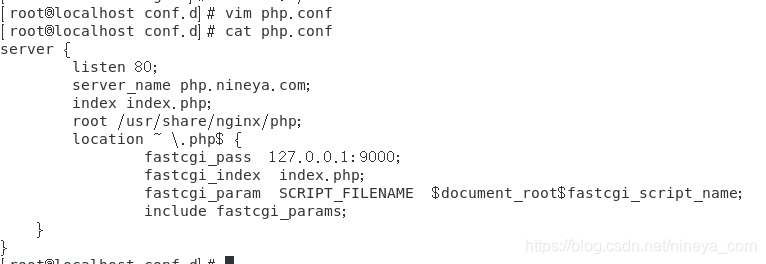
1.在“/etc/nginx/conf.d”目录下新建一个“php.conf”文件,添加以下内容
server {
        listen 80;
        server_name php.nineya.com;
        index index.php;
        root /usr/share/nginx/php;
        location ~ \.php$ {
                fastcgi_pass  127.0.0.1:9000;
                fastcgi_index  index.php;
                fastcgi_param  SCRIPT_FILENAME  $document_root$fastcgi_script_name;
                include fastcgi_params;
    }
}
2.重启nginx生效配置
//验证配置的正确性
nginx -t

//重启nginx
sudo systemctl restart nginx.service

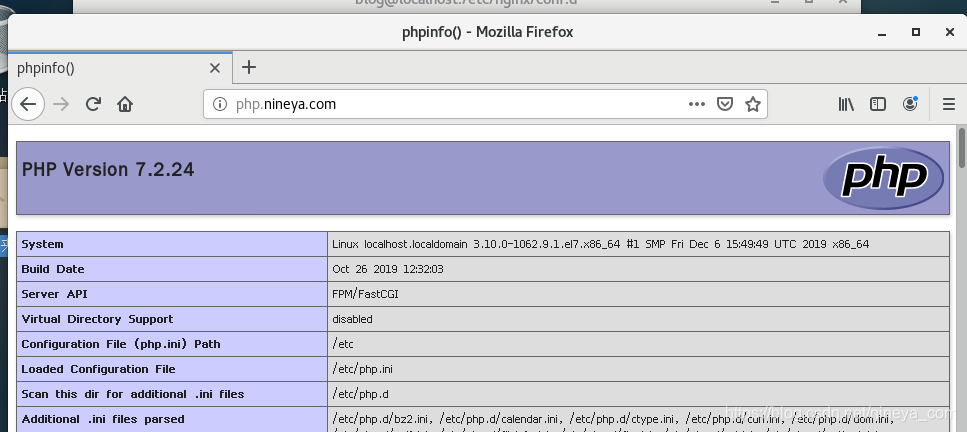
3.在“/usr/share/nginx”目录下新建一个“php”目录,在“php”目录下新建“index.php”文件,在文件中添加以下内容。
<?php phpinfo(); ?>
4.防火墙开放80端口
//让防火墙通过mysql的3306端口
sudo firewall-cmd --zone=public --add-port=80/tcp --permanent

//重启防火墙生效配置
service firewalld restart
5.如果你在虚拟机的centOS上进行的以上操作,需要修改要访问网页的设备的hosts文件,让指定的域名指向虚拟机的ip
//修改hosts文件
vim /etc/hosts

//添加以下内容
虚拟机ip php.conf中设置的域名

如:
192.168.138.9 php.nineya.com
6.总结
关于LNMP环境搭建就描述到这里,总体步骤比较多,可能有些地方不够详细,实际安装时会有一些奇奇怪怪的问题,有不清楚的地方欢迎评论留言,看到的我都会回复的。本文到此结束,有什么不足的地方请大家不吝指正。
