一、SpringCloud_eureka_server
1、导入依赖


 <dependencies>
        <dependency>
            <groupId>junit</groupId>
            <artifactId>junit</artifactId>
            <version>4.11</version>
            <scope>test</scope>
        </dependency>
        <!--eureka依赖-->
        <dependency>
            <groupId>org.springframework.cloud</groupId>
            <artifactId>spring-cloud-starter-netflix-eureka-server</artifactId>
        </dependency>
    </dependencies>
    <dependencyManagement>
        <dependencies>
            <!--springCloud依赖-->
            <dependency>
                <groupId>org.springframework.cloud</groupId>
                <artifactId>spring-cloud-dependencies</artifactId>
                <version>Greenwich.RELEASE</version>
                <type>pom</type>
                <scope>import</scope>
            </dependency>
        </dependencies>
    </dependencyManagement>
(注意!如果这里自动生成的不是这样的,改成以下这样就行了)

2、配置application.yml文件
##应用名称
spring:
  application:
    name: eureka-server
    ##声明当前eurekaserver的端口号
server:
  port: 8888
##配置eureka
eureka:
  client:
    ##代表是否将自己注册到注册中心去
    register-with-eureka: false
    ##表明自己是注册中心
    fetch-registry: false
    ##配置地址
    service-url:
      defaultZone: http://localhost:8888/eureka
3.启动类
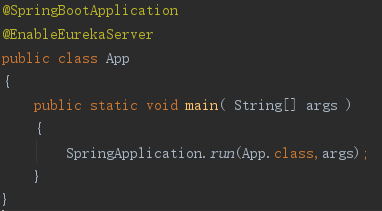
4.效果图

二、生产者与消费者
1、SpringCloud_eureka_provider(生产者项目)
(1)导入依赖
<dependencies>
        <dependency>
            <groupId>junit</groupId>
            <artifactId>junit</artifactId>
            <version>4.11</version>
            <scope>test</scope>
        </dependency>
        <!--eureka依赖-->
        <dependency>
            <groupId>org.springframework.cloud</groupId>
            <artifactId>spring-cloud-starter-netflix-eureka-server</artifactId>
        </dependency>
        <dependency>
            <groupId>org.springframework.cloud</groupId>
            <artifactId>spring-cloud-starter-feign</artifactId>
            <version>1.3.5.RELEASE</version>
        </dependency>
        <dependency>
            <groupId>org.springframework.boot</groupId>
            <artifactId>spring-boot-starter-web</artifactId>
        </dependency>
    </dependencies>
    <dependencyManagement>
        <dependencies>
            <!--springCloud依赖-->
            <dependency>
                <groupId>org.springframework.cloud</groupId>
                <artifactId>spring-cloud-dependencies</artifactId>
                <version>Greenwich.RELEASE</version>
                <type>pom</type>
                <scope>import</scope>
            </dependency>
        </dependencies>
    </dependencyManagement>
(注意!如果这里自动生成的不是这样的,改成以下这样就行了)
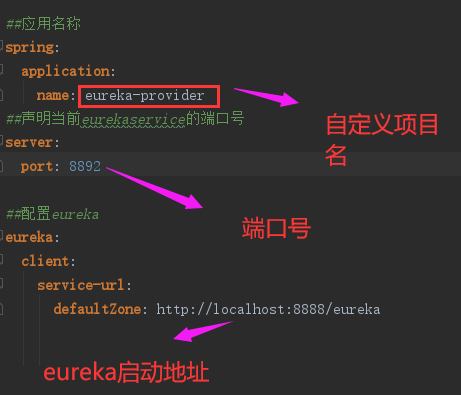
(2)配置application.yml文件
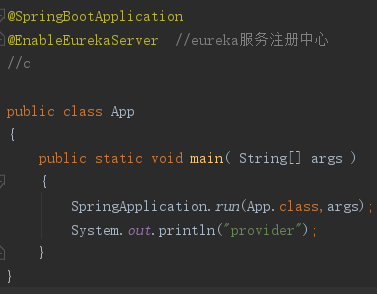
(3)启动类
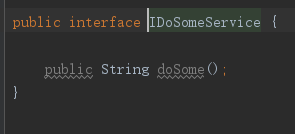
(4)创建Service层
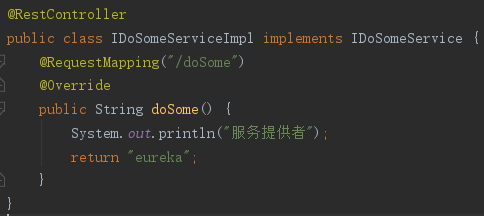
(5)创建ServiceImpl层
2、SpringCloud_eureka_consumer(生产者项目)
(1)导入依赖
  <parent>
        <groupId>org.springframework.boot</groupId>
        <artifactId>spring-boot-starter-parent</artifactId>
        <version>2.1.4.RELEASE</version>
    </parent>
    <modelVersion>4.0.0</modelVersion>

    <artifactId>springcloud_eureka_consumer</artifactId>

    <name>springcloud_eureka_consumer</name>
    <!-- FIXME change it to the project's website -->
    <url>http://www.example.com</url>

    <properties>
        <project.build.sourceEncoding>UTF-8</project.build.sourceEncoding>
        <maven.compiler.source>1.7</maven.compiler.source>
        <maven.compiler.target>1.7</maven.compiler.target>
    </properties>

    <dependencies>
        <dependency>
            <groupId>junit</groupId>
            <artifactId>junit</artifactId>
            <version>4.11</version>
            <scope>test</scope>
        </dependency>
        <!--eureka依赖-->
        <dependency>
            <groupId>org.springframework.cloud</groupId>
            <artifactId>spring-cloud-starter-netflix-eureka-server</artifactId>
        </dependency>
        <dependency>
            <groupId>org.springframework.boot</groupId>
            <artifactId>spring-boot-starter-web</artifactId>
        </dependency>
        <dependency>
            <groupId>org.springframework.cloud</groupId>
            <artifactId>spring-cloud-starter-openfeign</artifactId>
        </dependency>
        <dependency>
            <groupId>org.springframework.cloud</groupId>
            <artifactId>spring-cloud-starter-ribbon</artifactId>
        </dependency>

    </dependencies>
    <dependencyManagement>
        <dependencies>
            <!--springCloud依赖-->
            <dependency>
                <groupId>org.springframework.cloud</groupId>
                <artifactId>spring-cloud-dependencies</artifactId>
                <version>Greenwich.RELEASE</version>
                <type>pom</type>
                <scope>import</scope>
            </dependency>
        </dependencies>
    </dependencyManagement>
(2)配置application.yml文件

(3)创建Controller层
(4)启动类
效果:

三、实现负载均衡
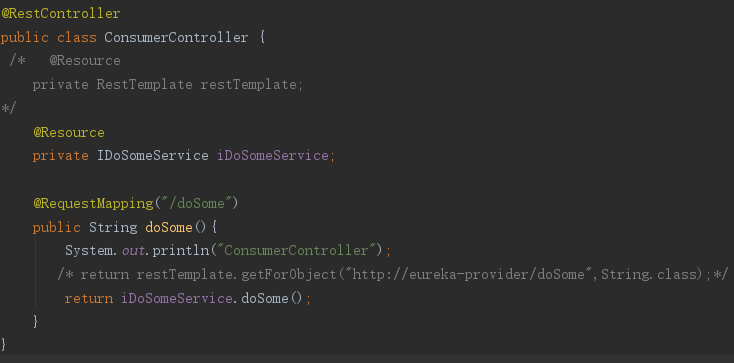
1、更改Controller层的访问地址

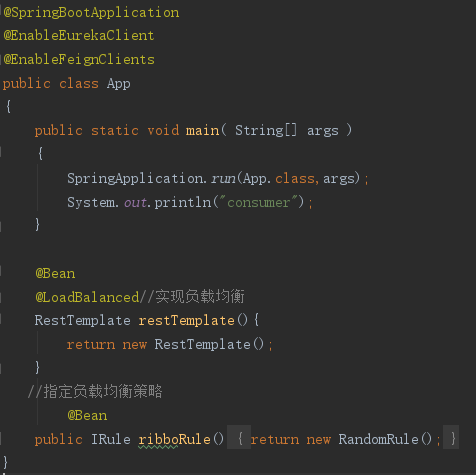
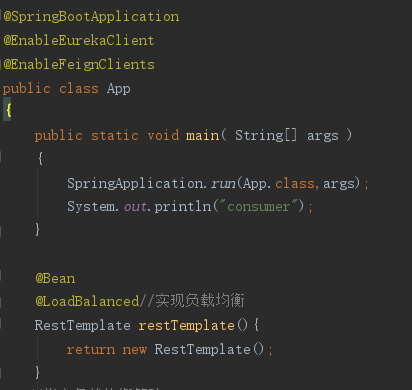
2.启动类
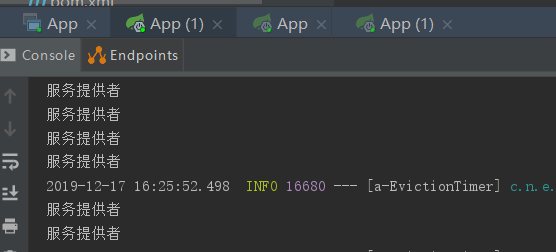
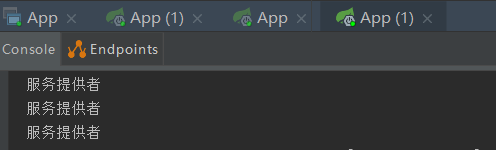
3、实现效果如下
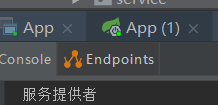
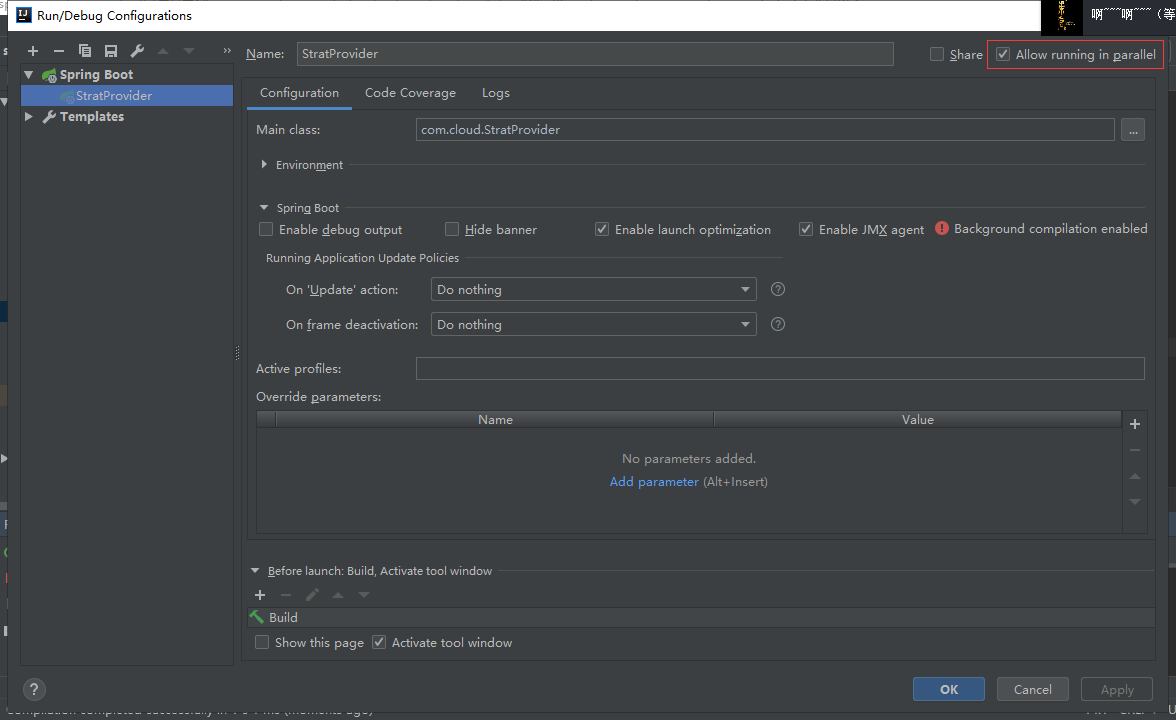
勾选上此选项即可启动多个端口
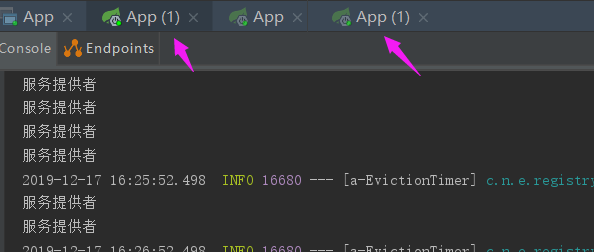
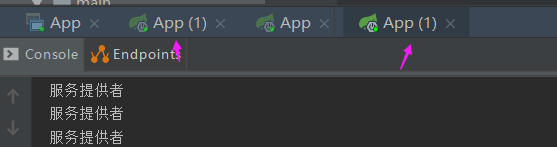
生产者启动两个或两个以上端口访问
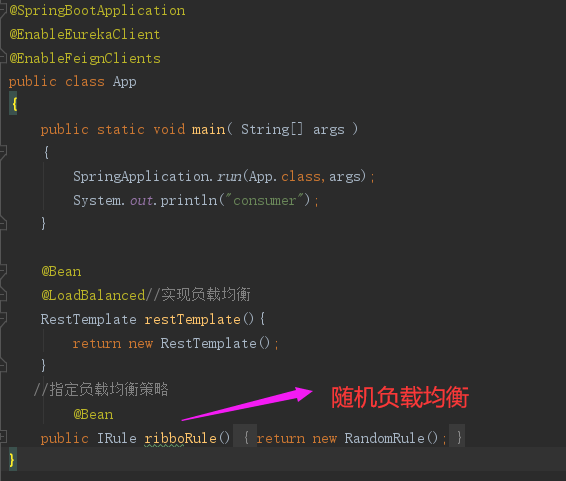
指定负载均衡策略
四、Feign负载均衡策略
1、导入依赖
<!--导入feign依赖-->
    <dependency>
      <groupId>org.springframework.cloud</groupId>
      <artifactId>spring-cloud-starter-openfeign</artifactId>
    </dependency>
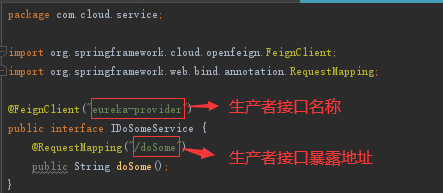
2、创建Service层(生产者接口名称不可有下划线)
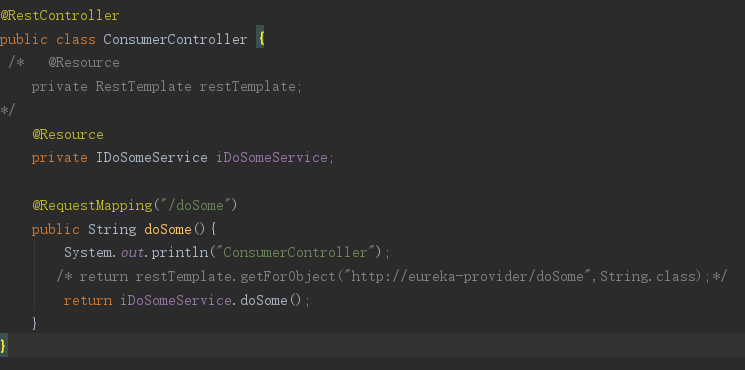
3、Controller层
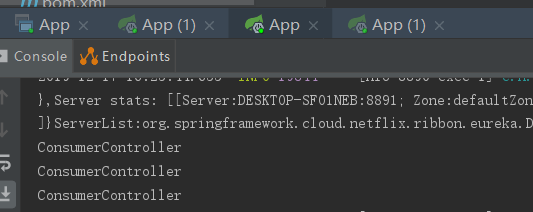
5、实现效果如下
同样至少启动两个访问端口

总共访问3此次,第一个端口走两次,第二个端口走一次(轮训机制)