一、SpringCloud_eureka_server
1、导入依赖
 <!--SpringBoot节点-->
    <parent>
        <groupId>org.springframework.boot</groupId>
        <artifactId>spring-boot-starter-parent</artifactId>
        <version>2.2.2.RELEASE</version>
        <relativePath/> <!-- lookup parent from repository -->
    </parent>
<!--eureka依赖-->
        <dependency>
            <groupId>org.springframework.cloud</groupId>
            <artifactId>spring-cloud-starter-netflix-
                eureka-server</artifactId>
        </dependency>
  <dependencyManagement>
        <dependencies>

            <!--springCloud依赖-->
            <dependency>
                <groupId>org.springframework.cloud</groupId>
                <artifactId>spring-cloud-dependencies</artifactId>
                <version>Greenwich.RELEASE</version>
                <type>pom</type>
                <scope>import</scope>
            </dependency>

            <dependency>
                <groupId>org.springframework.cloud</groupId>
                <artifactId>spring-cloud-dependencies</artifactId>
                <version>${spring-cloud.version}</version>
                <type>pom</type>
                <scope>import</scope>
            </dependency>

        </dependencies>

    </dependencyManagement>
2、配置application.yml文件
###应用名称
spring:
  application:
    name: eureka-server
###声明当前eurekaserver的端口号
server:
  port: 8888
###配置eureka
eureka:
  client:
    ###代表是否将自己注册到注册中心去
    register-with-eureka: false
    ###表明自己是注册中心
    fetch-registry: false
    ###配置地址
    service-url:
      defaultZone: http://localhost:8888/eureka
3、创建启动类
package com.cloud;

import org.springframework.boot.SpringApplication;
import org.springframework.boot.autoconfigure.SpringBootApplication;
import org.springframework.cloud.netflix.eureka.server.EnableEurekaServer;

@SpringBootApplication
@EnableEurekaServer
public class StartEurekaServer {
    public static void main(String[] args){
        SpringApplication.run(StartEurekaServer.class,args);
    }
}
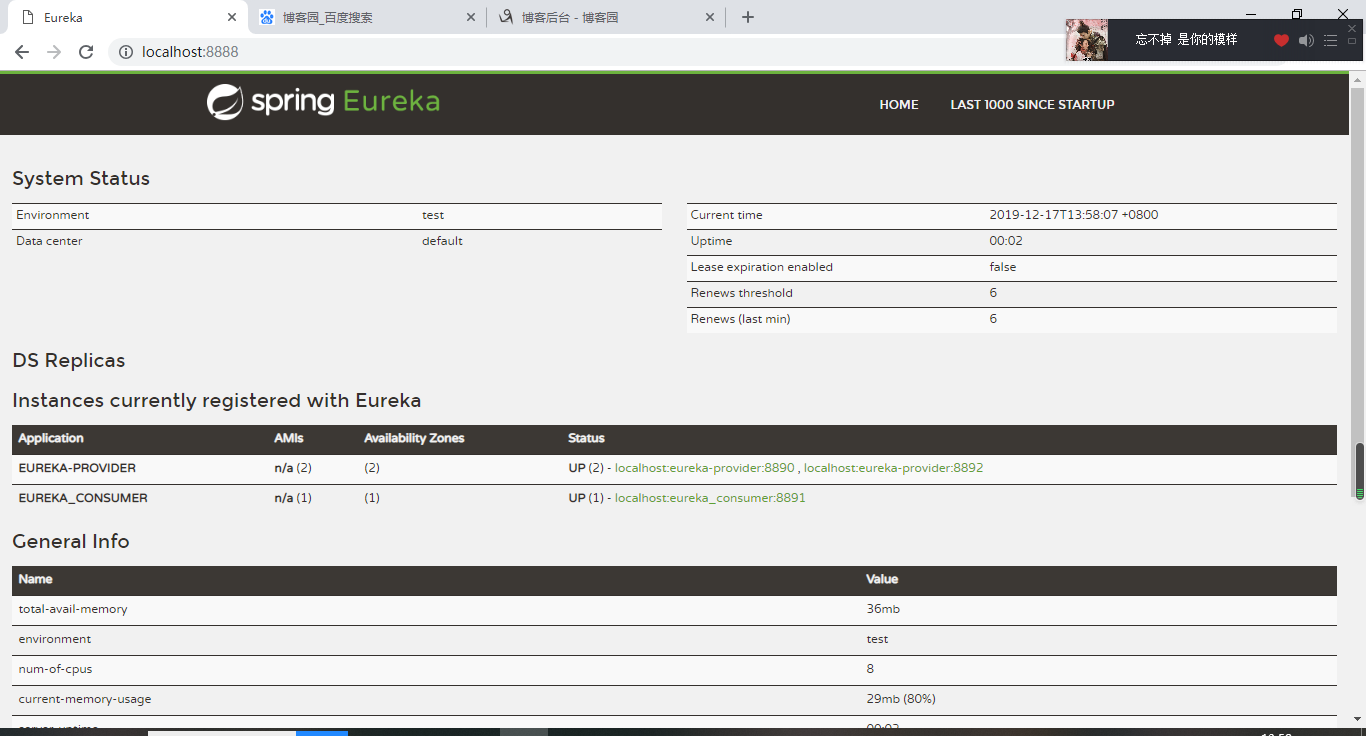
4、实现效果如下
二、生产者与消费者
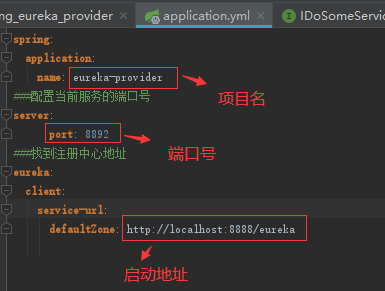
1、SpringCloud_eureka_provider(生产者项目)
(1)导入依赖
 <!--SpringBoot节点-->
    <parent>
        <groupId>org.springframework.boot</groupId>
        <artifactId>spring-boot-starter-parent</artifactId>
        <version>2.2.2.RELEASE</version>
        <relativePath/> <!-- lookup parent from repository -->
    </parent>
<!--eureka依赖-->
        <dependency>
            <groupId>org.springframework.cloud</groupId>
            <artifactId>spring-cloud-starter-netflix-
                eureka-server</artifactId>
        </dependency>
  <dependencyManagement>
        <dependencies>

            <!--springCloud依赖-->
            <dependency>
                <groupId>org.springframework.cloud</groupId>
                <artifactId>spring-cloud-dependencies</artifactId>
                <version>Greenwich.RELEASE</version>
                <type>pom</type>
                <scope>import</scope>
            </dependency>

            <dependency>
                <groupId>org.springframework.cloud</groupId>
                <artifactId>spring-cloud-dependencies</artifactId>
                <version>${spring-cloud.version}</version>
                <type>pom</type>
                <scope>import</scope>
            </dependency>

        </dependencies>

    </dependencyManagement>
(2)配置application.yml文件
(3)创建启动类
package com.cloud;

import org.springframework.boot.SpringApplication;
import org.springframework.boot.autoconfigure.SpringBootApplication;
import org.springframework.cloud.netflix.eureka.EnableEurekaClient;

@SpringBootApplication
@EnableEurekaClient
public class StratProvider {
    public static void main(String[] args){
        SpringApplication.run(StratProvider.class,args);
    }
}
(4)创建Service层
package com.cloud.service;

public interface IDoSomeService {
    public String doSome();
}
(5)创建ServiceImpl层
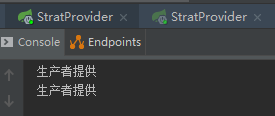
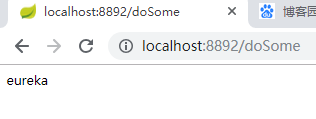
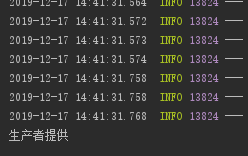
package com.cloud.service.impl;

import com.cloud.service.IDoSomeService;
import org.springframework.web.bind.annotation.RequestMapping;
import org.springframework.web.bind.annotation.RestController;

@RestController
public class IDoSomeServiceImpl implements IDoSomeService {
    @RequestMapping("/doSome")
    @Override
    public String doSome() {
        System.out.println("生产者提供");
        return "eureka";
    }
}
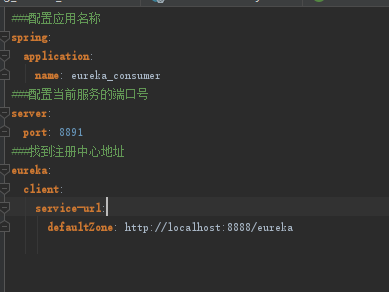
2、SpringCloud_eureka_consumer(生产者项目)
(1)导入依赖
同生产者一样的依赖
(2)配置application.yml文件
(3)创建Controller层
package com.cloud.controller;

import com.cloud.service.IDoSomeService;
import org.springframework.web.bind.annotation.RequestMapping;
import org.springframework.web.bind.annotation.RestController;

import javax.annotation.Resource;

@RestController
public class ConsumerController {
    @Resource
    private RestTemplate restTemplate;
 @RequestMapping("/doSome")
    public String doSome(){
        System.out.println("消费者提供");
        return restTemplate.getForObject("http://
@RequestMapping("/doSome")
public String doSome(){
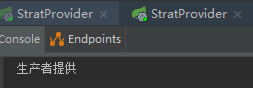
System.out.println("消费者提供");
return restTemplate.getForObject("http://localhost:8888/doSome",String.class);
}
/doSome",String.class); } }
(4)创建启动类
package com.cloud;

import com.netflix.loadbalancer.IRule;
import com.netflix.loadbalancer.RandomRule;
import org.springframework.cloud.client.loadbalancer.LoadBalanced;
import org.springframework.context.annotation.Bean;
import org.springframework.web.client.RestTemplate;
@SpringBootApplication
@EnableEurekaClient
@EnableFeignClients
public class StratConsumer {
    public static void main(String[] args){
        SpringApplication.run(StratConsumer.class,args);
    }


    @Bean
    @LoadBalanced   //实现负载均衡
    RestTemplate restTemplate(){
        return new RestTemplate();
    }
}
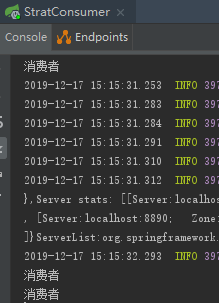
(5)启动效果如下

三、实现负载均衡
1、更改Controller层的访问地址

2、启动类如下
package com.cloud;

import com.netflix.loadbalancer.IRule;
import com.netflix.loadbalancer.RandomRule;
import org.springframework.boot.SpringApplication;
import org.springframework.boot.autoconfigure.SpringBootApplication;
import org.springframework.cloud.client.loadbalancer.LoadBalanced;
import org.springframework.cloud.netflix.eureka.EnableEurekaClient;
import org.springframework.cloud.openfeign.EnableFeignClients;
import org.springframework.context.annotation.Bean;
import org.springframework.web.client.RestTemplate;

@SpringBootApplication
@EnableEurekaClient
@EnableFeignClients
public class StratConsumer {
    public static void main(String[] args){
        SpringApplication.run(StratConsumer.class,args);
    }

    @Bean
    @LoadBalanced   //实现负载均衡
    RestTemplate restTemplate(){
        return new RestTemplate();
    }
}
3、实现效果如下
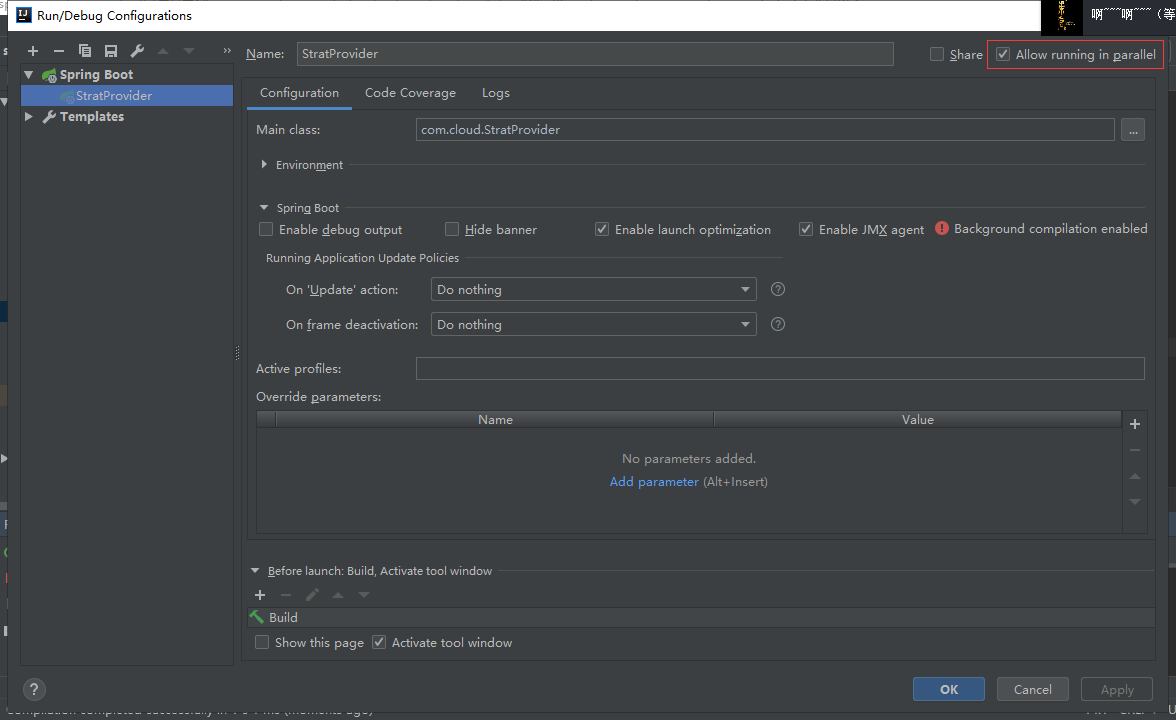
勾选上此选项即可启动多个端口
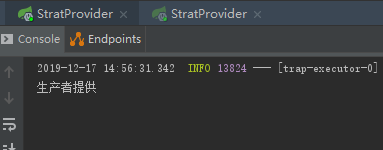
生产者启动两个或两个以上端口访问


总共访问3此次,第一个端口走两次,第二个端口走一次(默认轮训机制)

4、指定负载均衡策略

四、Feign负载均衡策略
1、导入依赖
<!--导入feign依赖-->
    <dependency>
      <groupId>org.springframework.cloud</groupId>
      <artifactId>spring-cloud-starter-openfeign</artifactId>
    </dependency>
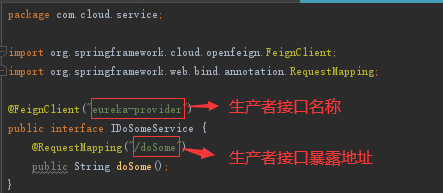
2、创建Service层(生产者接口名称不可有下划线)
3、Controller层
package com.cloud.controller;

import com.cloud.service.IDoSomeService;
import org.springframework.web.bind.annotation.RequestMapping;
import org.springframework.web.bind.annotation.RestController;
import org.springframework.web.client.RestTemplate;

import javax.annotation.Resource;

@RestController
public class ConsumerController {
@RestController
public class ConsumerController {
   /* @Resource
    private RestTemplate restTemplate;*/
    @Resource
    private IDoSomeService iDoSomeService;
@RequestMapping("/doSome")
    public String doSome(){
        System.out.println("消费者");
        return iDoSomeService.doSome();
    }
}
4、启动类
@SpringBootApplication
@EnableEurekaClient
@EnableFeignClients
public class StratConsumer {
    public static void main(String[] args){
        SpringApplication.run(StratConsumer.class,args);
    }
}
5、实现效果如下
同样至少启动两个访问端口


总共访问3此次,第一个端口走两次,第二个端口走一次(轮训机制)