https://docs.nvidia.com/jetson/archives/jetpack-archived/jetpack-33/index.html#jetpack/3.3/introduction.htm%3FTocPath%3D_____1
Download and Install JetPack
This document is intended to help you get familiar with installing JetPack, using the tools, and running sample code.
System Requirements
Host Platform:
- Ubuntu Linux x64 v16.04
Note that a valid Internet connection and at least 10GB of disk space is needed for the complete installation of JetPack.
Target Platform:
- One of the following developer kits:
- Jetson TX2
- Jetson TX2i
- Jetson TX1
- Additional target requirements:
- USB Micro-B cable connecting Jetson to your Linux host for flashing.
- (Not included in the developer kit) To connect USB peripherals such as keyboard, mouse, and [optional] USB/Ethernet adapter (for network connection), a USB hub could be connected to the USB port on the Jetson system.
- An HDMI cable plugged into the HDMI port on Jetson Developer Kit, which is connected to an external HDMI display.
- An Ethernet cable plugged into the on-board Ethernet port, which is connected to either a secondary network card on your Linux host or the same network router providing internet access for the Linux host.
Download the Latest JetPack Version
The latest version of JetPack is available in the NVIDIA Embedded Developer Zone at:
All available JetPack downloads can be found at:
Downloading JetPack
- On the host machine running Ubuntu, create a new directory to store installation packages.
- Download
JetPack-${VERSION}.runinto the new directory on the host Ubuntu machine.
Avoid running or installing JetPack in a path that contains a "." Paths that contain a "." are known to cause installation issues.

Installing JetPack
JetPack runs on the host Ubuntu x86_64 machine and sets up your development environment and Jetson Development Kit target via remote access. Please refer to the System Requirements section for supported hardware configurations.
The following instructions assume you have downloaded the latest JetPack version, JetPack-${VERSION}.run, where ${VERSION} refers to the version string for the installer you have.
- Add exec permission for the
JetPack-${VERSION}.runchmod +x JetPack-${VERSION}.run - Run
JetPack-${VERSION}.runin terminal on your host Ubuntu machine.
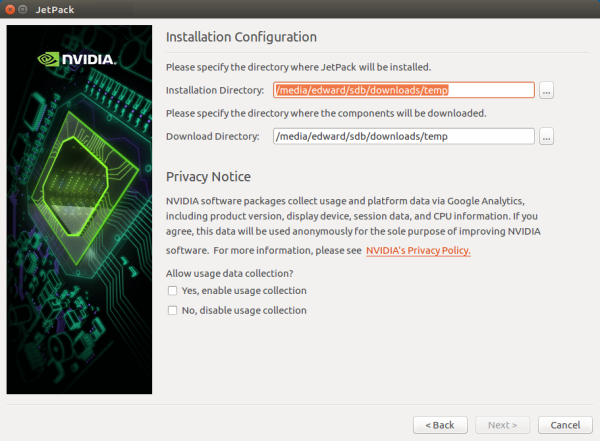
- Next, the JetPack installer will indicate the installation directory. In the Privacy Notice section, select whether or not to enable data collection.
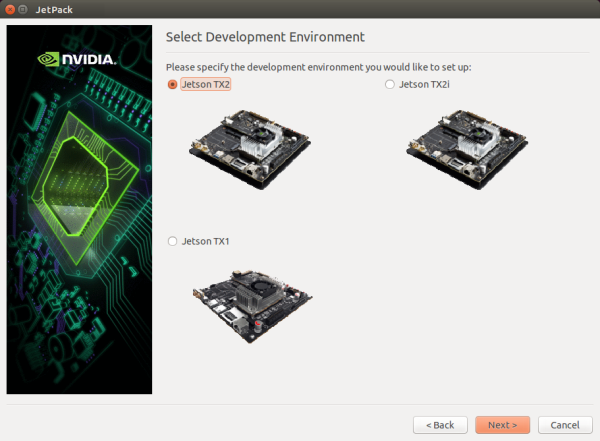
- Select the development environment to setup.
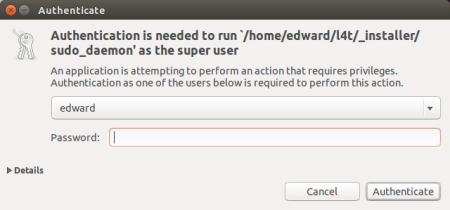
- The JetPack installer will pop up a window to ask for permission to use during the installation process; you will need to enter your sudo password here.
- The Component Manager opens, which allows you to customize which components to install. Select the Jetson Developer Kit you would like to develop for to customize the installation components for each device.
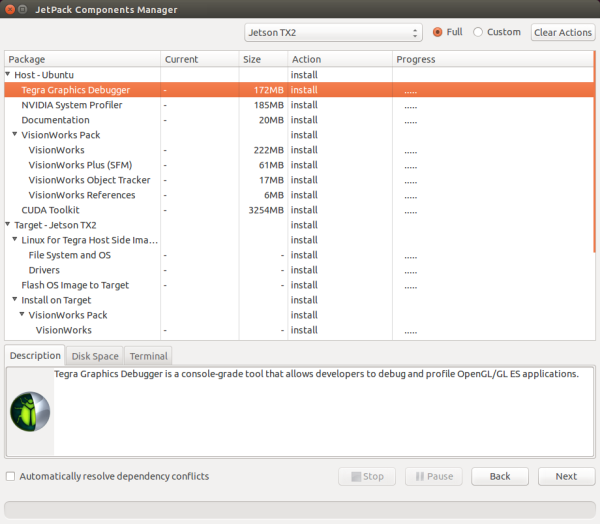

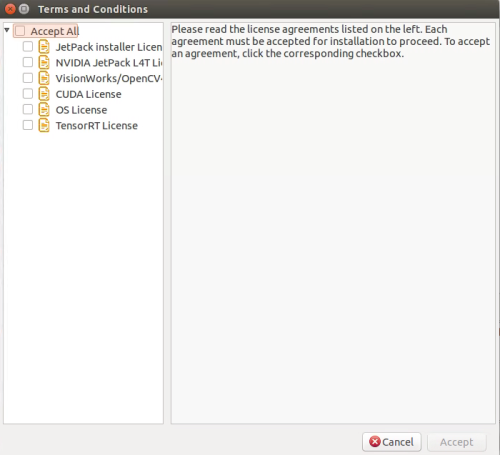
NOTE: To run a standalone Ubuntu install, deselect Jetson target specific entries. - Accept the license agreement for the selected components.
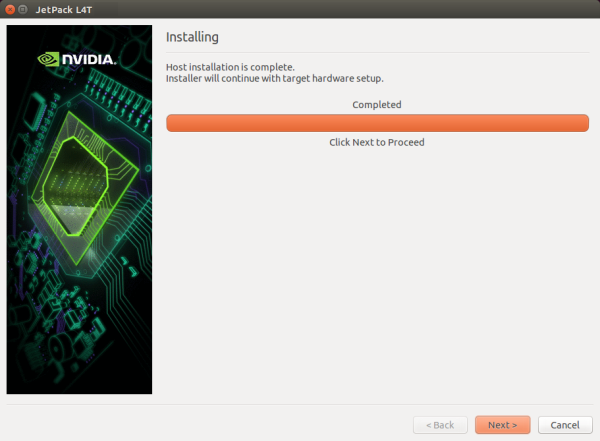
- The Component Manager will proceed with the installation. Once the host installation steps are completed, click the Next button to continue with the installation of target components.
NOTE: JetPack will now proceed with setting up the Jetson Developer Kit target, if the corresponding components were selected (i.e., flashing the OS and pushing components to the Jetson Developer Kit target). - If you de-selected Flash OS in the Component Manager, you will need to enter the IP address, user name, and password to set up an ssh connection to the target device.
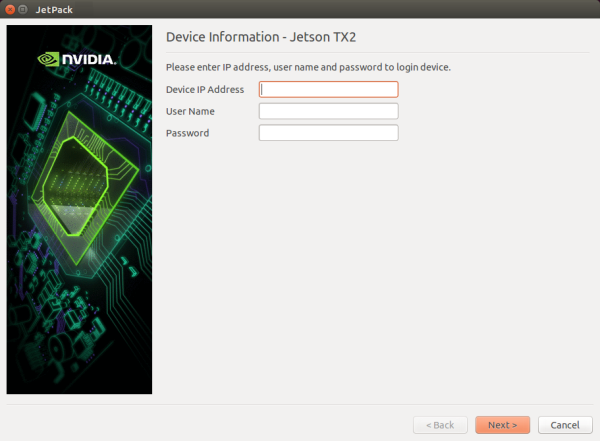
After you enter the required information and click Next, JetPack will begin installing components on the target device.
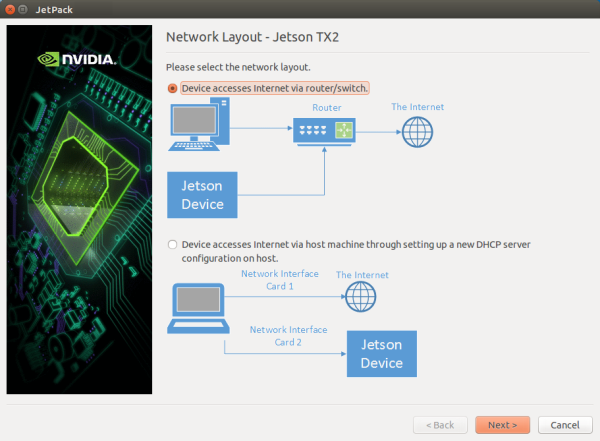
- If you selected Flash OS in the Component Manager, you will need to select the network layout for your specific environment.
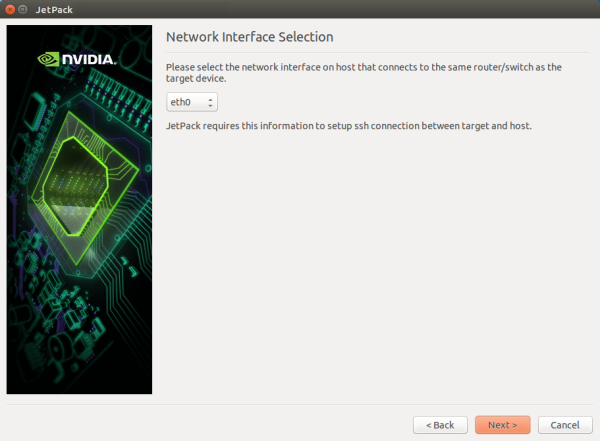
- If you selected the Device access Internet via router/switch layout, you will be asked to select which interface to use for Internet access.
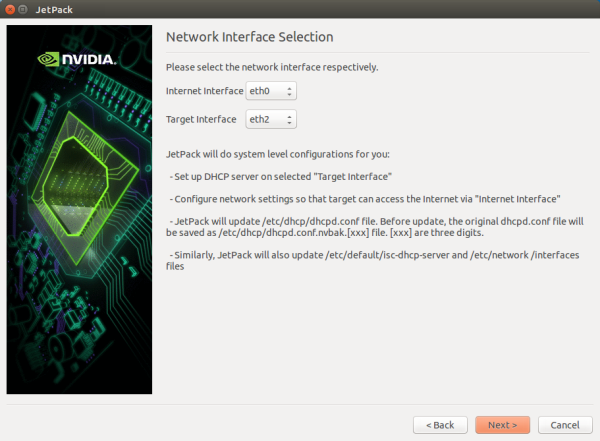
- If you selected the Device get IP assigned by DHCP server on host and access Internet via host machine layout, you must select which interface is to be used for Internet access, and which is to be used for the target interface.
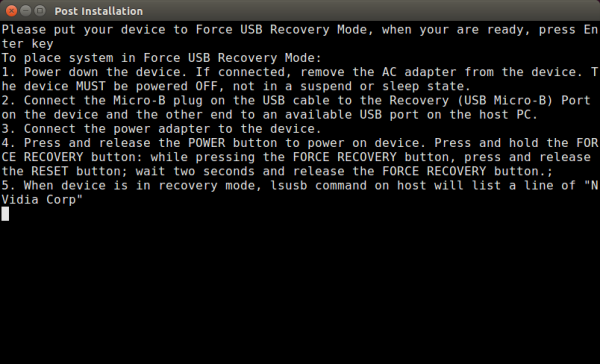
- A pop-up window will instruct you to put your device into Force USB Recovery Mode, so you can flash the OS.
- Next, you will be prompted to install components on the specific target machine, and to compile samples.
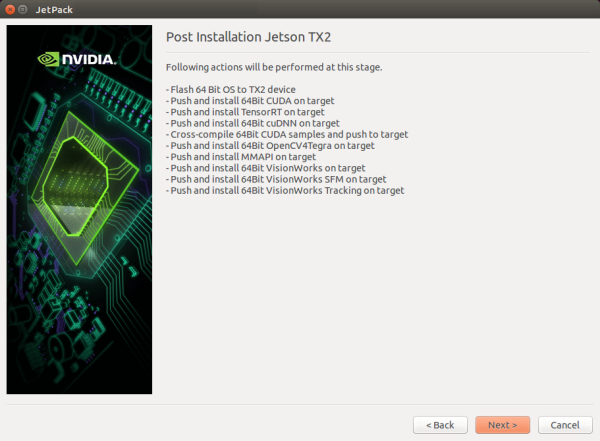
- After the post installation tasks have been completed, the installation will be complete.

Compiling Samples
JetPack automatically compiles all samples, if Compile Samples was checked during the component selection portion of the installation. CUDA samples can be found in the following directory:
<JetPack_Install_Dir>/NVIDIA_CUDA-<version>_Samples
You can recompile the samples by running:
SMS=53 EXTRA_LDFLAGS=--unresolved-symbols=ignore-in-shared-libs TARGET_ARCH=aarch64 make
Run Sample Code
The CUDA samples directory will be copied to the home directory on your device by JetPack. The built binaries are in the following directory:
/home/ubuntu/NVIDIA_CUDA-<version>_Samples/bin/aarch64/linux/release/
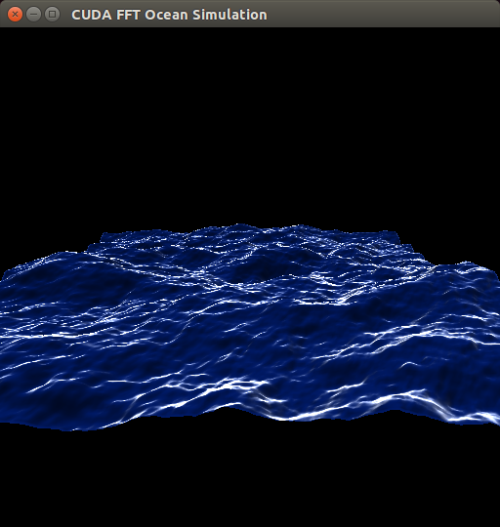
Run them by calling them in terminal, or double-clicking on them in the file browser. For example, when you run the oceanFFT sample, the following screen will be displayed.