文章结构:
一.安装python
二.安装并配置jupyter并配置jupyter
三.第一个python程序
一.安装python
1.1下载python安装包
# wget https://www.python.org/ftp/python/3.6.6/Python-3.6.6.tgz

1.2源码编译安装python
# yum -y install zlib-devel bzip2-devel openssl-devel ncurses-devel sqlite-devel readline-devel tk-devel gdbm-devel db4-devel libpcap-devel xz-devel libffi-devel gcc gcc-c++
# tar xvf Python-3.6.6.tgz
# cd Python-3.6.6/
# ./configure --prefix=/usr/local/python3
# make && make install
1.3添加python到系统环境变量中
# ln -s /usr/local/python3/bin/python3.6 /usr/local/sbin/python3
# ln -s /usr/local/python3/bin/pip3 /usr/local/sbin/pip3

二.安装并配置jupyter
2.1 安装jupyter
# pip install jupyter
# ln -s /usr/local/python3/bin/ipython /usr/local/sbin/
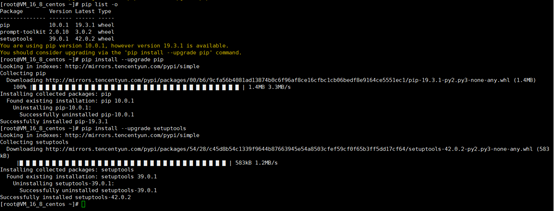
# pip list –o #查看需要升级的软件包,将软件包升级到最新版
2.2 配置jupyter
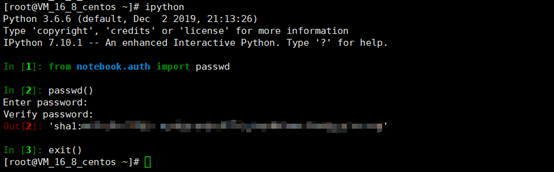
2.2.1 生成密码
# ipython
2.2.2初始化jupyter,生成配置文件
# python3 -m jupyter notebook --generate-config

2.2.3 修改配置文件
# vi .jupyter/jupyter_notebook_config.py

2.3 启动jupyter notebook
# mkdir /data/jupyter_data #新建jupyter家目录
# nohup python -m jupyter notebook --allow-root --ip 0.0.0.0 > /data/jupyter_data/jupyter.log 2>&1 & #后台启动
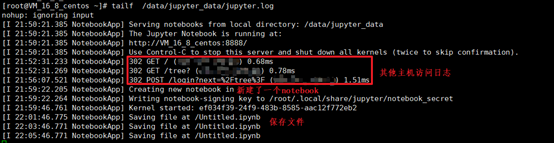
# tailf /data/jupyter_data/jupyter.log # #查看启动日志

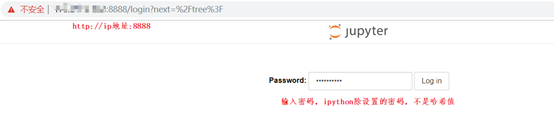
2.3.1远程访问
在浏览器网址中输入http://远程主机ip地址:端口
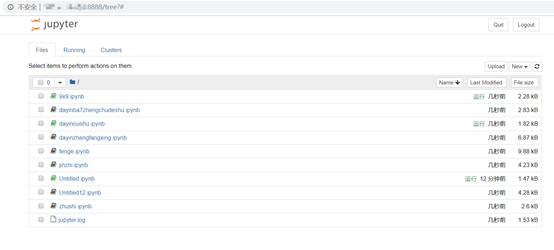
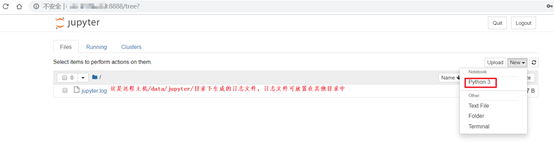
2.3.2登录成功,界面如下:
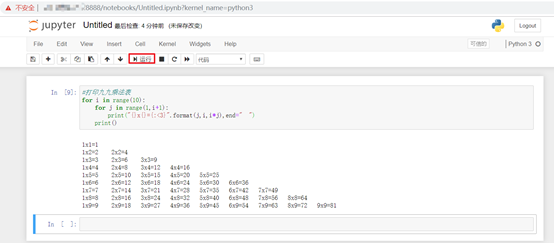
三.第一个python程序
此时我们就可以使用jupyter notebook编写python程序。
我们在页面上的一切操作,都被记录在日志中,如下图所示:
如果在其他机器上(不同系统的机器都可以)使用过jupyter notebook,并保存有文件,则可以直接将文件放入远程主机上的jupyter notebook工作目录,即可继续使用,如下: