element-ui 官网安装教程
安装element-ui
- npm install element-ui -s
安装 babel-plugin-component 插件,实现按需导入
- npm install babel-plugin-component -D
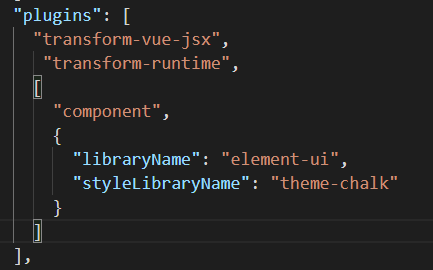
- 然后,在
.babelrc文件添加如下代码至plugins下:
  [
      "component",
      {
        "libraryName": "element-ui",
        "styleLibraryName": "theme-chalk"
      }
    ]
如图:
- 接下来,引用需要的组件
在main.js中写入:
import { Button } from 'element-ui'
import 'element-ui/lib/theme-chalk/index.css';

Vue.component(Button.name, Button);
npm run dev 运行时,出现以下报错:
“You may use special comments to disable some warnings. Use // eslint-disable-next-line to ignore the next line. Use /* eslint-disable */ to ignore all warnings in a file. ”
- 解决办法: 地址
修改components下的Hello.vue组件,并成功运行后,如图:

<template>
  <div class="hello">
    <h1>{{ msg }}</h1>
    <h2>emmm</h2>
    <el-row>
      <el-button type="primary">hello element UI</el-button>
    </el-row>

  </div>
</template>

<script>
export default {
  name: 'hello',
  data () {
    return {
      msg: 'Welcome to Your Lnuews新闻站点'
    }
  }
}
</script>

<!-- Add "scoped" attribute to limit CSS to this component only -->
<style scoped>
h1, h2 {
  font-weight: normal;
}
ul {
  list-style-type: none;
  padding: 0;
}
li {
  display: inline-block;
  margin: 0 10px;
}
a {
  color: #42b983;
}
</style>