一般的网络游戏都是使用socket作为网络通信手段,关于socket相关的知识,也有很多博客和文章有过说明,可以去搜索学习,这里就不另外说明了。
这篇博客的目的,仅仅是为了记录如何去使用相关的工具,而不是其原理,毕竟有更多的大神比我说得清楚。记录下来,是为了在以后再次使用中,亦或者让阅读到这篇博客的小伙伴,能看到最简单最暴力的使用方法。
闲话不多说了,来,开始吧。
在nodejs服务器中,将使用nodejs-websocket这个组件来实现websocket连接。
用终端进入到nodejs服务端代码根目录下,用npm安装nodejs-websocket。
npm install nodejs-websocket
在nodejs项目根目录下新建一个websocketServer.js,用来添加相关服务端代码。
const ws = require("nodejs-websocket");

export default createServer = () => {
  let server = ws.createServer(connection => {
    //客户端向服务器发送字符串时的监听函数
    connection.on("text", result => {
      console.log("connection.on -> text", result);
    });
    //客户端向服务器发送二进制时的监听函数
    connection.on("binary", result => {
      console.log("connection.on -> binary", result);
    });
    //客户端连接到服务器时的监听函数
    connection.on("connect", result => {
      console.log("connection.on -> connect", result);
    });
    //客户端断开与服务器连接时的监听函数
    connection.on("close", result => {
      console.log("connection.on -> close", result);
    });
    //客户端与服务器连接异常时的监听函数
    connection.on("error", result => {
      console.log("connection.on -> error", result);
    });
  }).listen(8182);
;

  return server;
};
这是一个简单的websocket模块。接下来修改nodejs根目录下index.js的相关代码:
const http = require('http');
const url = require('url');
const wsServer = require('./websocketServer');

http.createServer(function(req, res){
    var request = url.parse(req.url, true).query
    var response = {
        info: request.input ? request.input + ', hello world' : 'hello world'
    };
    res.setHeader("Access-Control-Allow-Origin", "*");//跨域
    res.write(JSON.stringify(response));
    res.end();
}).listen(8181);

wsServer();
这样我们就创建好了一个简单的websocket连接。
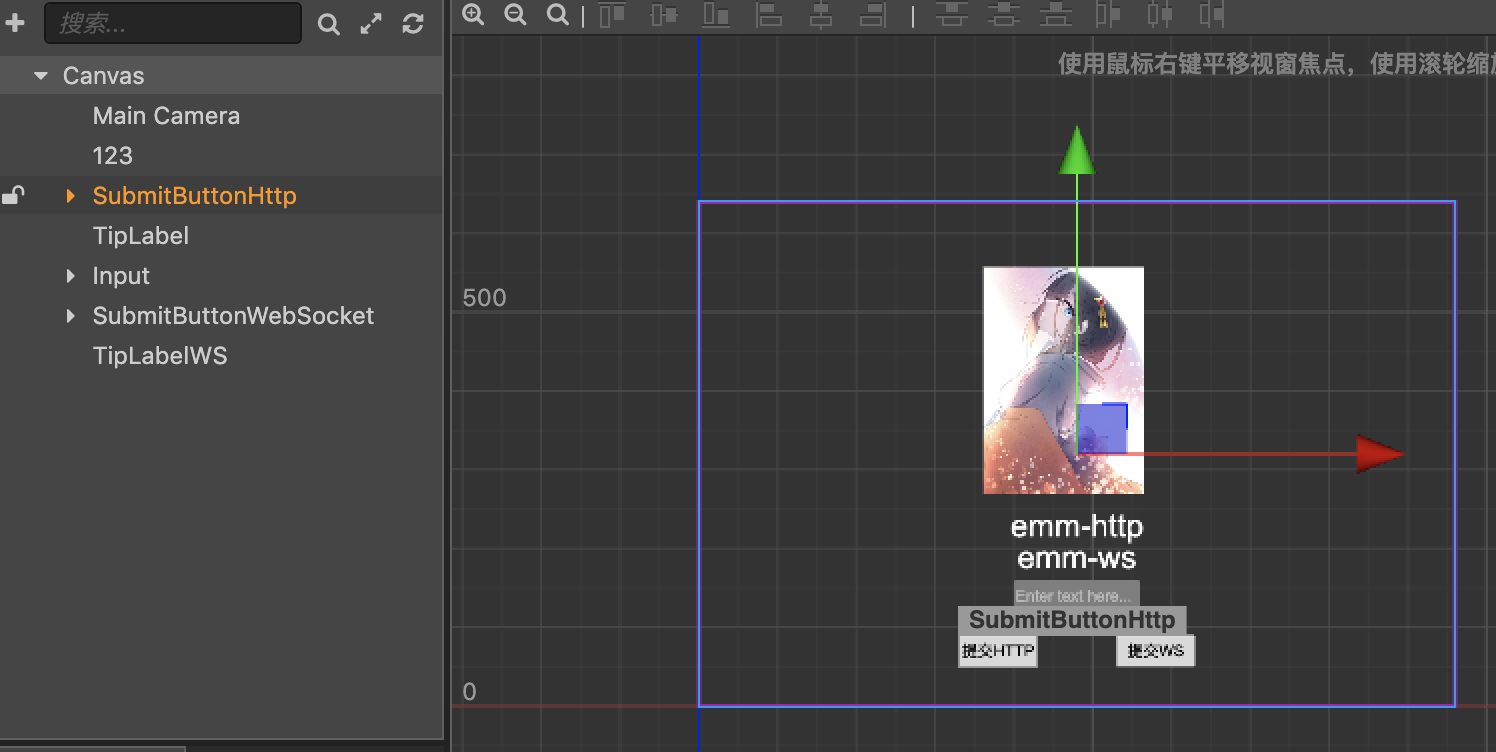
接下来修改客户端代码,创建一下客户端的websocket连接。并在ui中新添加一个Label用来显示websocket服务器返回的信息,添加一个button用来给websocket发送消息。
    properties: {
        subButtonHttp: {
            default: null,
            type: cc.Button
        },
        subButtonWS: {
            default: null,
            type: cc.Button
        },
        tipLabel: {
            default: null,
            type: cc.Label
        },
        tipLabelWS: {
            default: null,
            type: cc.Label
        },
        input: {
            default: null,
            type: cc.EditBox
        }
    },
接下来修改一下onLoad方法,在里面添加websocket的初始化代码:
    onLoad() {
        this.ws = new WebSocket('ws://127.0.0.1:8182');
        //开启websocket
        this.ws.onopen = (event) => {
            console.log("event========");
            console.log(event);
            console.log("event========");
        }

        let that = this;
        //接受websocket的数据
        this.ws.onmessage = (event) => {
            console.log("onmessage========");
            console.log(event);
            console.log("onmessage========");
            that.tipLabelWS.string = event.data;
        }
    },
再添加一个按钮方法绑定到subButtonWS按钮上,上传的信息依然是输入框中的信息:
    wsRequest() {
        if(this.ws.readyState === WebSocket.OPEN) {
            this.ws.send(this.input.string);
        }
    },
当客户端点击按钮发送消息给服务器时,服务器需要处理接收到的数据并分发给所有连接到websocket的客户端。
修改服务器端websocketServer.js中的代码:
const ws = require("nodejs-websocket");

module.exports = createServer = () => {
  let server = ws.createServer(connection => {
    //客户端向服务器发送字符串时的监听函数
    connection.on("text", result => {
      console.log("connection.on -> text", result);
      //在这里,接收到某一个客户端发来的消息,然后统一发送给所有连接到websocket的客户端
      server.connections.forEach((client) => {
          client.sendText(result);
      });
    });
    //客户端向服务器发送二进制时的监听函数
    connection.on("binary", result => {
      console.log("connection.on -> binary", result);
    });
    //客户端连接到服务器时的监听函数
    connection.on("connect", result => {
      console.log("connection.on -> connect", result);
    });
    //客户端断开与服务器连接时的监听函数
    connection.on("close", result => {
      console.log("connection.on -> close", result);
    });
    //客户端与服务器连接异常时的监听函数
    connection.on("error", result => {
      console.log("connection.on -> error", result);
    });
  }).listen(8182);

  return server;
};
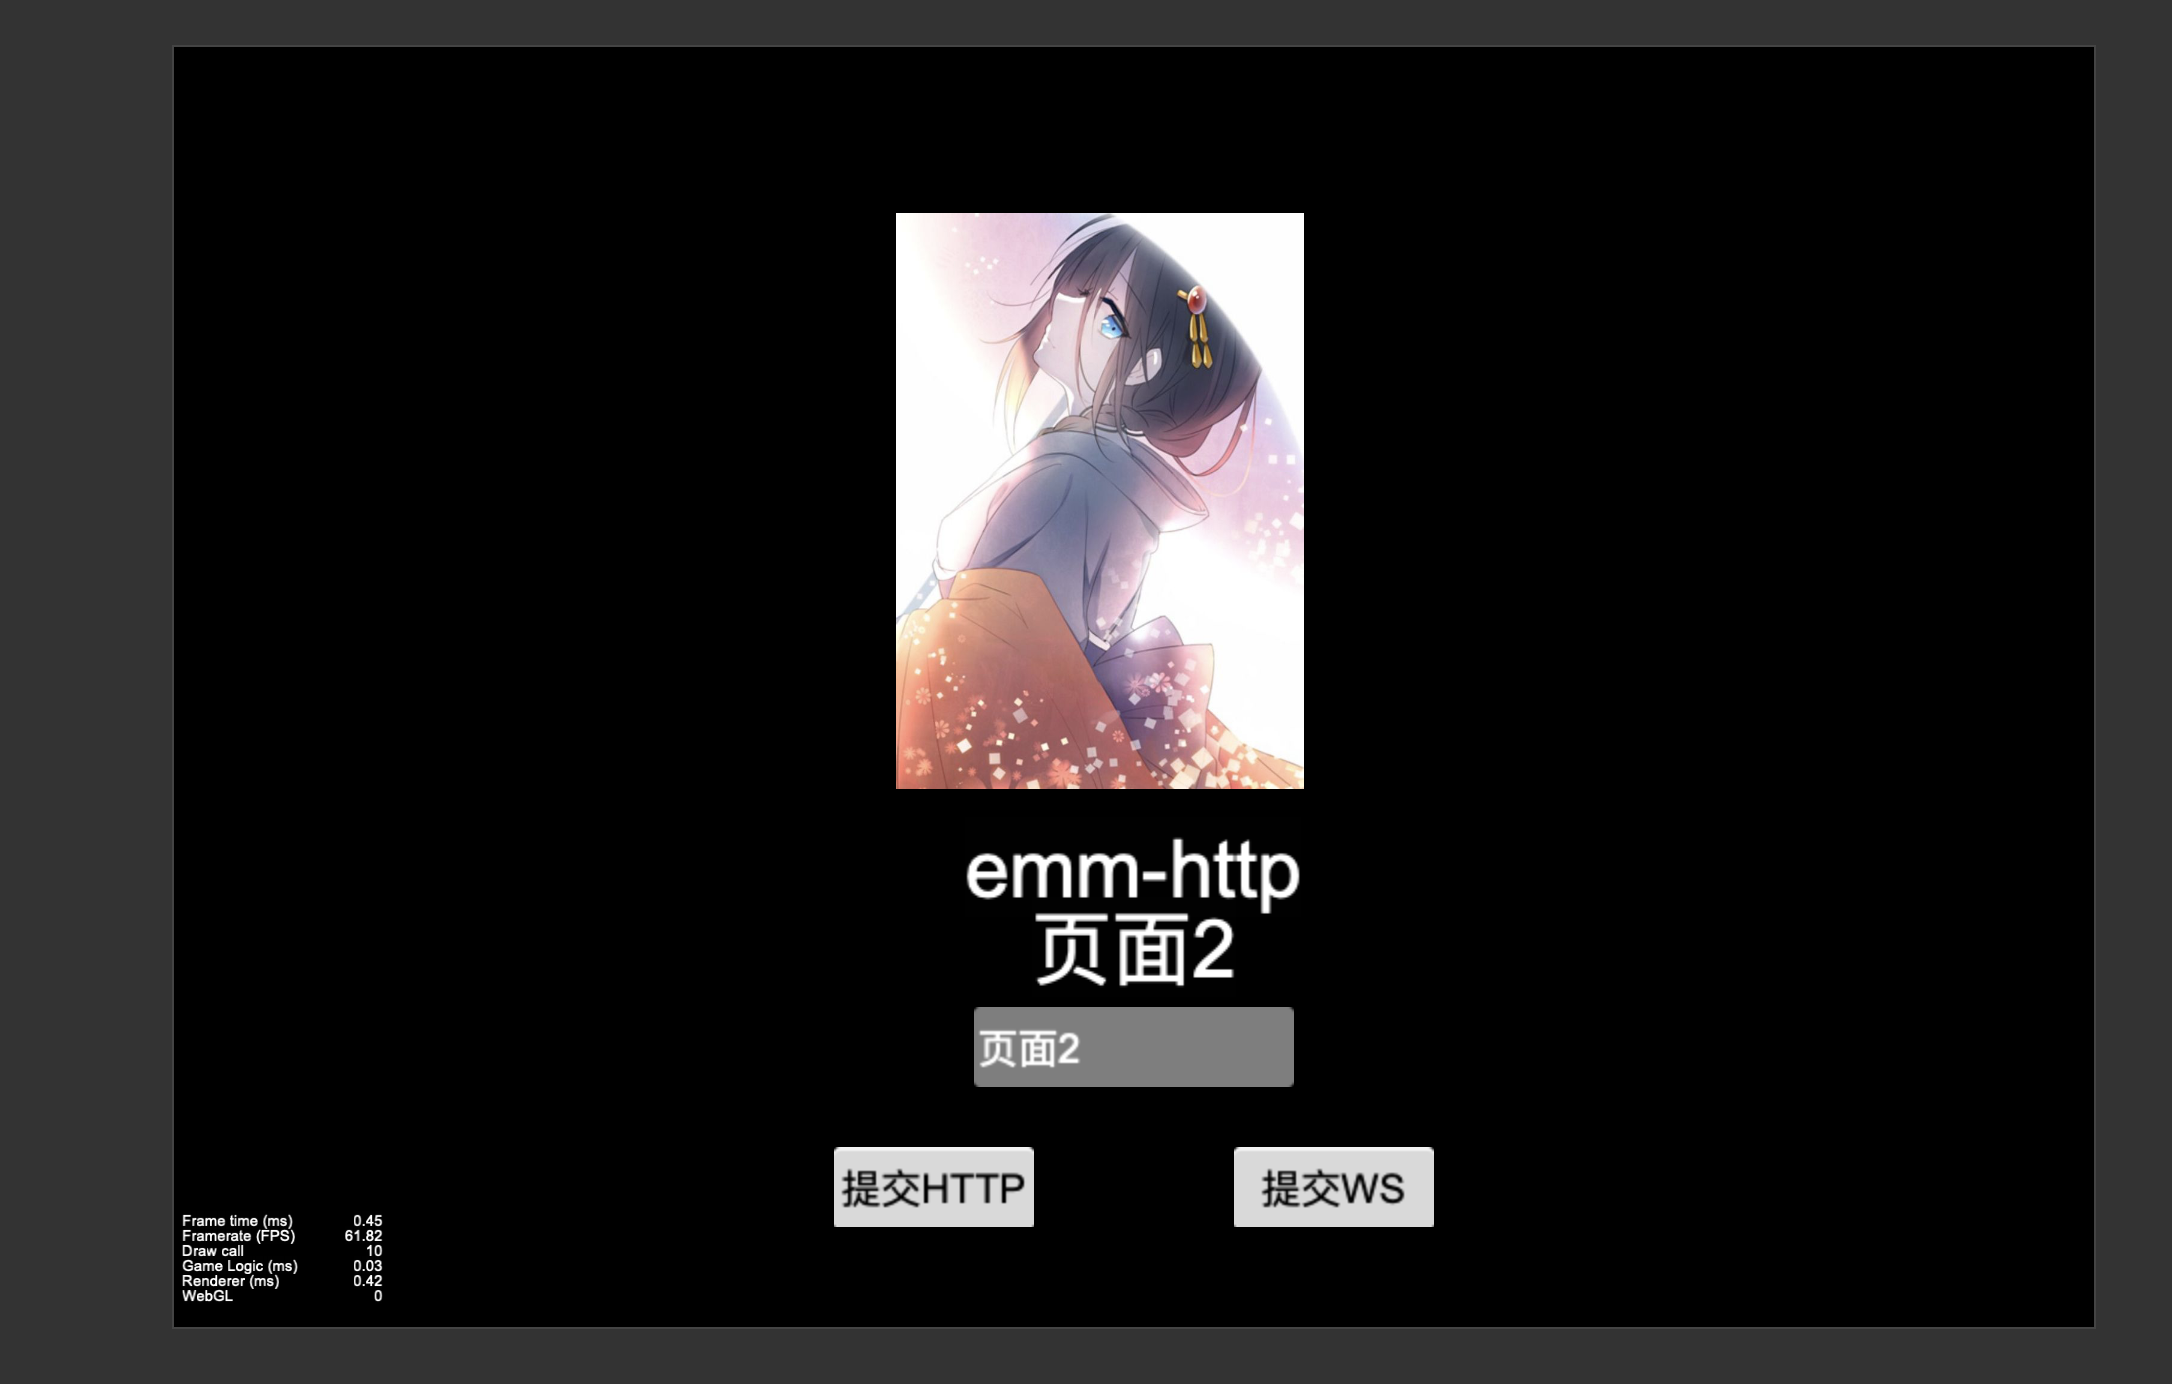
重新启动服务端和客户端。当在输入框输入信息并点击后,可以看到消息改变:

可以再开启一个相同的调试页面:

此时新打开的页面处于初始化状态:

在第二个页面中输入一些信息,并点击提交WS按钮:
可以看到第二个页面的相关信息已经改变,此时再切换到第一个页面:

可以看到,输入框中的字还是上一次输入的内容,但是因为websocket向所有客户端发送了消息,label显示的内容已经发生了改变。
经过上述步骤,就简单的实现了多个客户端之间产生的交互了。
下一次,我将继续扩展上述的功能,实现一个多客户端的聊天窗。
文章中的代码:
客户端: https://github.com/MythosMa/CocosCreator_ClientTest.git
服务端: https://github.com/MythosMa/NodeJS_GameServerTest.git