首先需要安装开发相关的工具和环境。
当然,nodejs和CocosCreator,通过搜索引擎很容易就能得到下载链接和安装方法,这里就不浪费笔墨描述了,我们直接开始写代码!
进入到nodejs创建好的工程根目录下,创建一个index.js的文件,写入如下代码:
const http = require('http');

http.createServer(function(req, res){
    res.setHeader("Access-Control-Allow-Origin", "*");//跨域
    res.write("hello world!");
    res.end();
}).listen(8181);
通过nodejs,创建了一个监听本地8181端口的服务端代码,因为CocosCreator创建的调试页面,访问服务器的话会产生跨域问题,所以预先处理了跨域解决方案。
在终端中运行 :
node index.js
然后在浏览器中输入地址:http://127.0.0.1:8181
就能在浏览器中看到写着 hello world! 的页面,证明服务器已经启动成功了。
接下来打开CocosCreator,创建一个空白工程,做好项目的目录结构分类,如下图所示

在Script中创建一个network文件夹,并创建一个处理网络请求的接口,httpServer.js
export default {
    request: (obj) => {
        let httpRequest = new XMLHttpRequest();
        let time = 5 * 1000;
        let timeout = false;

        //超时
        let timer = setTimeout(() => {
            timeout = true;
            httpRequest.abort();
        }, time);

        let url = obj.url;

        //请求参数
        if(typeof obj.data === 'object') {
            let kvs = [];
            for(let k in obj.data) {
                kvs.push(encodeURIComponent(k) + '=' + encodeURIComponent(obj.data[k]));
            }
            url += '?';
            url += kvs.join('&');
        }

        httpRequest.open(obj.method ? obj.method : 'GET', url ,true);

        httpRequest.onreadystatechange = () => {
            let response = httpRequest.responseText;
            clearTimeout(timer);

            if(httpRequest.readyState === 4) {
                if(typeof obj.success === 'function') {
                    let resJson = JSON.parse(response);
                    obj.success(resJson);
                }
            }else {
                if(typeof obj.fail === 'function') {
                    obj.fail(response);
                }
            }
        };

        httpRequest.send();
    }
}
其实这段代码只处理了一个GET请求方式,没有更复杂的处理。通过在游戏代码中引用这个接口,就可以向服务器发送请求了。
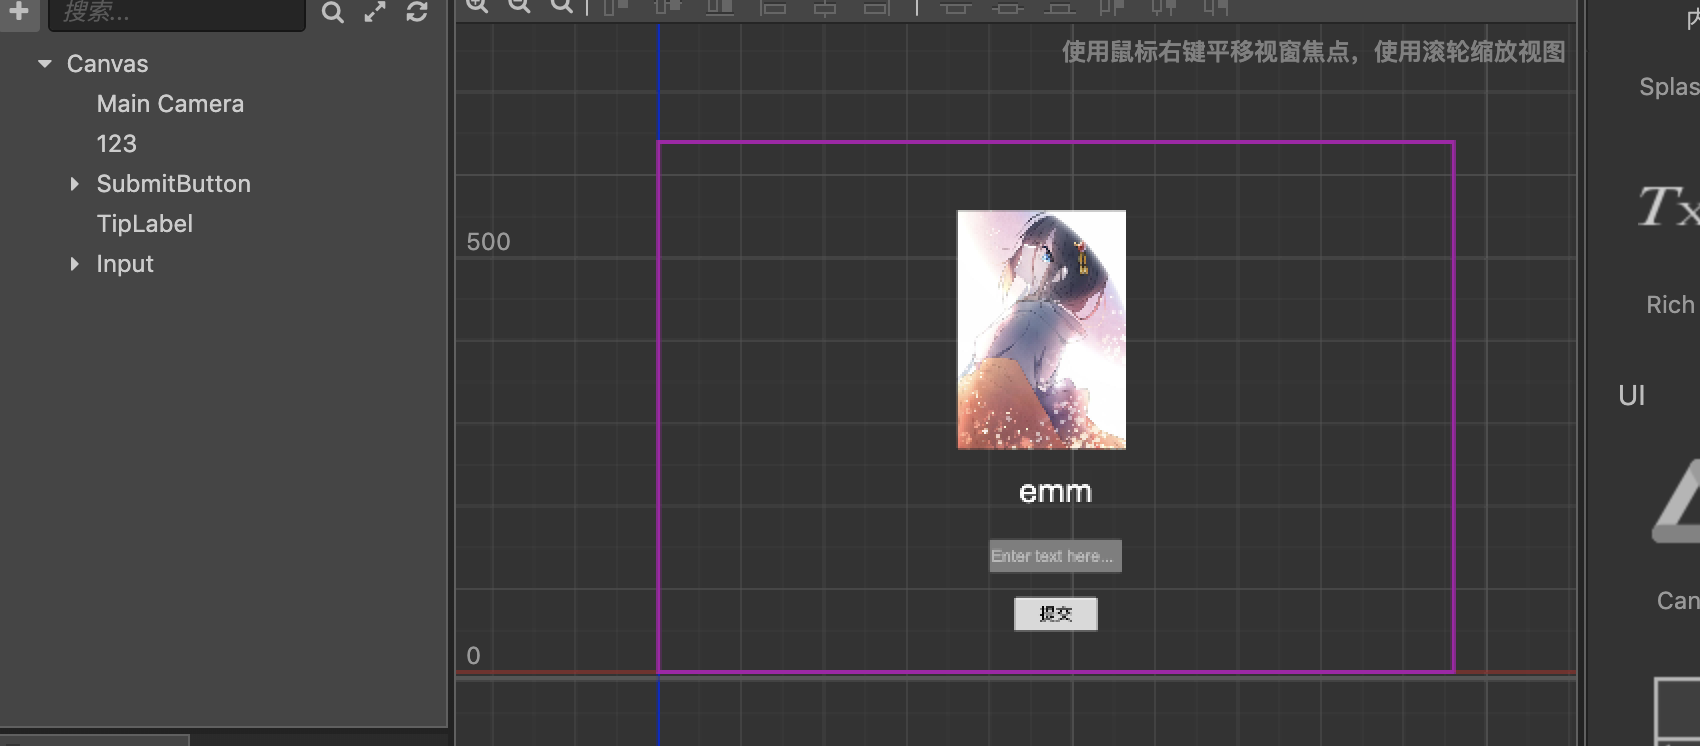
接下来,我们在游戏场景中,添加一张简单的图片,一个Label标签用来显示后端返回的数据,一个EditBox用来输入信息发送到服务器,以及一个按钮来发送数据,如图所示
然后在Script文件夹下创建游戏脚本HelloWorld.js,并引入相关ui组件和httpServer。
import http from './network/httpServer';

cc.Class({
    extends: cc.Component,

    properties: {
        subButton: {
            default: null,
            type: cc.Button
        },

        tipLabel: {
            default: null,
            type: cc.Label
        },

        input: {
            default: null,
            type: cc.EditBox
        }
    },

    onLoad() {

    },

    start () {

    },
});
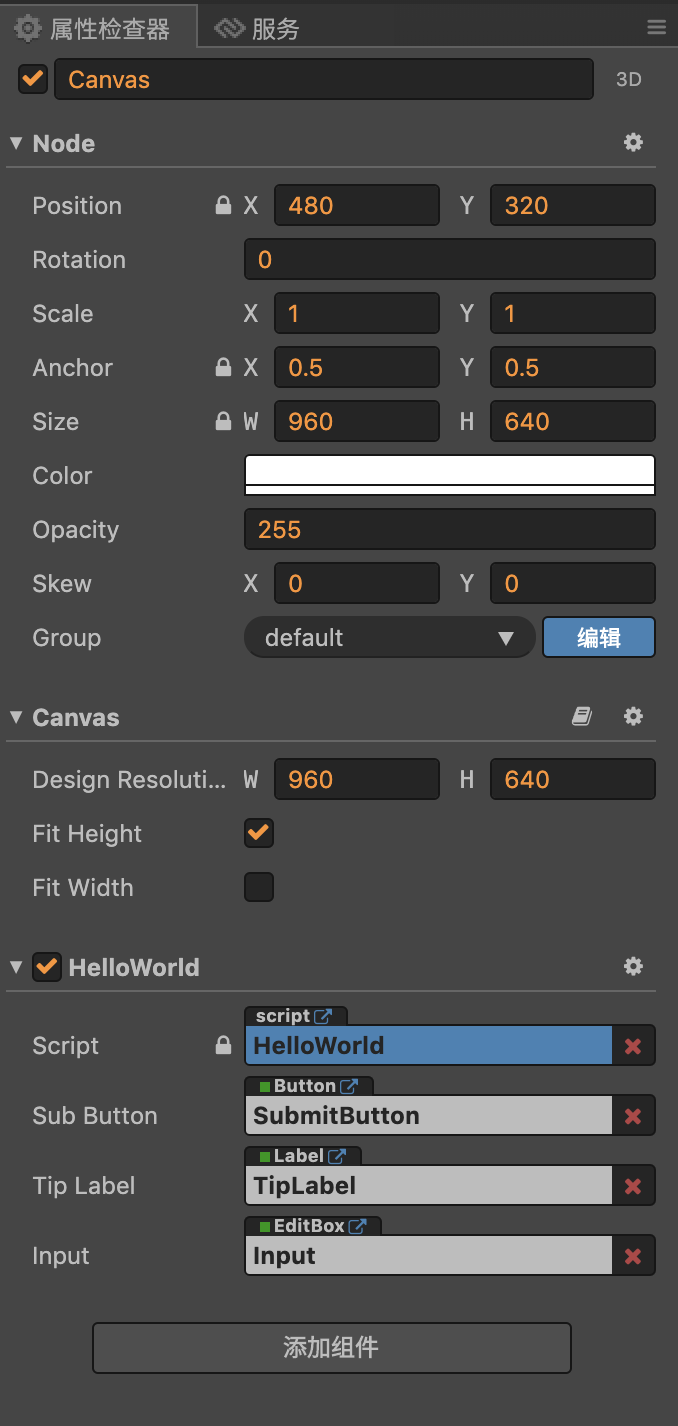
将HelloWorld.js附到Canvas组件上,关联场景中的ui组件,如图所示:
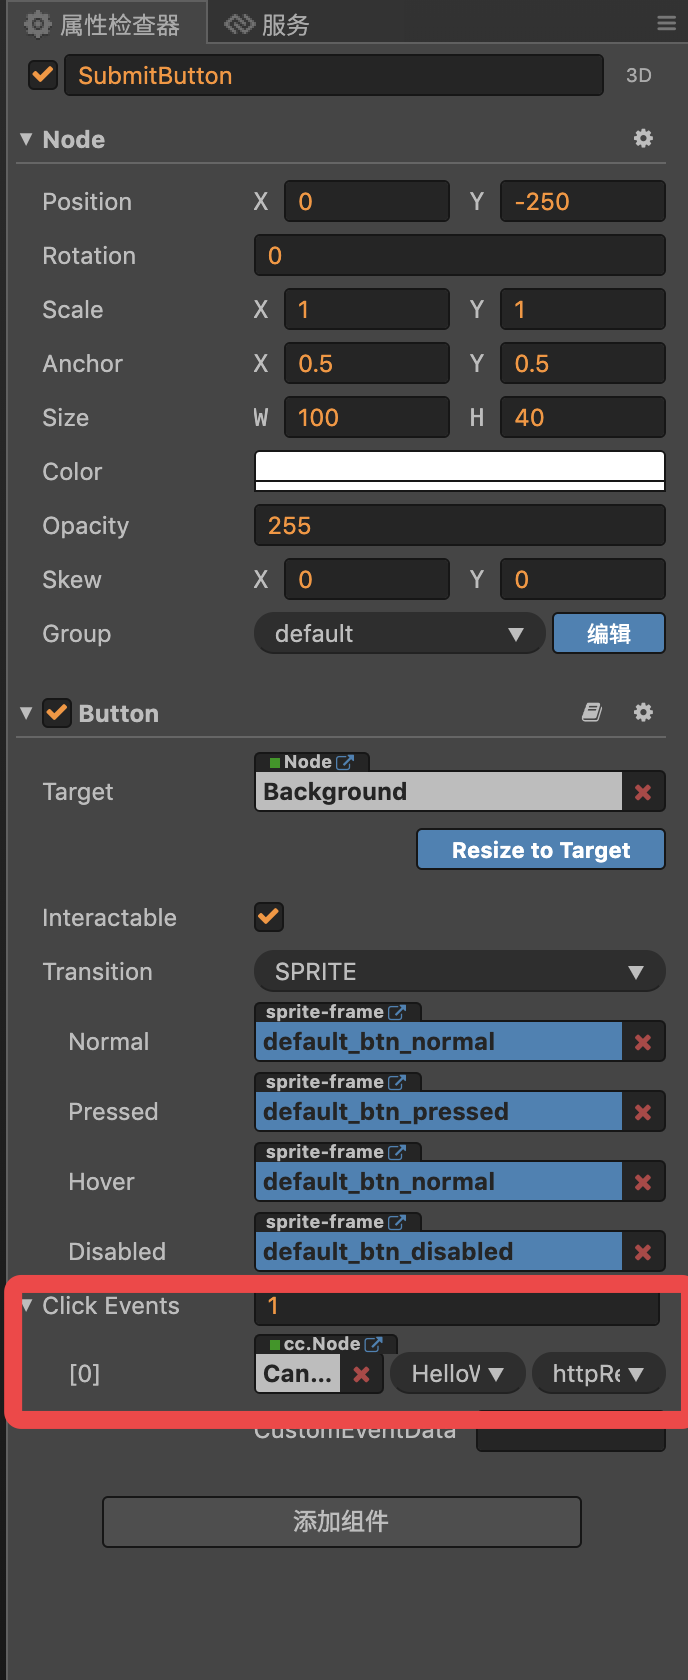
添加一个按钮回调函数到HelloWorld.js中,并绑定到SubmitButton上,这样在场景中点击按钮,就会发起一个请求。
import http from './network/httpServer';

cc.Class({
    extends: cc.Component,

    properties: {
        subButton: {
            default: null,
            type: cc.Button
        },

        tipLabel: {
            default: null,
            type: cc.Label
        },

        input: {
            default: null,
            type: cc.EditBox
        }
    },

    onLoad() {

    },

    //发送请求的方法
    httpRequest() {
        let obj = {
            url : 'http://127.0.0.1:8181',
            data:{
                input: this.input.string
            },
            success : (res) => {
                this.tipLabel.string = res.info;
            },
            fail: (res) => {
                console.log("fail!");
                console.log(res);
            }
        }
        http.request(obj);
    },


    start () {

    },
});
在httpRequest方法中,添加了要访问的数据对象,包括服务器的url,和发送到服务器的数据,data对象。这里data对象的input属性数据,来自于输入框中输入的内容。
同时有两个回调函数,分别是请求成功(success)和请求失败(fail),请求成功时,将服务器返回的内容展示在ui组件的Label上。请求失败,在控制台打印失败信息。
这样,前端的基本功能就算完成了。因为向服务器提交了数据,那么就需要在服务端代码来处理发送的数据,并返回给客户端,接下来改造一下服务端代码。
const http = require('http');
const url = require('url');


http.createServer(function(req, res){
    var request = url.parse(req.url, true).query
    var response = {
        info: request.input ? request.input + ', hello world' : 'hello world'
    };
    res.setHeader("Access-Control-Allow-Origin", "*");//跨域
    res.write(JSON.stringify(response));
    res.end();
}).listen(8181);
可以看到,通过url组件处理了客户端发送的请求,获取到客户端发来的数据,然后和hello world拼接组合,再返回给客户端。通过客户端的success回调函数,可以在客户端的页面看到返回信息。
下面,重新启动服务端,然后开启客户端的调试。会看到如下界面。
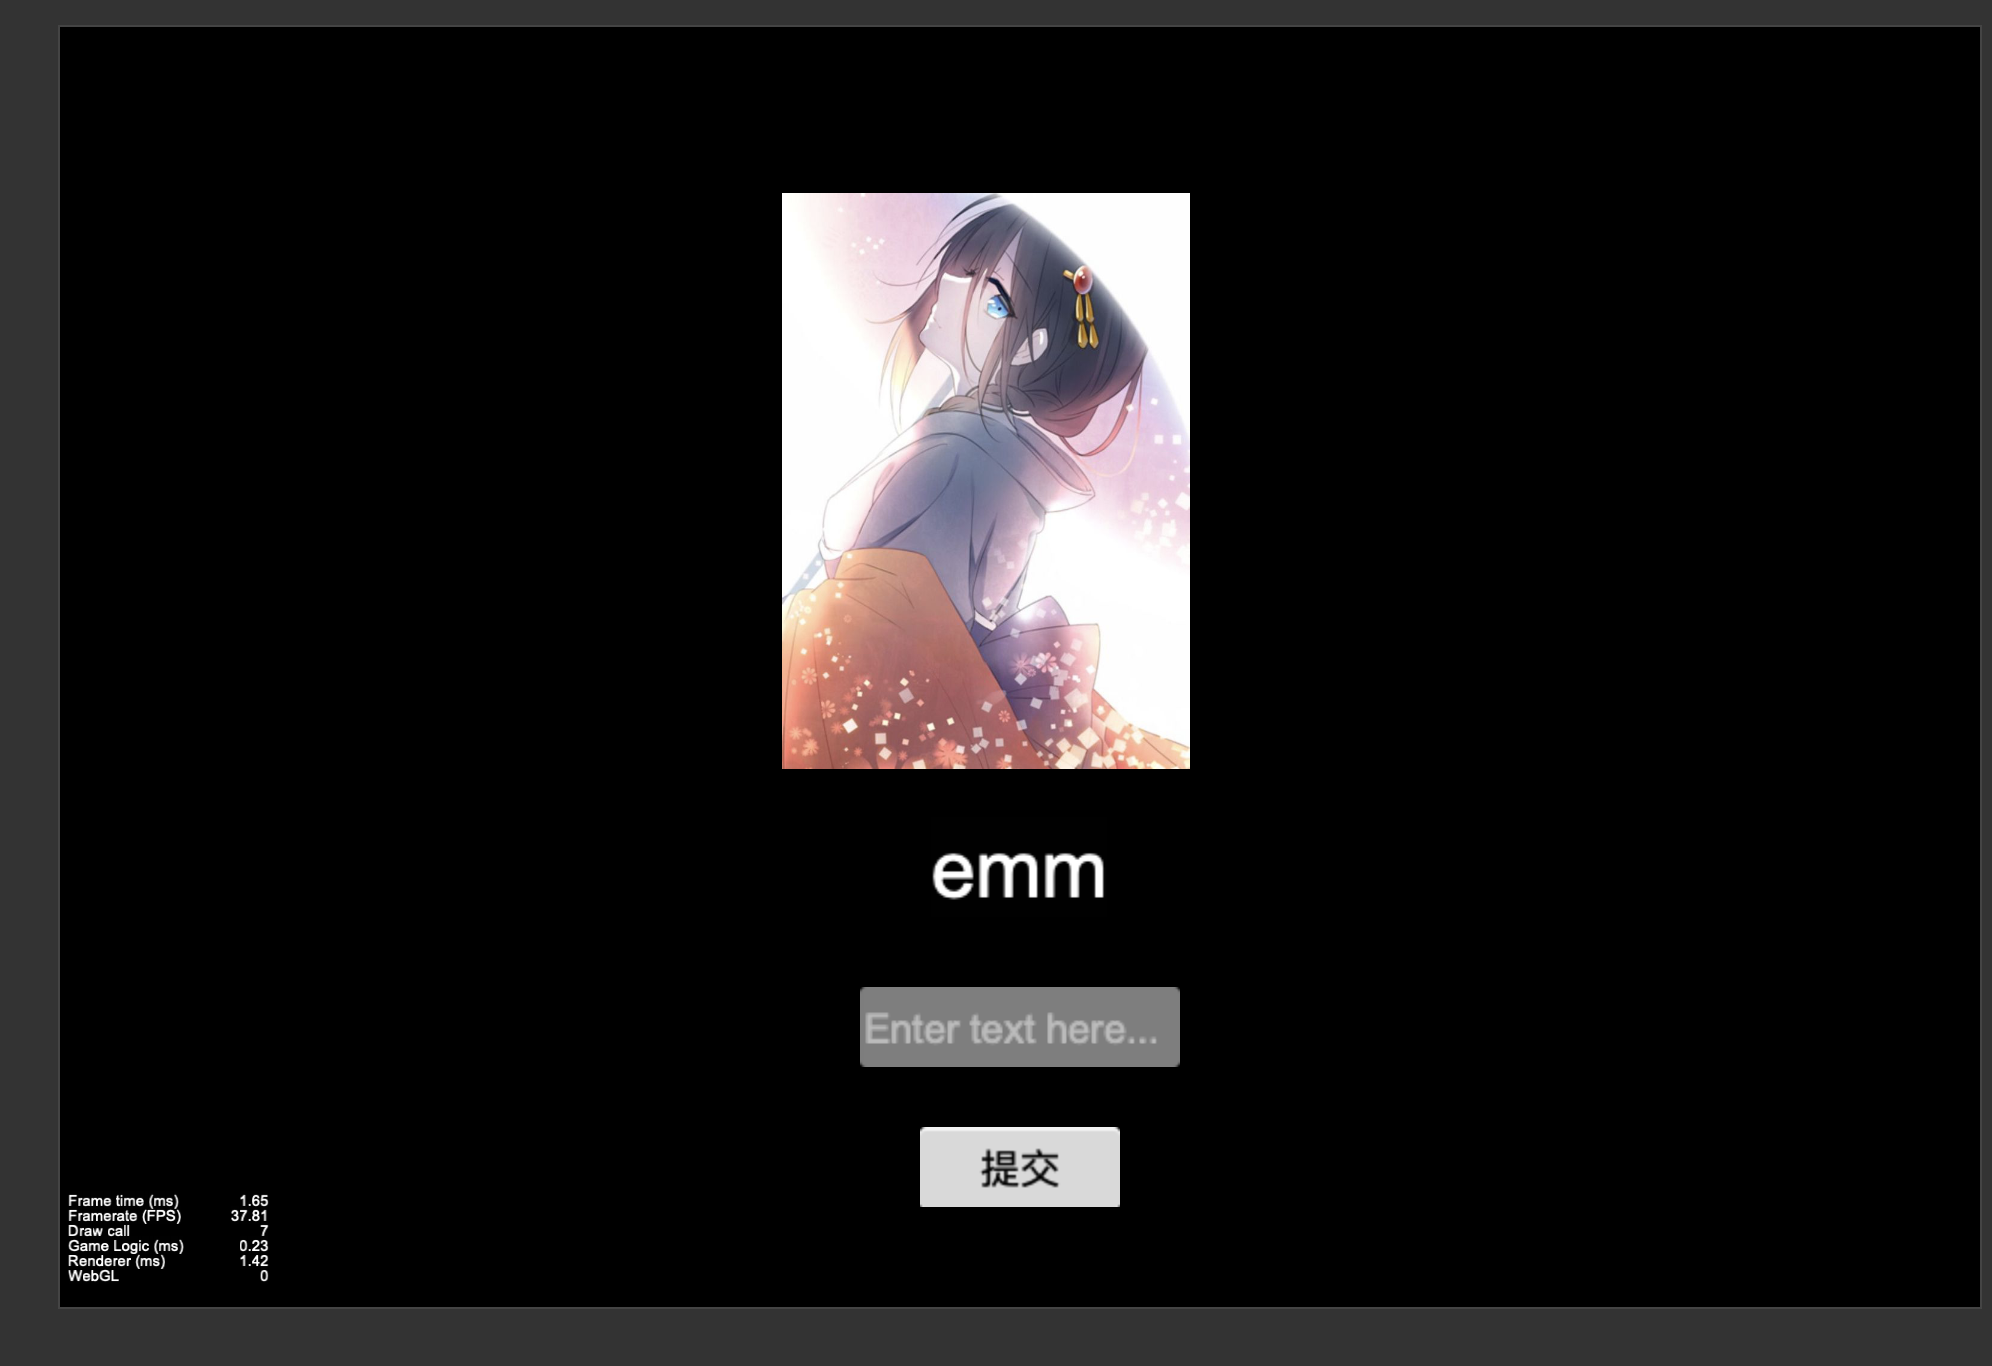
这就是客户端初始化启动的样子,接下来在输入框中输入一些内容,点击提交按钮。
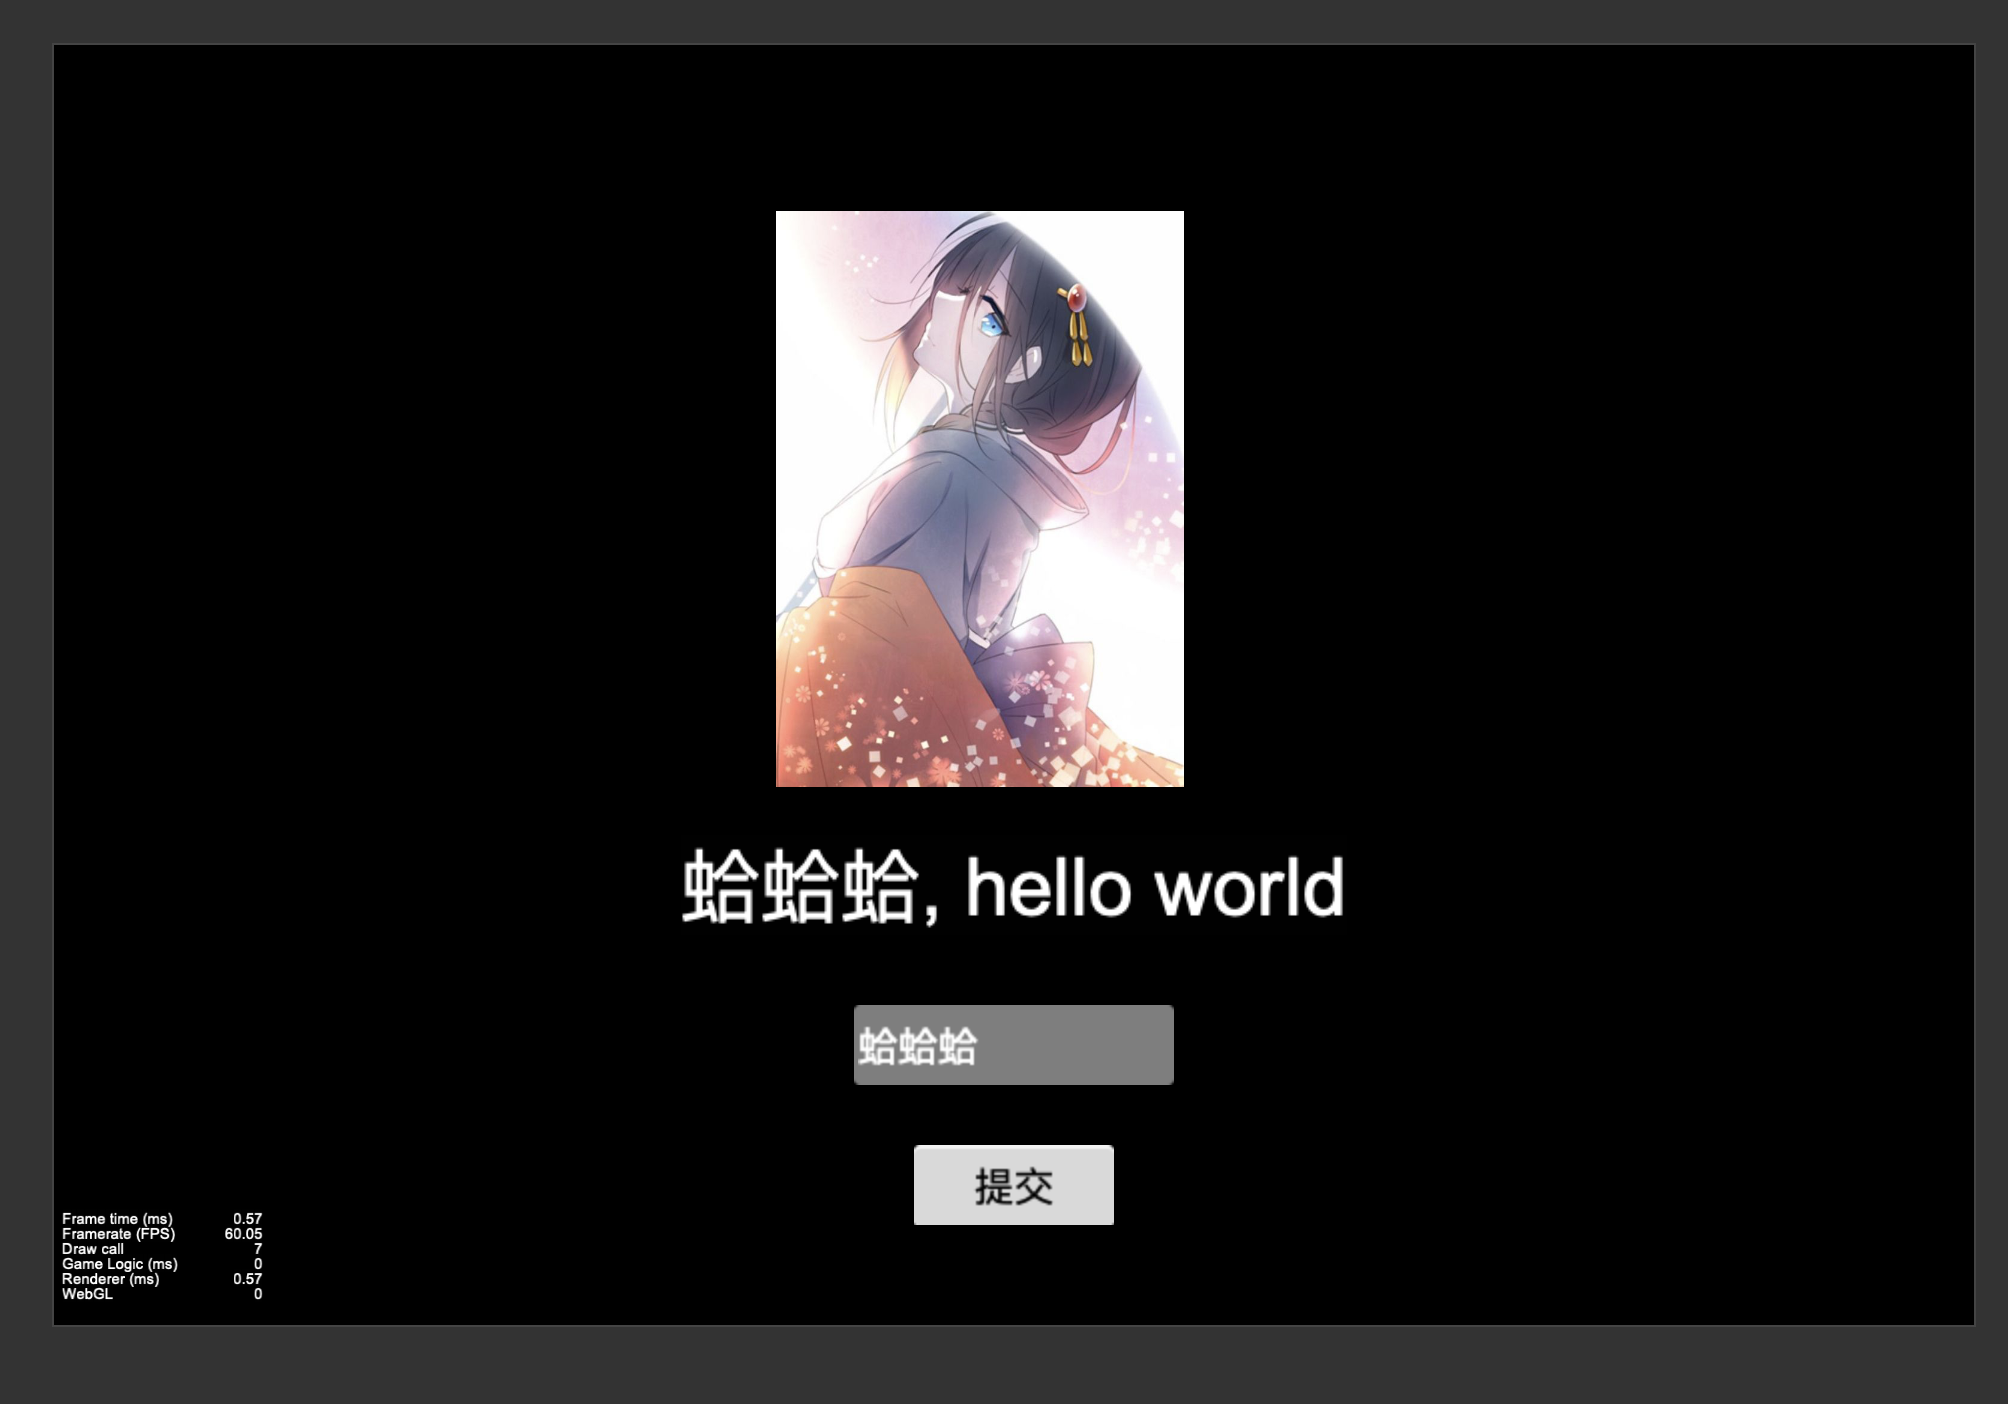
可以看到,输入框中输入的信息已经提交给服务器,并和hello world拼接后返回给客户端,并展示在界面中。
这样,一个简单的网络请求并返回数据的功能就完成了。
至此,搭建服务器和客户端的工作就告一段落,接下来,让我们一起来学习如何创建websocket连接,这才是一个真正网游的基石。
文章中的代码:
客户端: https://github.com/MythosMa/CocosCreator_ClientTest.git
服务端: https://github.com/MythosMa/NodeJS_GameServerTest.git