首先介绍一下Ant。Apache Ant,是一个将软件编译、测试、部署等步骤联系在一起加以自动化的一个工具,大多用于Java环境中的软件开发。由Apache软件基金会所提供。
是的、还是Apache家的产品,去其官网看看其简介。
Apache Ant is a Java library and command-line tool whose mission is to drive processes described in build files as targets and extension points dependent upon each other. The main known usage of Ant is the build of Java applications. Ant supplies a number of built-in tasks allowing to compile, assemble, test and run Java applications. Ant can also be used effectively to build non Java applications, for instance C or C++ applications. More generally, Ant can be used to pilot any type of process which can be described in terms of targets and tasks.
Ant is written in Java. Users of Ant can develop their own "antlibs" containing Ant tasks and types, and are offered a large number of ready-made commercial or open-source "antlibs".
Ant is extremely flexible and does not impose coding conventions or directory layouts to the Java projects which adopt it as a build tool.
Software development projects looking for a solution combining build tool and dependency management can use Ant in combination with Apache Ivy.
The Apache Ant project is part of the Apache Software Foundation.
Apache Ant是一个Java库和命令行工具,其任务是将构建文件中描述的进程作为相互依赖的目标和扩展点。Ant的主要用途是构建Java应用程序。Ant提供了许多内置任务,允许编译,组装,测试和运行Java应用程序。Ant还可以有效地用于构建非Java应用程序,例如C或C ++应用程序。更一般地说,Ant可以用来试验任何类型的过程,可以用目标和任务来描述。
Ant是用Java编写的。Ant的用户可以开发自己的包含Ant任务和类型的“antlib”,并提供大量现成的商业或开源“antlibs”。
Ant非常灵活,并且不会将编码约定或目录布局强加给采用它作为构建工具的Java项目。
寻找结合构建工具和依赖管理的解决方案的软件开发项目可以将Ant与Apache Ivy结合使用。
Apache Ant项目是Apache Software Foundation的一部分。
既然也是Apache家的产品,那么也能够与Jmeter进行集成的。
来具体记一记Jmeter是如何与Ant进行集成的,而后又如何延伸至Jenkins的。
Ant的搭建环境不再记录。
其主要的还是有关于xml配置文件的编辑。
1、首先将${jmeter_home}\extras\ant-jmeter-1.1.1.jar,copy至{ant_home}\lib下。
2、定义build.xml文件。

<?xml version="1.0" encoding="UTF-8"?>
<project name="ant-jmeter-test" default="run" basedir=".">
 <taskdef resource="net/sf/antcontrib/antlib.xml" />
 <!--需要改成自己本地的 Jmeter 目录-->
<property name="jmeter.home" value="F:\jmeter\apache-jmeter-3.2"/>
<property name="report.title" value="report"/>
<!-- jmeter生成jtl格式的结果报告的路径-->
<property name="jmeter.result.jtl.dir" value="F:\jmeter-project\Demoproject\result\jtl"/>
<!--jmeter生成html格式的结果报告的路径-->
<property name="jmeter.result.html.dir" value="F:\jmeter-project\Demoproject\result\html"/>
<!-- 生成的报告的前缀 -->
<property name="ReportName" value="TestReport"/>
<property name="jmeter.result.jtlName" value="${jmeter.result.jtl.dir}/${ReportName}.jtl"/>
<property name="jmeter.result.htmlName" value="${jmeter.result.html.dir}/${ReportName}.html"/>

<target name="run">
  <antcall target="test"/>
  <antcall target="report"/>
  <!--antcall  target="mail"/-->
</target>
<target name="test">
  <taskdef name="jmeter" classname="org.programmerplanet.ant.taskdefs.jmeter.JMeterTask"/>
  <jmeter jmeterhome="${jmeter.home}" resultlog="${jmeter.result.jtlName}">
  <!--脚本存放路径-->
    <testplans dir="F:\jmeter-project\Demoproject\Script" includes="*.jmx"/>
    <property name="jmeter.save.saveservice.output_format" value="xml"/>
  </jmeter>
</target>
<path id="xslt.classpath">
  <fileset dir="${jmeter.home}/lib" includes="xalan*.jar"/>
  <fileset dir="${jmeter.home}/lib" includes="serializer*.jar"/>
</path>
<target name="report">
  <tstamp>
    <format property="report.datestamp" pattern="yyyy/MM/dd HH:mm"/>
  </tstamp>
  <xslt
  classpathref="xslt.classpath"
  force="true"
  in="${jmeter.result.jtlName}"
  out="${jmeter.result.htmlName}"
  style="${jmeter.home}/extras/jmeter-results-detail-report_21.xsl">
    <param name="dateReport" expression="${report.datestamp}"/>
  </xslt>

  <copy todir="${jmeter.result.html.dir}">
    <fileset dir="${jmeter.home}/extras">
      <include name="collapse.png"/>
      <include name="expand.png"/>
    </fileset>
  </copy>
</target>
 <path id="lib_classpath">
        <fileset dir="${basedir}/">
            <include name="mail*.jar" />
            <include name="activation*.jar" />
            <include name="commons-email*.jar" />
            <include name="ant-contrib*.jar" />
        </fileset>
 </path>
</project>
其实,在${jmeter_home}\extras\下有一个build.xml的文件,不过相对来说比较繁琐,此处是一个参照网上大神的一个精简版。需要更换的目录,代码段已经插入了相关注释。
此处是构建
F:\jmeter-project\Demoproject\Script目录下的全部.jmx文件,因此使用*.jmx
该目录下存放两个jmx脚本,一共是103个Sampler
3、进入存放build.xml的目录,执行ant命令进行构建。
4、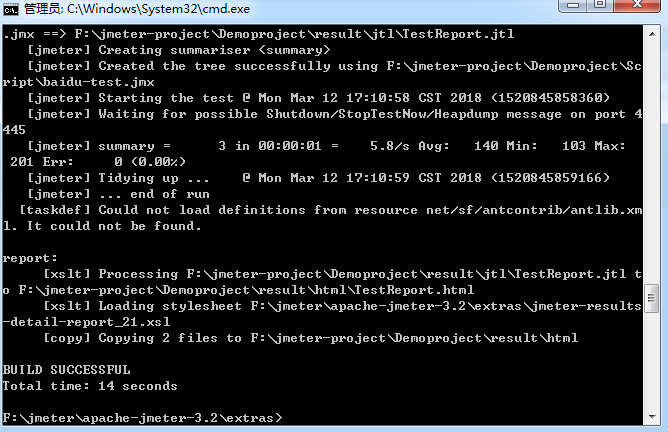
可以看到,已经构建成功,至日志保存目录进行查看。
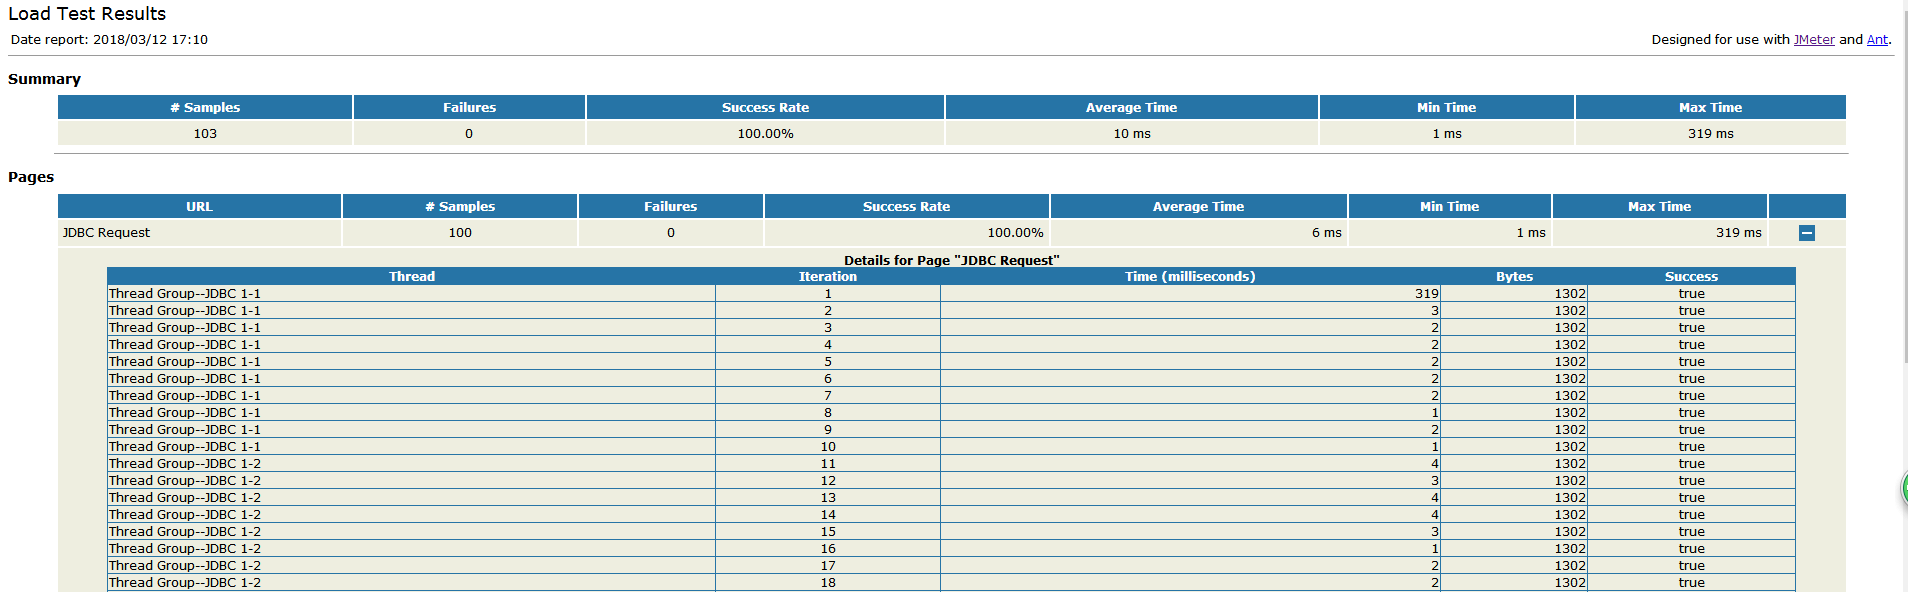
这个是Ant构建生成的html报告。
当然报告的模板也是能够进行设计。该处使用的是${jmeter_home}\extras目录下的jmeter-results-report_21.xsl。
OK、再集成至Jenkins又当如何集成呢?
上篇是通过Jmeter的NO-GUI方式直接以Jenkins进行执行dos命令行命令,构建。
使用Ant的话更为简洁。
所需插件:Invoke Ant
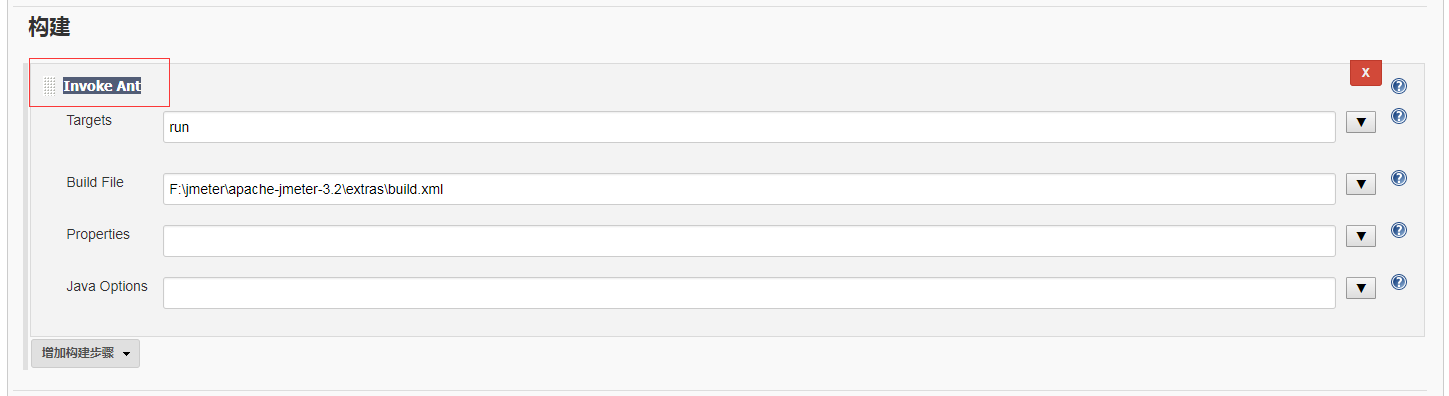
填写参数Targets 、 Build File
Targets为build.xml文件中的target name。
Bulid File为build.xml文件在本地的路径

至于构建后的操作:Publish HTML Reports主要是用作显示报告。
OK,开始构建。
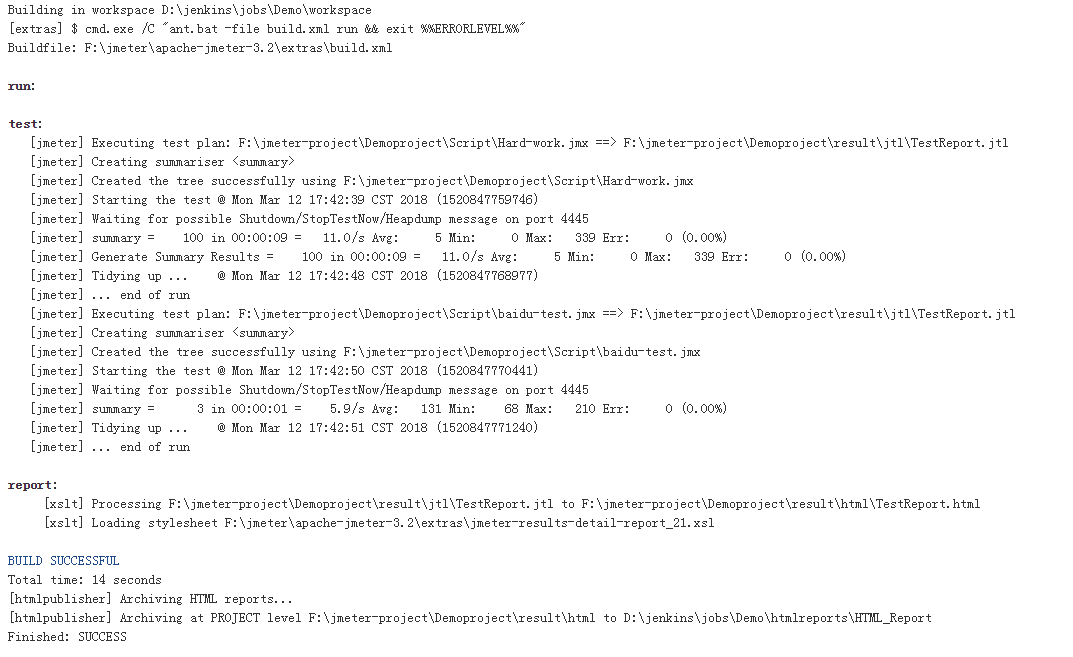
构建成功、至本地查看报告生成或者Jenkins面板都可以。

报告文件已生成。
我们作为测试人员,使用Ant无非就是批量执行jmeter的脚本文件,再使用Jenkins进行自动构建(定时自动构建),不就实现自动化了么,日常的回归,冒烟等等皆可满足