引言:
Spring Boot并不真正是所谓的『零配置』,他的理念是“习惯优于配置”采用了一些默认的习惯性配置,让你无需手动进行配置,从而让你的项目快速运行起来。所以要想玩转Spring Boot,了解这些默认配置还是必不可少的。
1、项目默认属性配置文件所在位置及配置实例
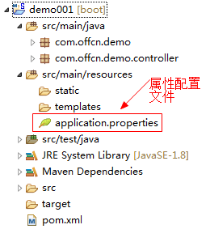
创建Spring Boot项目时,会默认生成一个全局配置文件application.properties(可以修改后缀为.yml),在src/main/resources目录下或者类路径的/config下。我们可以通过修改该配置文件来对一些默认配置的配置值进行修改。
【修改默认配置】
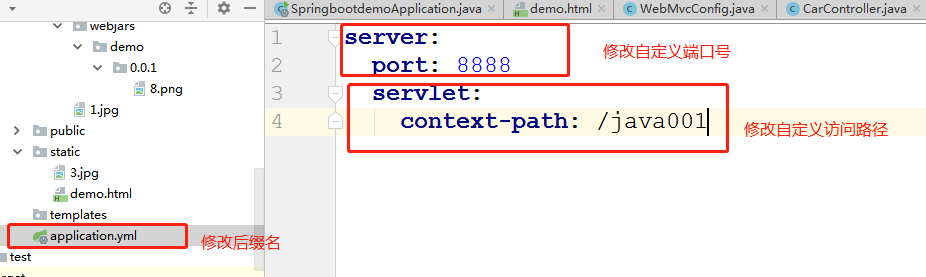
1、spring boot 开发web应用的时候,默认tomcat的启动端口为8080,访问路径为/
如果需要修改默认的端口和访问路径则,则需要在application.yml添加以下记录:
server:
  port: 8888
  servlet:
    context-path: /java001
图片演示:
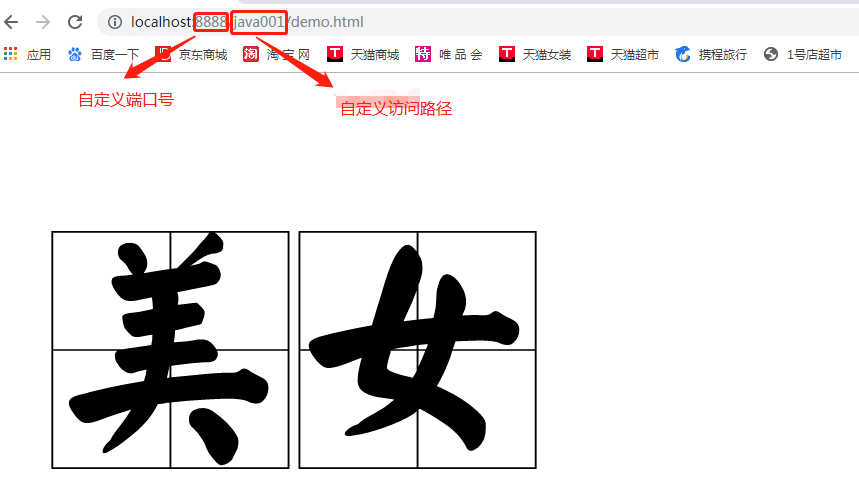
效果演示图:
2、自定义属性及读取
我们可以在application.yml文件中,配置一些常量或者其他参数配置。读取的时候通过Spring的@Value(“${属性名}”)注解即可。
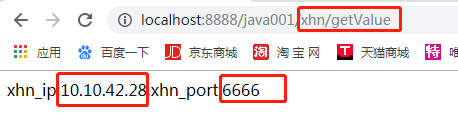
package com.xhn.springbootdemo.controller;

import com.xhn.springbootdemo.po.UserBody;
import org.springframework.beans.factory.annotation.Autowired;
import org.springframework.beans.factory.annotation.Value;
import org.springframework.boot.context.properties.EnableConfigurationProperties;
import org.springframework.web.bind.annotation.GetMapping;
import org.springframework.web.bind.annotation.RequestMapping;
import org.springframework.web.bind.annotation.RestController;

@RestController
@RequestMapping("/xhn")
@EnableConfigurationProperties(UserBody.class)
public class TestController {
    @Autowired
    UserBody userBody;

    @GetMapping("/userbody")
    public String getUser(){
        return userBody.toString();
    }

    @Value("${xhn_ip}")
    private String xhn_ip;

    @Value("${xhn_port}")
    private String xhn_port;

    @GetMapping("/getValue")
    public String getArgs(){
        return "xhn_ip:"+xhn_ip+",xhn_port:"+xhn_port;
    }
}
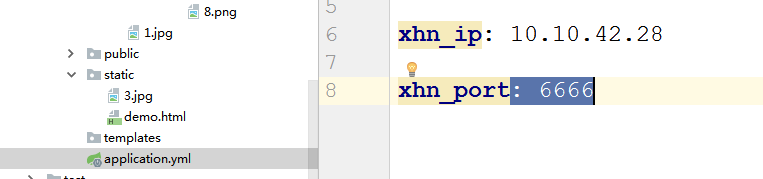
application.yml配置文件中为:
xhn_ip: 10.10.42.28

xhn_port: 6666
对应的实体类为:
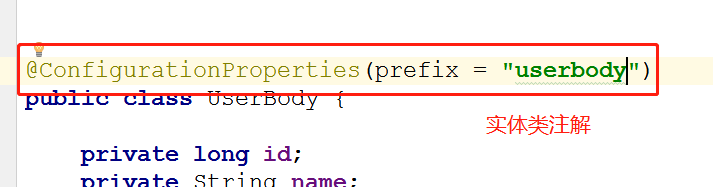
package com.xhn.springbootdemo.po;

import org.springframework.boot.context.properties.ConfigurationProperties;


@ConfigurationProperties(prefix = "userbody")
public class UserBody {

    private long id;
    private String name;
    private String mobile;
    private String address;
    private Integer age;

    public long getId() {
        return id;
    }

    public void setId(long id) {
        this.id = id;
    }

    public String getName() {
        return name;
    }

    public void setName(String name) {
        this.name = name;
    }

    public String getMobile() {
        return mobile;
    }

    public void setMobile(String mobile) {
        this.mobile = mobile;
    }

    public String getAddress() {
        return address;
    }

    public void setAddress(String address) {
        this.address = address;
    }

    public Integer getAge() {
        return age;
    }

    public void setAge(Integer age) {
        this.age = age;
    }

    public UserBody(long id, String name, String mobile, String address, Integer age) {
        this.id = id;
        this.name = name;
        this.mobile = mobile;
        this.address = address;
        this.age = age;
    }

    @Override
    public String toString() {
        return "UserBody{" +
                "id=" + id +
                ", name='" + name + '\'' +
                ", mobile='" + mobile + '\'' +
                ", address='" + address + '\'' +
                ", age=" + age +
                '}';
    }

    public UserBody() {
        super();
    }
}
访问效果图为:
3、实体类属性赋值
当属性参数变多的时候,我们习惯创建一个实体,用实体来统一接收赋值这些属性。
(1)、定义配置文件
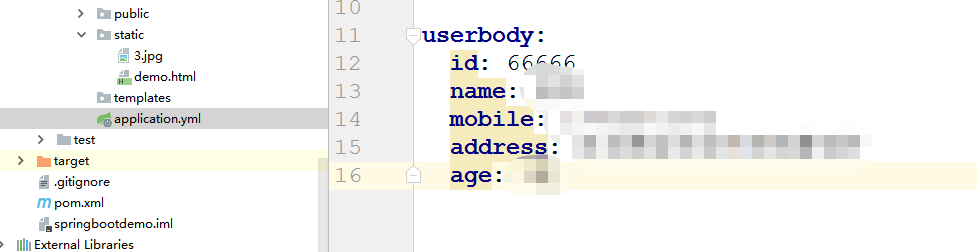
内容需要保密,阅读的小伙伴需要自己手动输入自己想设置的内容,谢谢
(2)、创建实体类:在前边UserBody实体中增加注解@ConfigurationProperties,并指定prrfix前缀
即可
(3)自定义实体类controller层代码

效果图展示:
