版权声明:本文为博主原创文章,遵循 CC 4.0 BY-SA 版权协议,转载请附上原文出处链接和本声明。
导语
在之前的分享中介绍了SpringCloud相关的内容,那么如何去搭建一个Spring Cloud Eureka 的注册中心。作为微服务中最为重要的一个组件,怎么去搭建一个服务注册中心称为关键。下面就来介绍一下怎么去搭建一个服务注册中心。
搭建
统一环境
- JDK1.8
- Maven3.3.6
- IDEA 2018
- SpringBoot 2.1.3
- SpringCloud Greenwich.SR1
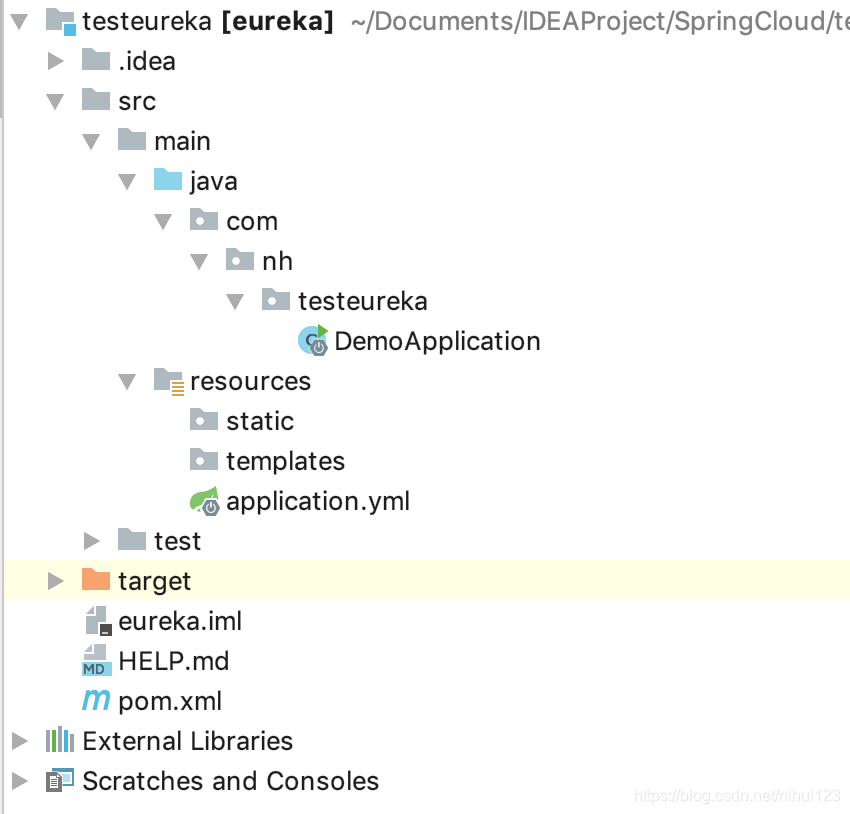
第一步 创建一个SpringBoot项目
第二步 配置Pom文件
<?xml version="1.0" encoding="UTF-8"?>
<project xmlns="http://maven.apache.org/POM/4.0.0" xmlns:xsi="http://www.w3.org/2001/XMLSchema-instance"
         xsi:schemaLocation="http://maven.apache.org/POM/4.0.0 https://maven.apache.org/xsd/maven-4.0.0.xsd">
    <modelVersion>4.0.0</modelVersion>
    <parent>
        <groupId>org.springframework.boot</groupId>
        <artifactId>spring-boot-starter-parent</artifactId>
        <version>2.1.3.RELEASE</version>
        <relativePath/> <!-- lookup parent from repository -->
    </parent>
    <groupId>com.nh.eureka</groupId>
    <artifactId>eureka</artifactId>
    <version>0.0.1-SNAPSHOT</version>
    <name>eureka</name>
    <description>Demo project for Spring Boot</description>

    <properties>
        <project.build.sourceEncoding>UTF-8</project.build.sourceEncoding>
        <project.reporting.outputEncoding>UTF-8</project.reporting.outputEncoding>
        <java.version>1.8</java.version>
        <spring-cloud.version>Greenwich.SR1</spring-cloud.version>
    </properties>

    <dependencies>
        <dependency>
            <groupId>org.springframework.cloud</groupId>
            <artifactId>spring-cloud-starter-netflix-eureka-server</artifactId>
        </dependency>


        <dependency>
            <groupId>org.springframework.boot</groupId>
            <artifactId>spring-boot-starter-test</artifactId>
        </dependency>
    </dependencies>

    <dependencyManagement>
        <dependencies>
            <dependency>
                <groupId>org.springframework.cloud</groupId>
                <artifactId>spring-cloud-dependencies</artifactId>
                <version>${spring-cloud.version}</version>
                <type>pom</type>
                <scope>import</scope>
            </dependency>
        </dependencies>
    </dependencyManagement>

    <repositories>
        <repository>
            <id>spring-snapshots</id>
            <name>Spring Snapshots</name>
            <url>https://repo.spring.io/libs-snapshot</url>
            <snapshots>
                <enabled>true</enabled>
            </snapshots>
        </repository>
    </repositories>

    <build>
        <plugins>
            <plugin>
                <groupId>org.springframework.boot</groupId>
                <artifactId>spring-boot-maven-plugin</artifactId>
            </plugin>
        </plugins>
    </build>

</project>
注意
在配置POM文件的时候首先关注的一件事情就是版本对对应的问题,下面就给出了简单的SpringBoot与SpringCloud的版本对应关系
| SpringBoot | SpringCloud |
|---|---|
| 1.2.x | Angel版本 |
| 1.3.x | Brixton版本 |
| 1.4.x | Camden版本 |
| 1.5.x | Dalston版本、Edgware版本 |
| 2.0.x | Finchley版 |
| 2.1.x | Greenwich版本 |
当然这个版本对应关系可以从如下链接看到Spring项目支持。
第三步 设置配置文件
这里使用的是yml配置文件当然根据个人习惯也可以使用properties配置文件
server:
  port: 8761
eureka:
  instance:
    hostname: localhost
    instance-id: ${spring.application.name}:${vcap.application.instance_id:${spring.application.instance_id:${random.value}}}
  client:
    register-with-eureka: false
    fetch-registry: false
    service-url:
        defaultZone: http://${eureka.instance.hostname}:${server.port}/eureka/
spring:
  application:
    name: eureka-service
第四步 编写主启动类
import org.springframework.boot.SpringApplication;
import org.springframework.boot.autoconfigure.SpringBootApplication;
import org.springframework.cloud.netflix.eureka.server.EnableEurekaServer;

@SpringBootApplication
@EnableEurekaServer
public class DemoApplication {

    public static void main(String[] args) {
        SpringApplication.run(DemoApplication.class, args);
    }

}
在完成以上四个步骤之后一个简单的注册中心就已经搭建好了,接下来就来简单的使用一下吧。
测试
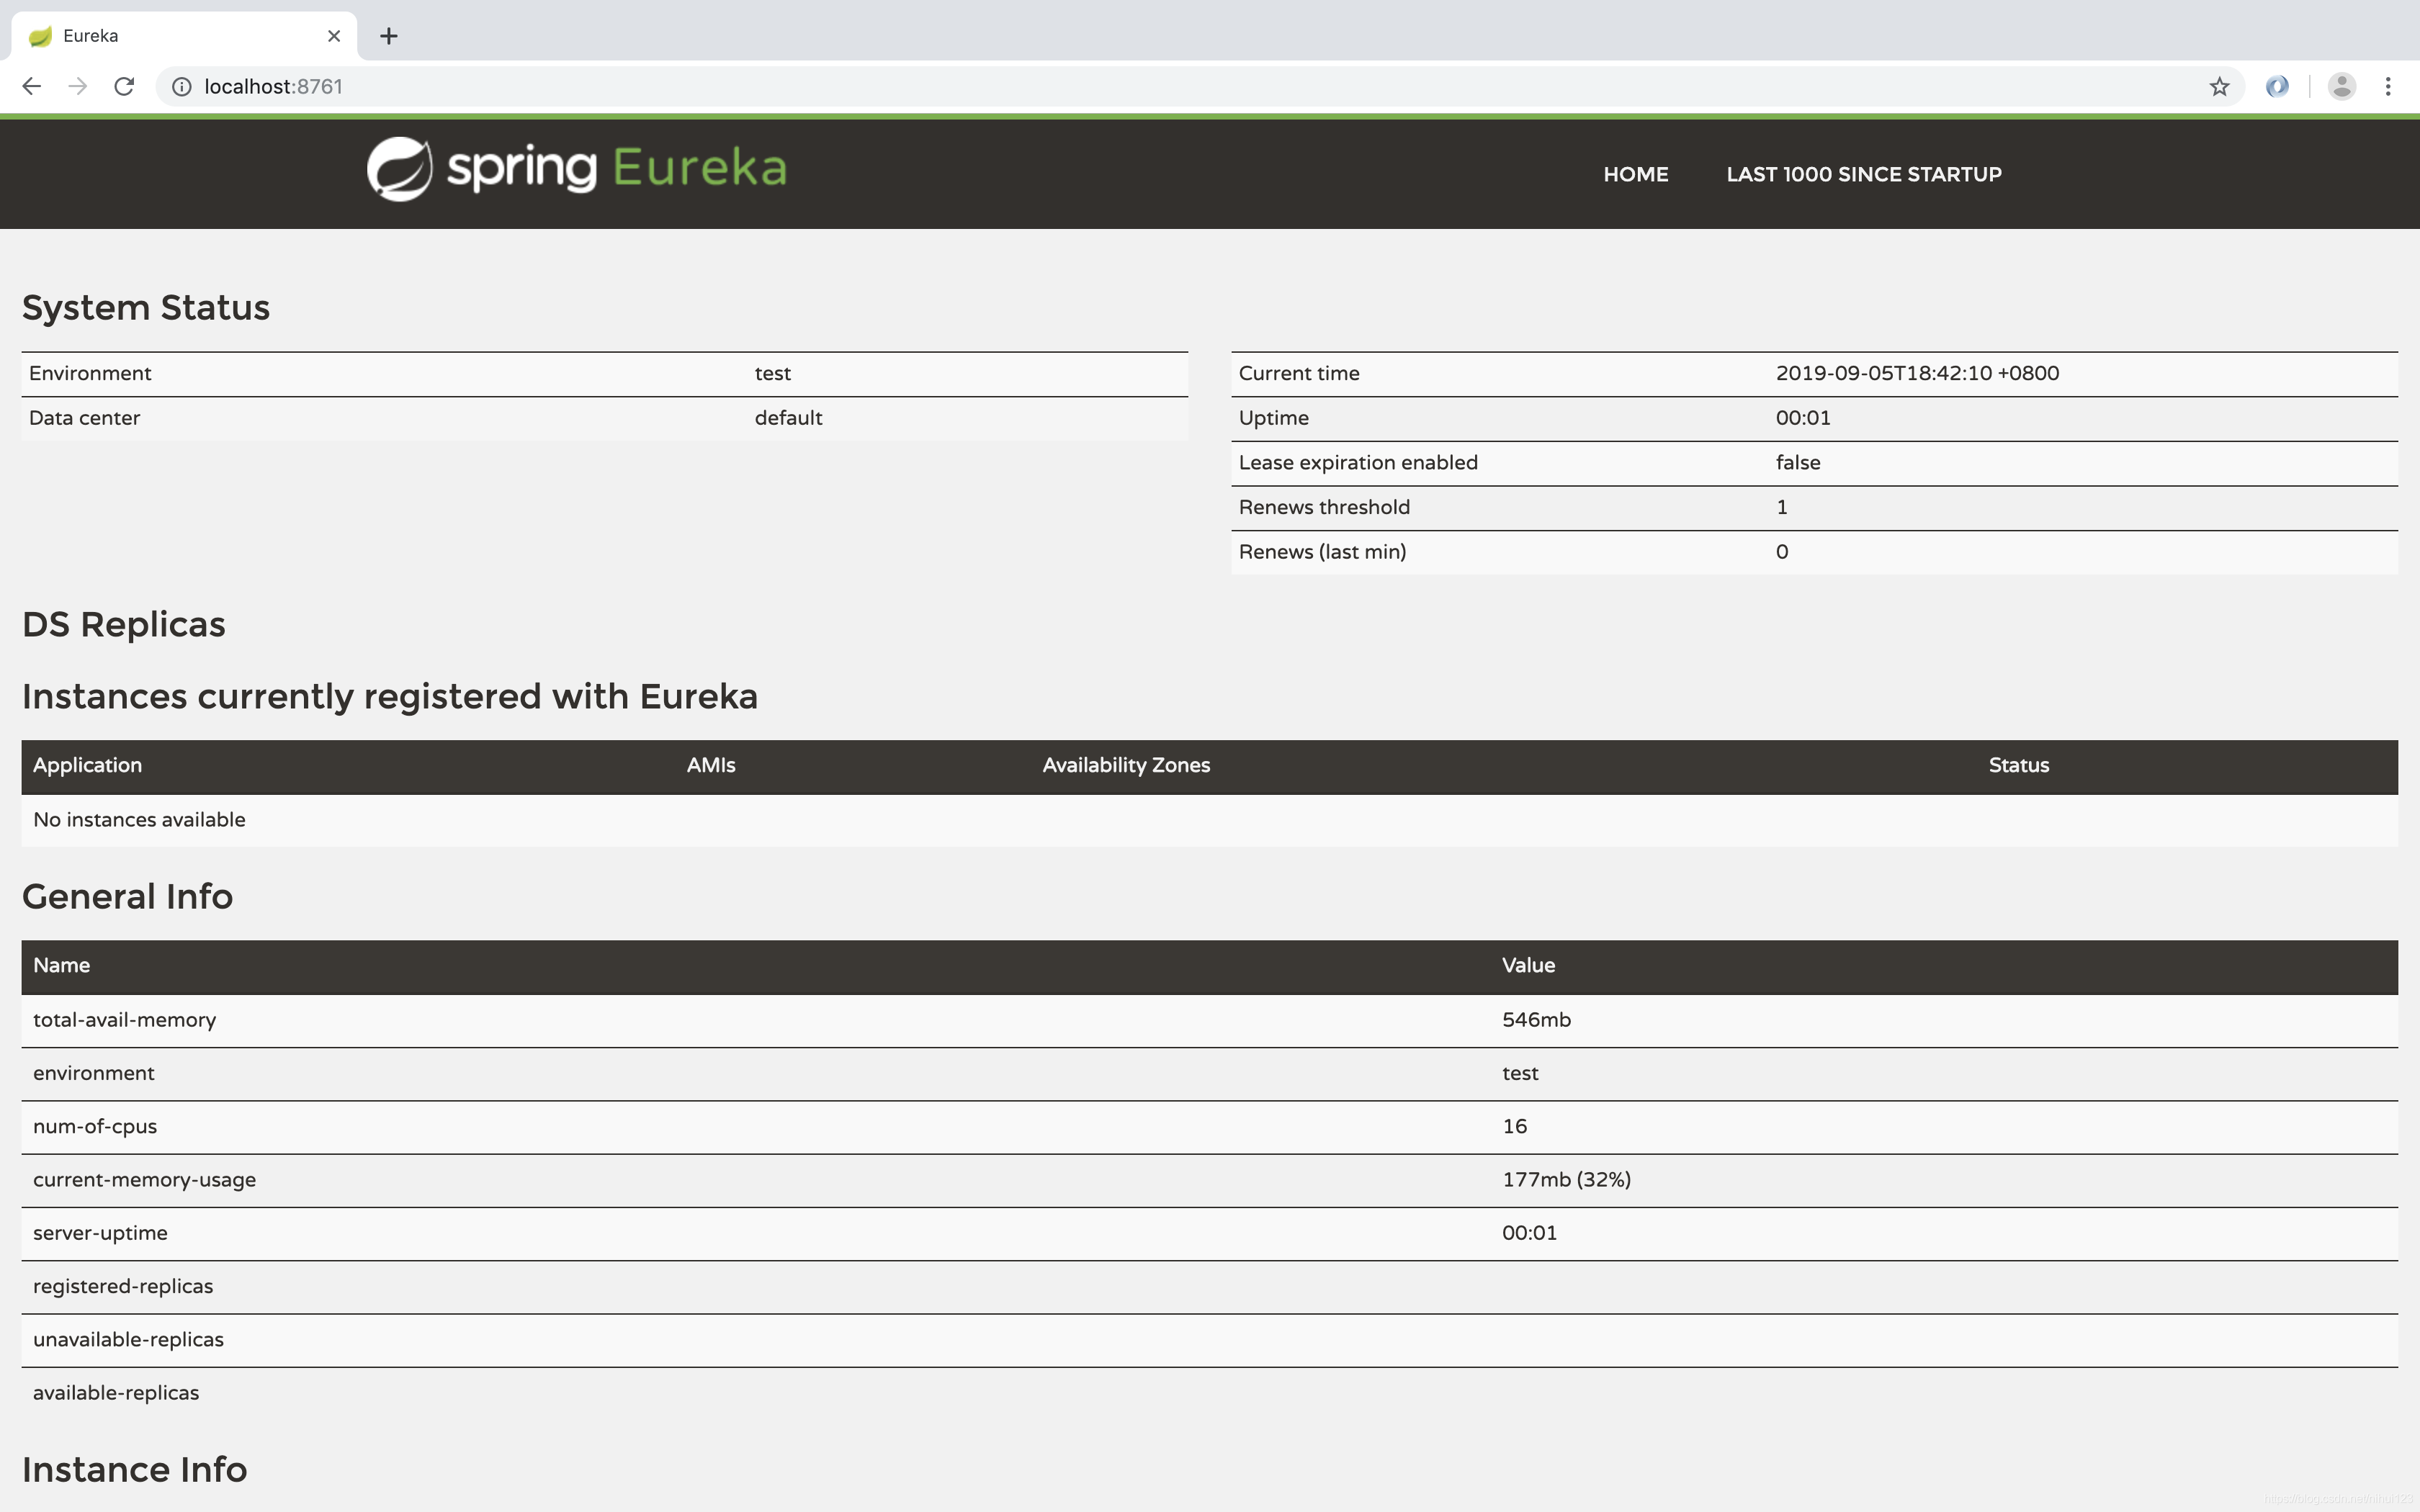
点击启动类启动程序。在浏览器中访问http://localhost:8761/ 会看到如下效果
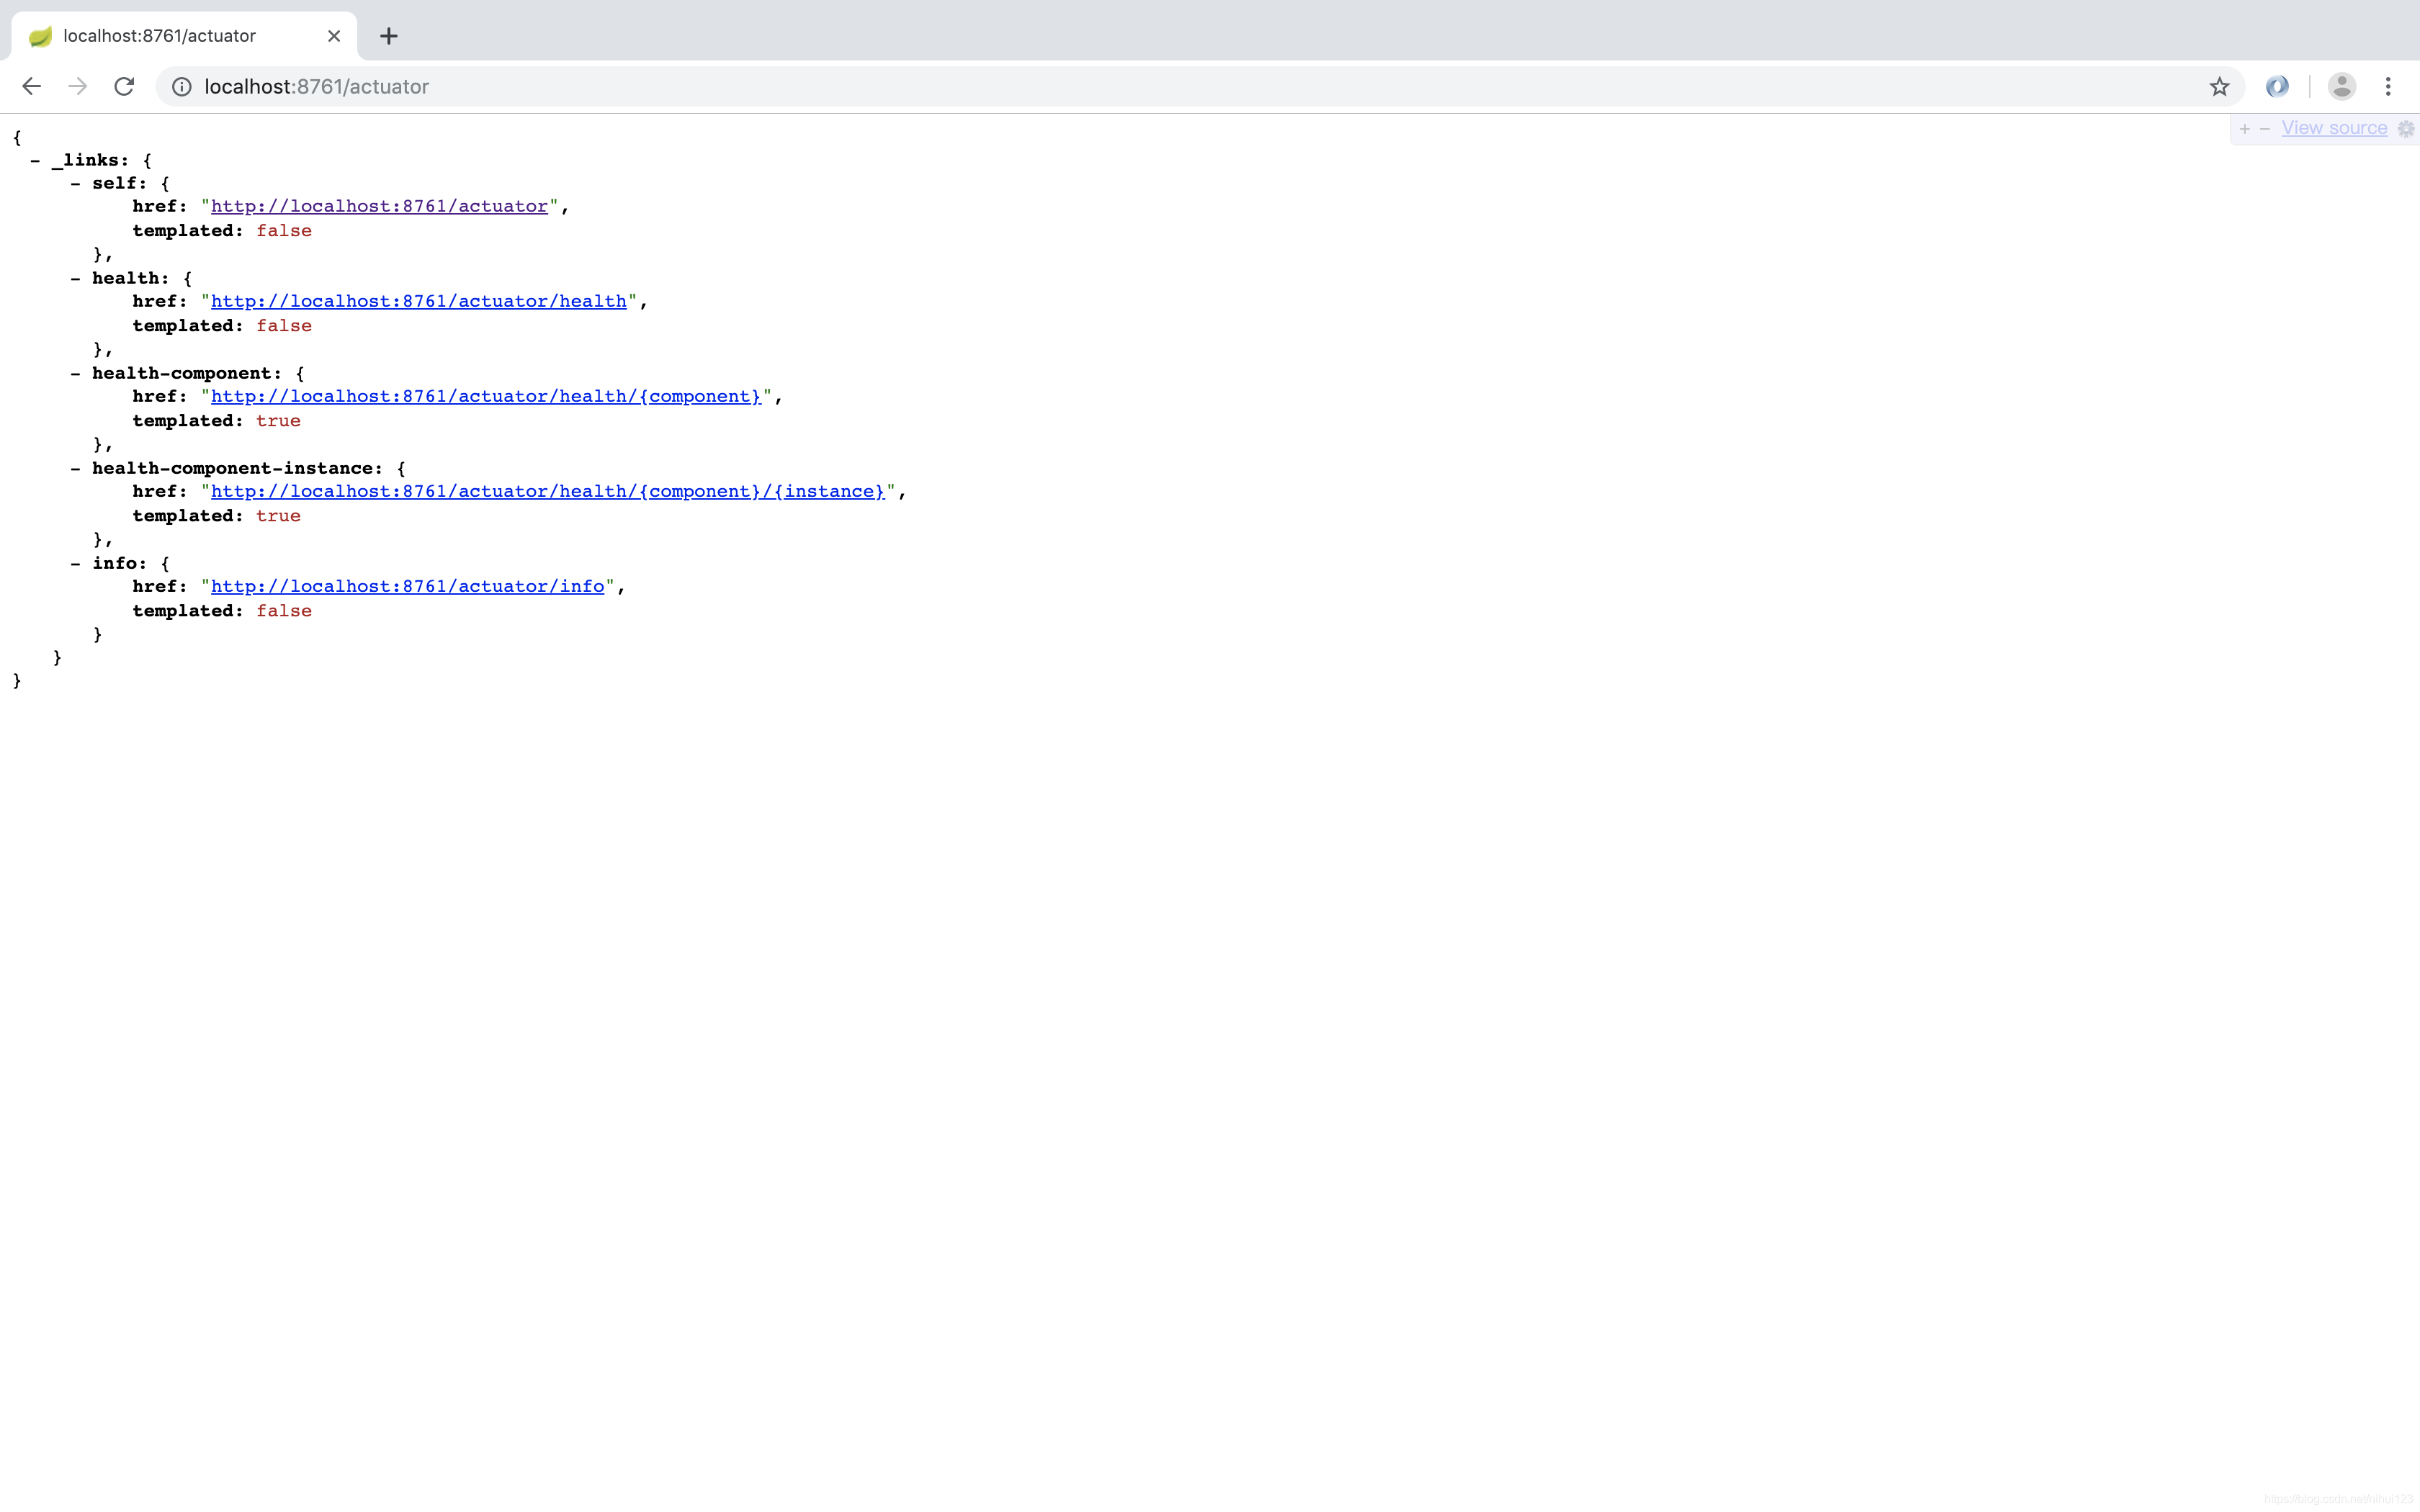
继续在控制台访问 http://localhost:8761/actuator 会看到如下的效果,说明Eureka搭建完成,可以点击其中的连接来查看对应的效果。
总结
上面介绍了最简单的一个搭建Eureka注册中心的方式,并且介绍了SpringBoot与SpringCloud的对应关系。这个算是是SpringCloud系列的开始。以后会在有时间的时候发布一些关于SpringCloud的博客。