版权声明:本文为博主原创文章,遵循 CC 4.0 BY-SA 版权协议,转载请附上原文出处链接和本声明。
1.前言
在微服务架构下,服务是分散的,怎么把所有服务接口整合到一起是我们需要关注的。
下面举例用zuul作为分布式系统的网关,同时使用swagger生成文档,想把整个系统的文档整合在同一个页面上来说明。
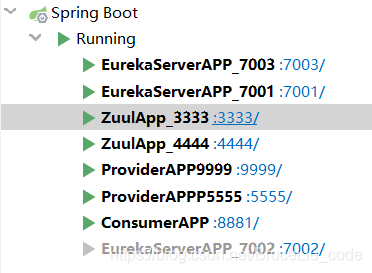
2.项目的工程文件
3.service-a 项目配置
3.1.service-a 依赖
 <!-- swagger-spring-boot -->
 <dependency>
     <groupId>com.spring4all</groupId>
     <artifactId>swagger-spring-boot-starter</artifactId>
     <version>1.7.0.RELEASE</version>
 </dependency>
3.2.service-a 中swagger的配置,配置文件
Api接口扫描范围
# Api接口扫描范围
swagger.base-package: com.bruceliu.controller
swagger.title=BruceLiu-API
3.3.控制器注解注释
在service-a 写一个测试的controller,需要在上面swagger配置的扫描路径下
package com.bruceliu.controller;

import com.bruceliu.bean.User;
import com.bruceliu.service.UserService;
import com.netflix.hystrix.contrib.javanica.annotation.HystrixCommand;
import io.swagger.annotations.Api;
import io.swagger.annotations.ApiOperation;
import org.springframework.beans.factory.annotation.Autowired;
import org.springframework.cloud.client.ServiceInstance;
import org.springframework.cloud.client.discovery.DiscoveryClient;
import org.springframework.context.annotation.Scope;
import org.springframework.web.bind.annotation.*;
import org.springframework.web.client.RestTemplate;

import java.util.List;

/**
 * @author bruceliu
 * @create 2019-10-15 15:32
 * @description
 */
@RestController
@Scope("prototype")
@Api(value = "消费者API信息",tags = "消费者查询接口")
public class ConsumerController {

    @Autowired
    UserService userService;


    @ApiOperation(value = "获取用户列表", notes = "")
    @GetMapping("/test")
    public List<User> test1() {
        return userService.queryUsers();
    }

    @ApiOperation(value = "获取用户详细信息", notes = "根据url的id来获取用户详细信息")
    @GetMapping(value = "/queryById/{id}")
    public User getById(@PathVariable("id") Integer id) {
        return userService.getById(id);
    }

    @ApiOperation(value = "删除用户", notes = "根据url的id来指定删除对象")
    @GetMapping(value = "/deleteById/{id}")
    public Long deleteById(@PathVariable("id") Integer id) {
        return userService.deleteById(1);
    }

    @PostMapping(value = "/add")
    public Integer addUser(User user) {
        System.out.println("新增的用户是:" + user);
        return userService.addUser(user);
    }

    @ApiOperation(value = "创建用户", notes = "根据User对象创建用户")
    @RequestMapping(value = "/get/{id}", method = RequestMethod.GET)
    public User get(@PathVariable("id") Integer id) {
        return userService.getById(id);
    }

}
别的服务一样配置,本例子中是service-b,此处假设卑配置完毕,省略不配!
3.4.启动类注解
@EnableSwagger2Doc
4.zuul网关的配置,核心依赖
 <!-- swagger-spring-boot -->
 <dependency>
     <groupId>com.spring4all</groupId>
     <artifactId>swagger-spring-boot-starter</artifactId>
     <version>1.7.0.RELEASE</version>
 </dependency>
4.4.zuul中yml文件配置
zuul:
  routes:
    service-a:
      path: /service-a/** # 配置路由规则
    service-b:
      path: /service-b/** # 配置路由规则
4.5.整合swagger的api zuul网关
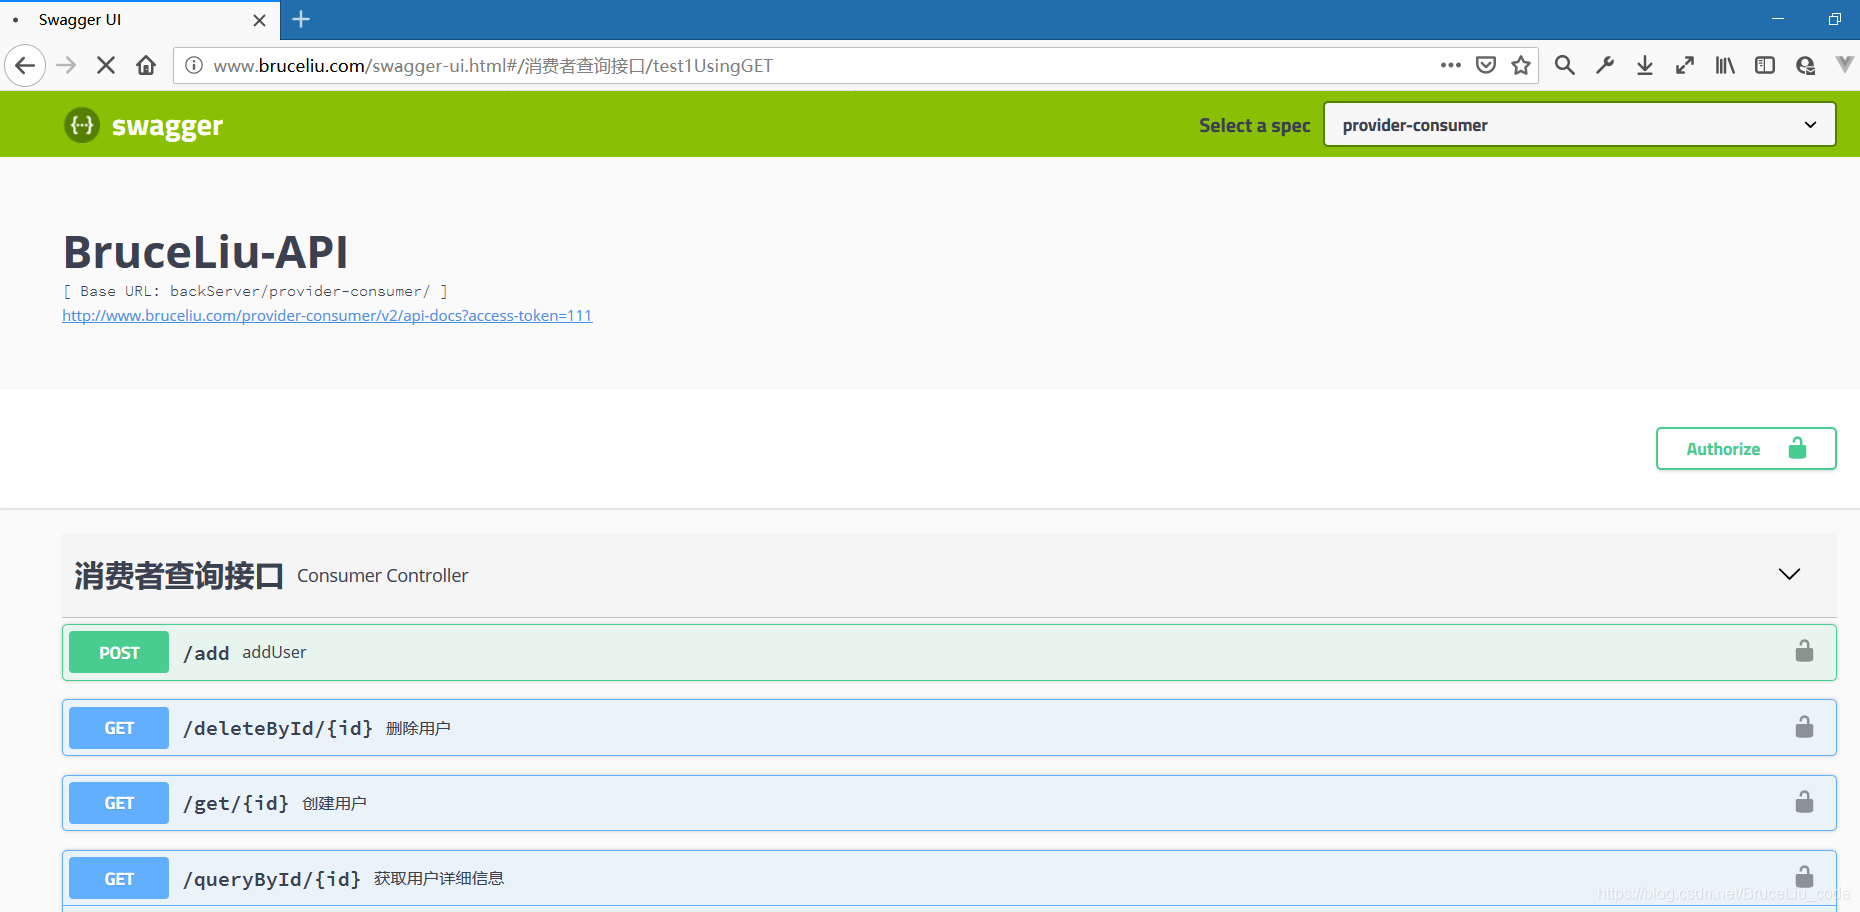
构建一个整合swagger的api zuul网关,把各个微服务的swagger路径整合到zuul的swagger下,可以通过下拉列表进行访问,不过需要zuul进行路由,见上面的路由配置
package com.bruceliu;

import com.spring4all.swagger.EnableSwagger2Doc;
import org.springframework.boot.SpringApplication;
import org.springframework.boot.autoconfigure.SpringBootApplication;
import org.springframework.cloud.client.discovery.EnableDiscoveryClient;
import org.springframework.cloud.netflix.zuul.EnableZuulProxy;
import org.springframework.context.annotation.Primary;
import org.springframework.stereotype.Component;
import springfox.documentation.swagger.web.SwaggerResource;
import springfox.documentation.swagger.web.SwaggerResourcesProvider;

import java.util.ArrayList;
import java.util.List;

/**
 * @author bruceliu
 * @create 2019-10-19 22:05
 * @description
 */
@SpringBootApplication
@EnableZuulProxy // 开启Zuul的网关功能
@EnableDiscoveryClient
@EnableSwagger2Doc
public class ZuulApp_4444 {

    public static void main(String[] args) {
        SpringApplication.run(ZuulApp_4444.class,args);
    }

    // 添加文档来源
    @Component
    @Primary
    class DocumentationConfig implements SwaggerResourcesProvider {
        @Override
        public List<SwaggerResource> get() {
            List resources = new ArrayList<>();
            // app-itmayiedu-order
            resources.add(swaggerResource("provider-consumer", "/provider-consumer/v2/api-docs?access-token=111", "2.0"));
            //resources.add(swaggerResource("app-itmayiedu-order", "/api-order/v2/api-docs", "2.0"));
            return resources;
        }

        private SwaggerResource swaggerResource(String name, String location, String version) {
            SwaggerResource swaggerResource = new SwaggerResource();
            swaggerResource.setName(name);
            swaggerResource.setLocation(location);
            swaggerResource.setSwaggerVersion(version);
            return swaggerResource;
        }
    }
}
5.访问测试
通过访问api网关的swagger路径可以看到下面的界面,下拉框可以进行切换不同微服务,查看到不同的api