版权声明:本文为博主原创文章,遵循 CC 4.0 BY-SA 版权协议,转载请附上原文出处链接和本声明。
开发环境:
- 开发工具:IntelliJ IDEA
- Java版本:1.8
- Spring Boot版本:2.1.6.RELEASE
- Spring Cloud版本:Greenwich.SR1
工程简介:
将产品(client-product)和用户(client-user)两个微服务注册到Spring Cloud的Netflix Eureka服务治理中心(server-eureka)。通过Spring Cloud的组件Ribbon来实现client-product微服务调用client-user微服务。Ribbon实际上是一个RestTemplate对象,不过它默认实现了客户端负载均衡功能。在默认情况,它会提供轮询的负载均衡算法。
1、创建Spring Boot工程
(1)工程目录
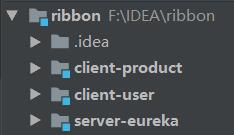
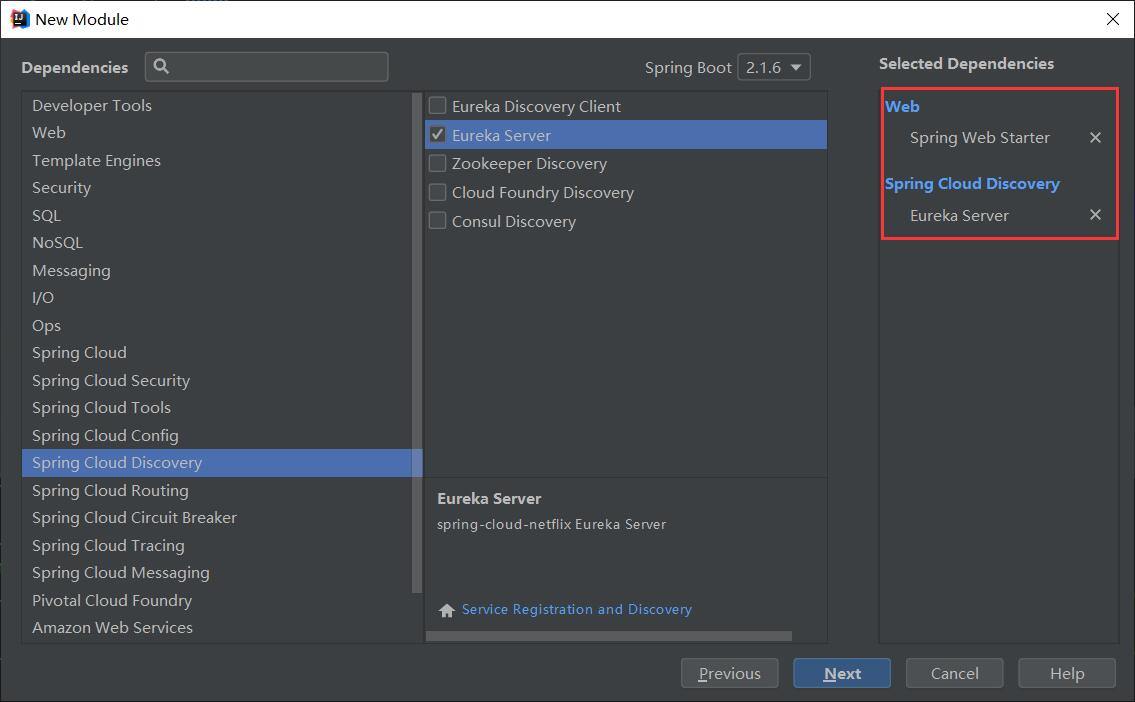
(2)server-eureka组件选择
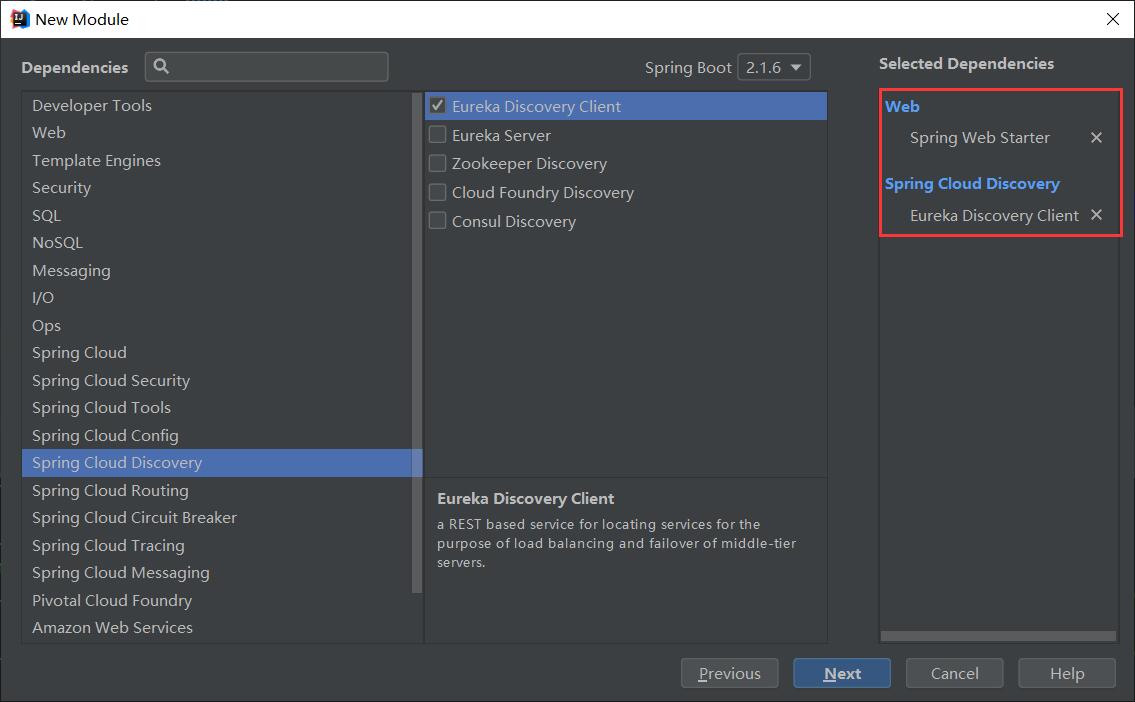
(2)client-user组件选择
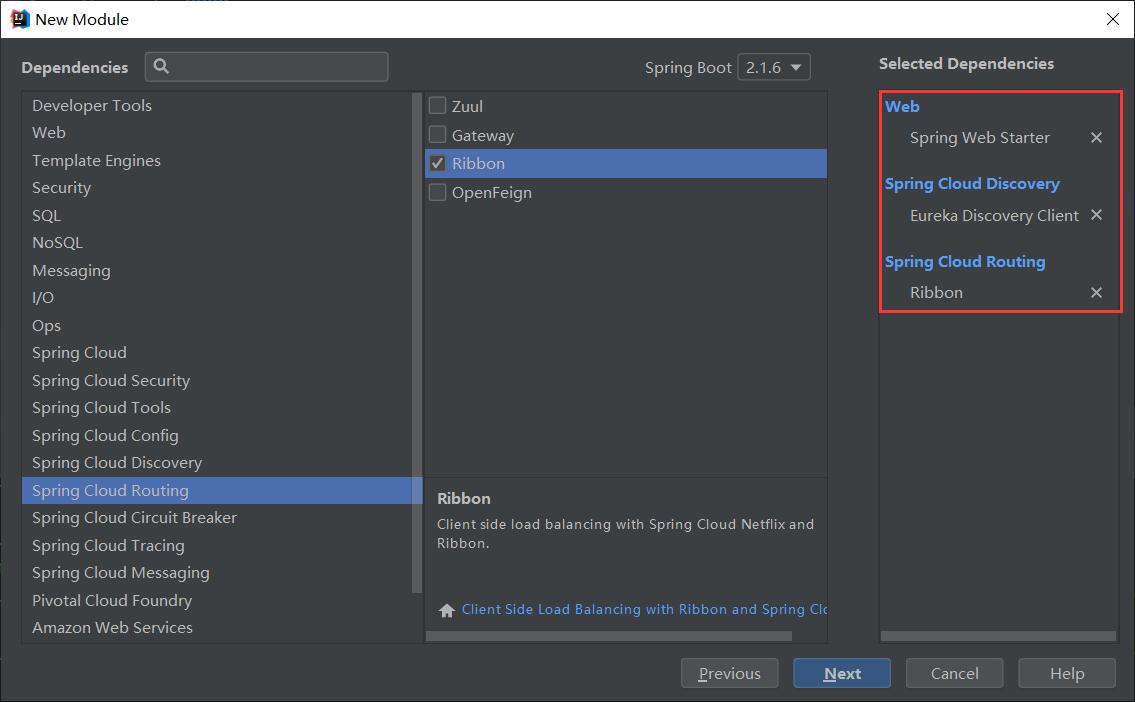
(3)client-product组件选择
2、配置server-eureka微服务
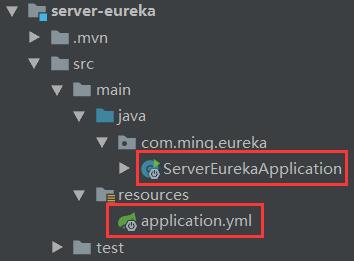
(1)server-eureka目录
(2)application.yml
server:
  #服务端口
  port: 9000
spring:
  application:
    #服务名称
    name: server
eureka:
  #配置环境
  environment: dev
  #配置数据中心
  datacenter: nanjing
  instance:
    #注册服务器名称
    hostname: localhost
  client:
    #是否注册到服务中心
    register-with-eureka: false
    #是否检索服务
    fetch-registry: false
    service-url:
      #客户端服务域
      defaultZone: http://localhost:9000/eureka/
(3)ServerEurekaApplication
package com.ming.eureka;

import org.springframework.boot.SpringApplication;
import org.springframework.boot.autoconfigure.SpringBootApplication;
import org.springframework.cloud.netflix.eureka.server.EnableEurekaServer;

@SpringBootApplication
@EnableEurekaServer //开启Eureka服务端
public class ServerEurekaApplication {

    public static void main(String[] args) {
        SpringApplication.run(ServerEurekaApplication.class, args);
    }
}
3、配置client-user微服务
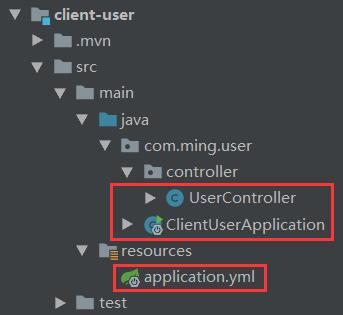
(1)client-user目录
(2)application.yml
#配置第一个用户微服务
server:
  #服务端口
  port: 7001
spring:
  #区分不同环境下的配置文件
  profiles: user1
  #服务名称
  application:
    name: user
eureka:
  client:
    service-url:
      #服务注册地址
      defaultZone: http://localhost:9000/eureka/
#隔离线
---
#配置第二个用户微服务
server:
  #服务端口
  port: 7002
spring:
  #区分不同环境下的配置文件
  profiles: user2
  #服务名称
  application:
    name: user
eureka:
  client:
    service-url:
      #服务注册地址
      defaultZone: http://localhost:9000/eureka/
(3)ClientUserApplication
package com.ming.user;

import org.springframework.boot.SpringApplication;
import org.springframework.boot.autoconfigure.SpringBootApplication;
import org.springframework.cloud.netflix.eureka.EnableEurekaClient;

@SpringBootApplication
@EnableEurekaClient  //开启Eureka客户端
public class ClientUserApplication {

    public static void main(String[] args) {
        SpringApplication.run(ClientUserApplication.class, args);
    }
}
(4)ClientUserApplication
package com.ming.user.controller;

import org.springframework.beans.factory.annotation.Autowired;
import org.springframework.cloud.client.ServiceInstance;
import org.springframework.cloud.client.discovery.DiscoveryClient;
import org.springframework.web.bind.annotation.PathVariable;
import org.springframework.web.bind.annotation.RequestMapping;
import org.springframework.web.bind.annotation.RestController;

@RestController
public class UserController {

    @Autowired
    private DiscoveryClient discoveryClient;

    @RequestMapping("/user/{id}")
    public String getUser(@PathVariable("id") Long id) {

        //获取用户微服务实例
        ServiceInstance serviceInstance = discoveryClient.getInstances("USER").get(0);
        //控制台输出微服务被调用时间、端口号等信息
        System.out.println("time: " + new Timestamp(System.currentTimeMillis()) + ", serverId: " + serviceInstance.getServiceId() + ", host:" +
            " " + serviceInstance.getHost()
                + ", port: " + serviceInstance.getPort());
        return "user_id_" + id;
    }
}
4、配置client-product微服务
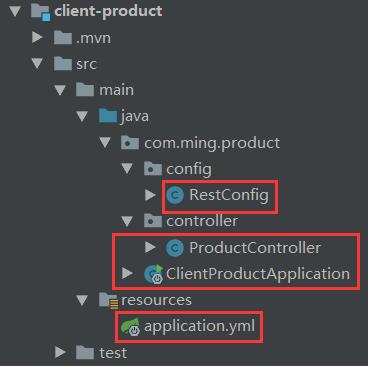
(1)client-product目录
(2)application.yml
server:
  #服务端口
  port: 8000
spring:
  #服务名称
  application:
      name: product
eureka:
  client:
    service-url:
      #服务注册地址
      defaultZone: http://localhost:9000/eureka/
(3)ClientUserApplication
package com.ming.product;

import org.springframework.boot.SpringApplication;
import org.springframework.boot.autoconfigure.SpringBootApplication;
import org.springframework.cloud.netflix.eureka.EnableEurekaClient;

@SpringBootApplication
@EnableEurekaClient //开启Eureka客户端
public class ClientProductApplication {

    public static void main(String[] args) {
        SpringApplication.run(ClientProductApplication.class, args);
    }
}
(4)RestConfig
package com.ming.product.config;

import org.springframework.cloud.client.loadbalancer.LoadBalanced;
import org.springframework.context.annotation.Bean;
import org.springframework.context.annotation.Configuration;
import org.springframework.web.client.RestTemplate;

@Configuration
public class RestConfig {

    @Bean
    @LoadBalanced //提供客户端负载均衡
    public RestTemplate initRestTemplate() {
        return new RestTemplate();
    }
}
(5)ProductController
package com.ming.product.controller;

import org.springframework.beans.factory.annotation.Autowired;
import org.springframework.web.bind.annotation.RequestMapping;
import org.springframework.web.bind.annotation.RestController;
import org.springframework.web.client.RestTemplate;

@RestController
public class ProductController {

    @Autowired
    private RestTemplate restTemplate;

    @RequestMapping("/ribbon")
    public String testRibbon() {
        String userId = "";
        //调用10次用户微服务
        for (int i = 1; i <= 10; i++) {
        	//微服务之间调用时,需将serviceId(spring.application.name)作为请求路径父级目录
            userId = restTemplate.getForObject("http://USER/user/" + i, String.class);
        }
        return userId;
    }
}
5、测试工程
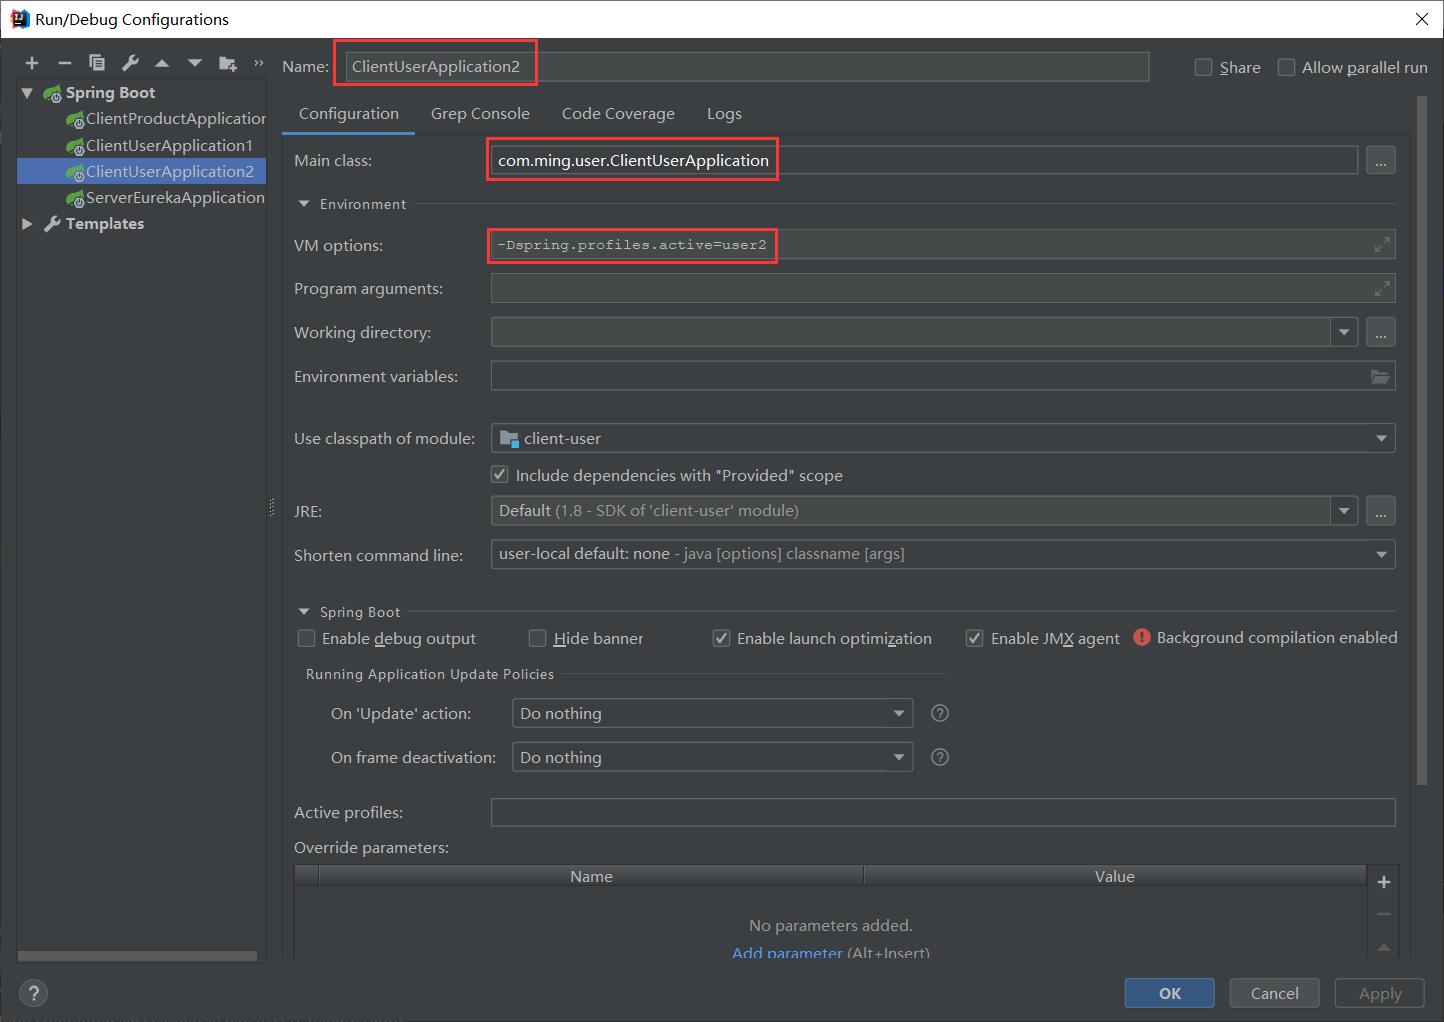
(1)配置client-user运行环境

(2)微服务运行目录
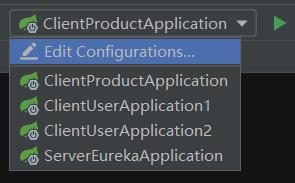
(3)运行工程
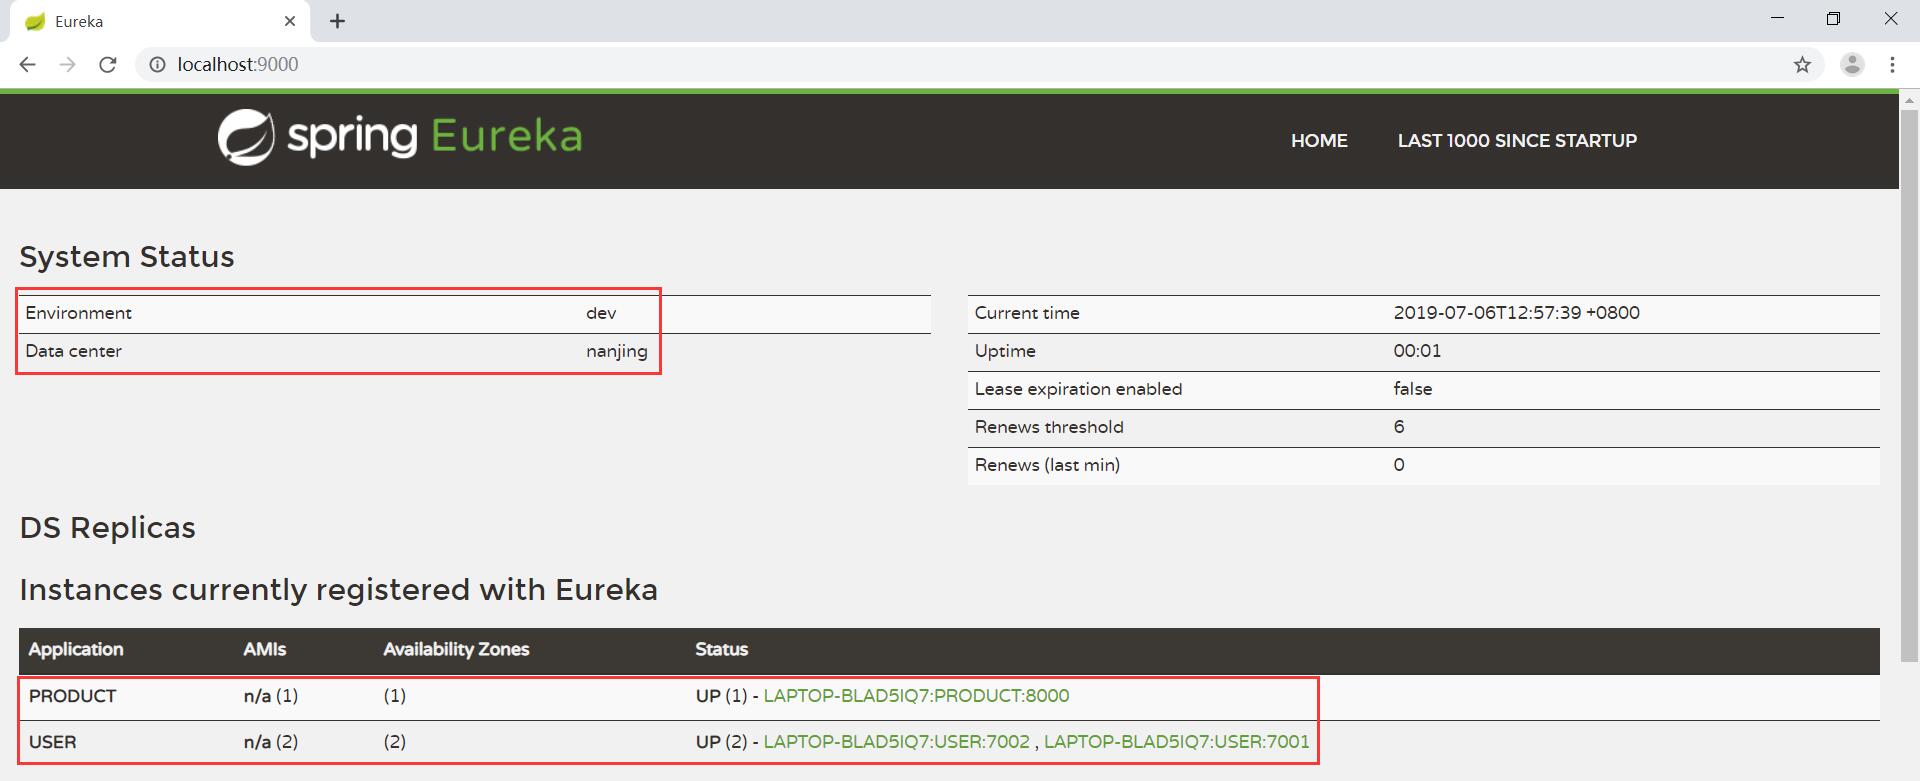
依次点击ServerEurekaApplication、ClientProductApplication、ClientUserApplication1、ClientUserApplication2,工程都启动成功后。在浏览器地址栏访问 http://localhost:9000,其结果如下:
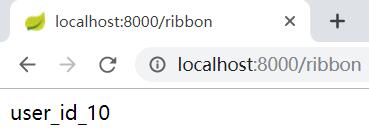
在浏览器地址栏访问 http://localhost:8000/ribbon,其结果如下:
查看控制台,其结果如下:
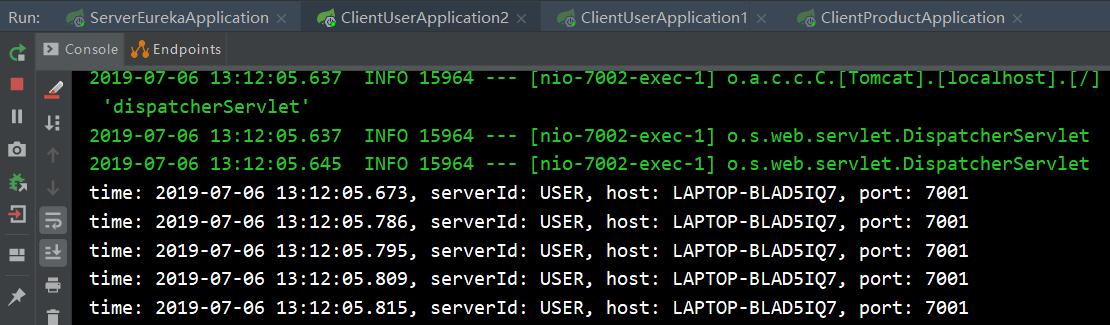
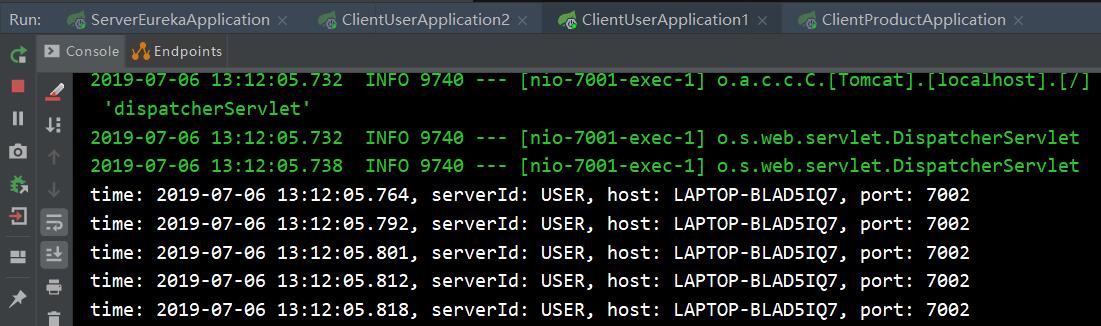
client-product微服务总共调用了10次client-user微服务,开启了2个client-user微服务实例,每个微服务实例被调用了5次。由于Ribbon客户端负载均衡默认采用轮询机制,根据时间可以看出,先调用ClientUserApplication2实例,后调用ClientUserApplication1实例,再调用ClientUserApplication2实例,又调用ClientUserApplication1实例,依次轮询调用。