版权声明:本文为博主原创文章,遵循 CC 4.0 BY-SA 版权协议,转载请附上原文出处链接和本声明。
搭建个人博客网上目前用的比较多的博客框架是Hexo、Hugo、Jekyll。本文详细介绍利用最新的Hugo(基于Go语言的博客框架)在windows上搭建个人博客网站,从域名注册到后期维护,全程保姆级教学,带你装逼。如果搭建过程中遇到什么问题都可以评论交流。
搭建博客前提:
- 电脑安装并配置好Git,尤其是username和email
- 注册GitHub账号
- 在GitHub配置ssh验证
- 掌握一定cmd命令操作
- 掌握配置各种环境变量

以上先决条件完成后就可以开始进行下面的步骤了:
第一步:安装Hugo
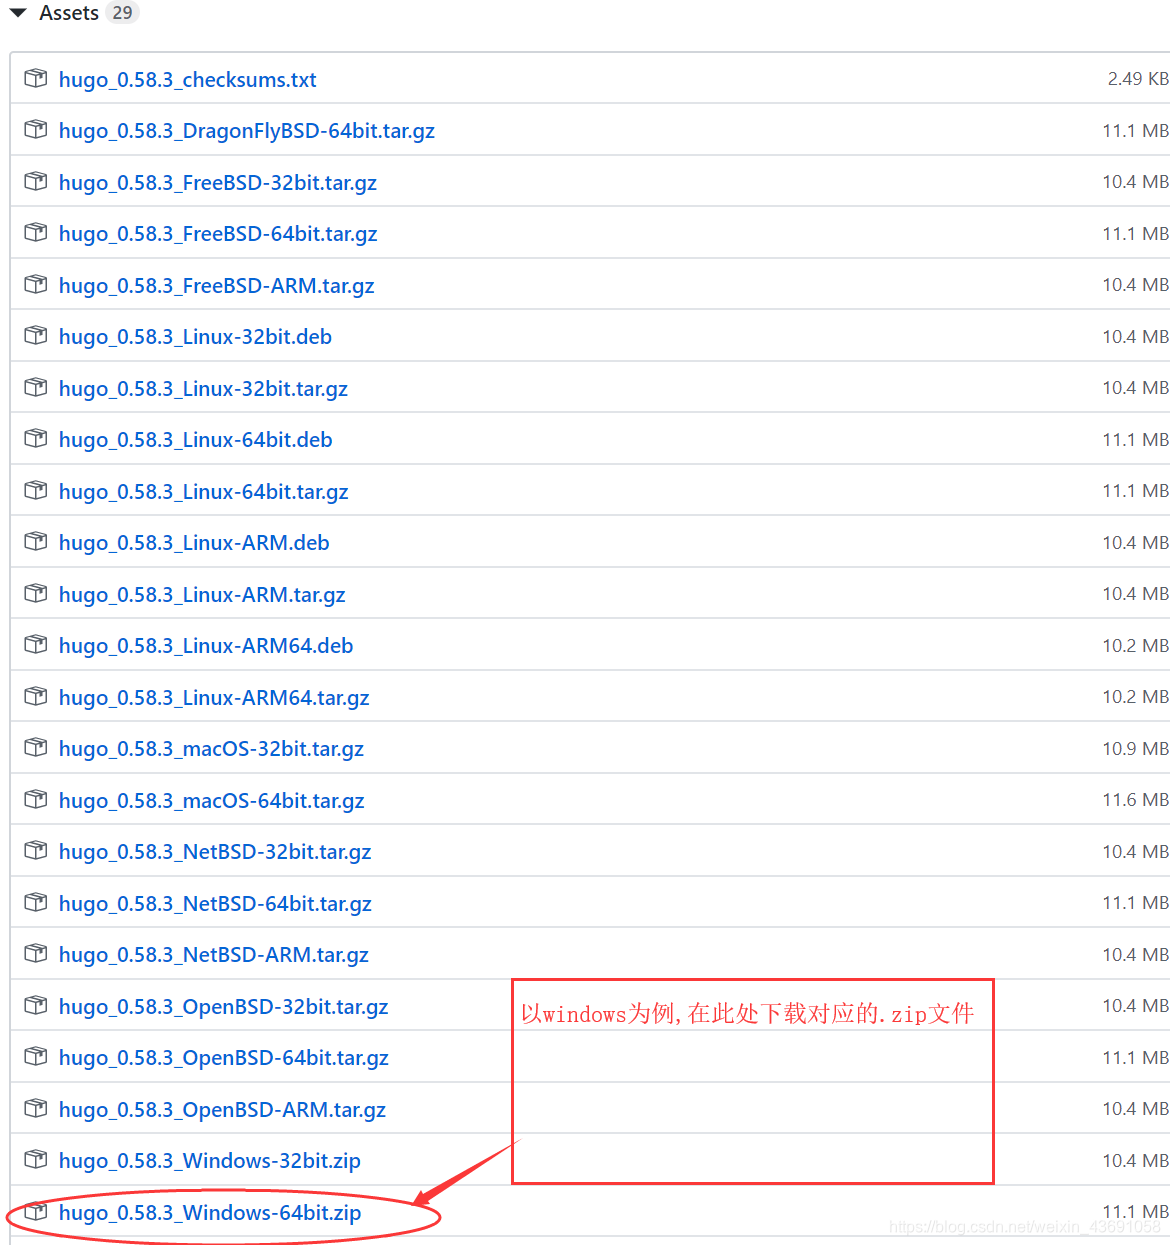
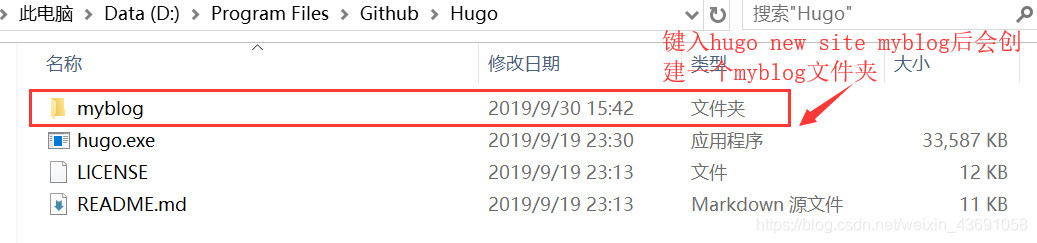
注意是仅下载hugo而不是扩展hugo_extend,下载好后将其解压到一个文件夹(这里将其放在一个Github的大文件夹下的Hugo空文件夹)中
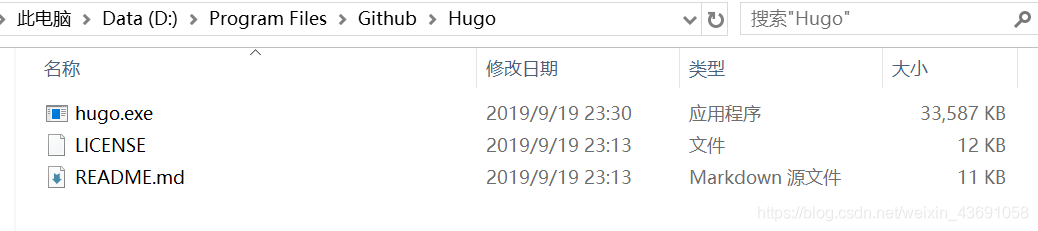
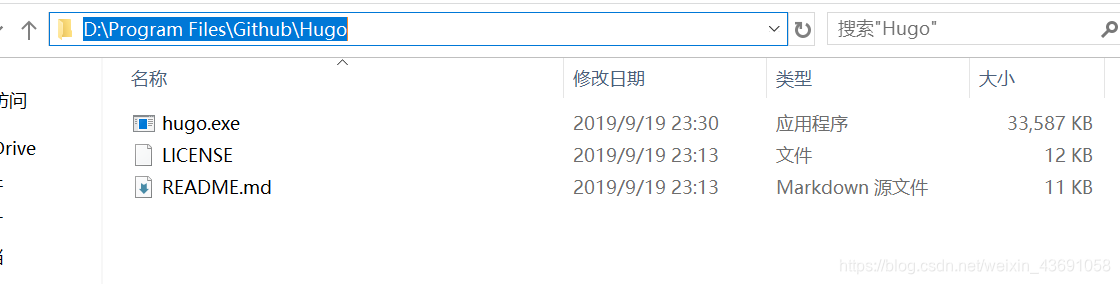
在此文件夹下,打开cmd控制台,键入hugo version,如果出现下面的内容就表明安装成功了
D:\Program Files\Github\Hugo>hugo version
Hugo Static Site Generator v0.58.3-4AAC02D4 windows/amd64 BuildDate: 2019-09-19T15:29:19Z
第二步:创建个人博客文件夹
- 仍然在此文件夹下打开cmd命令行,键入
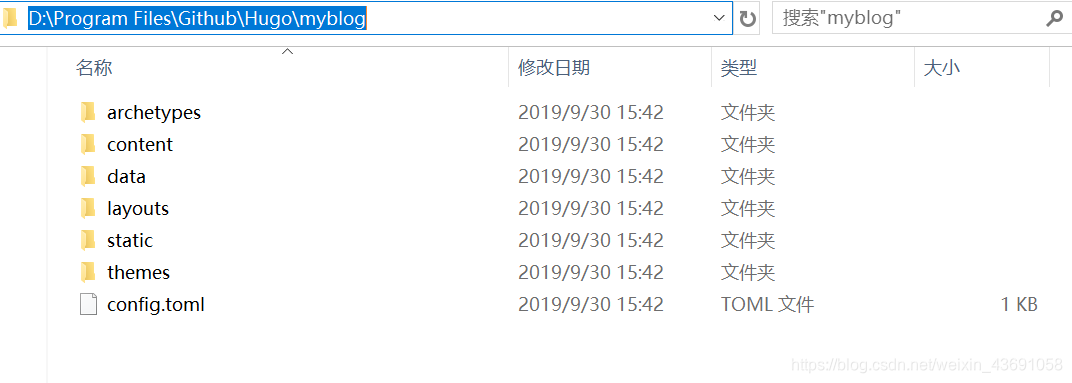
hugo new site myblog(自定义的博客名)
D:\Program Files\Github\Hugo>hugo new site myblog
Congratulations! Your new Hugo site is created in D:\Program Files\Github\Hugo\myblog.

Just a few more steps and you're ready to go:

1. Download a theme into the same-named folder.
   Choose a theme from https://themes.gohugo.io/ or
   create your own with the "hugo new theme <THEMENAME>" command.
2. Perhaps you want to add some content. You can add single files
   with "hugo new <SECTIONNAME>\<FILENAME>.<FORMAT>".
3. Start the built-in live server via "hugo server".

Visit https://gohugo.io/ for quickstart guide and full documentation.
第三步下载并设置博客主题
- 进入Hugo博客主题下载库挑选自己喜欢的博客模板()这里以m10c模板为例)点击Download
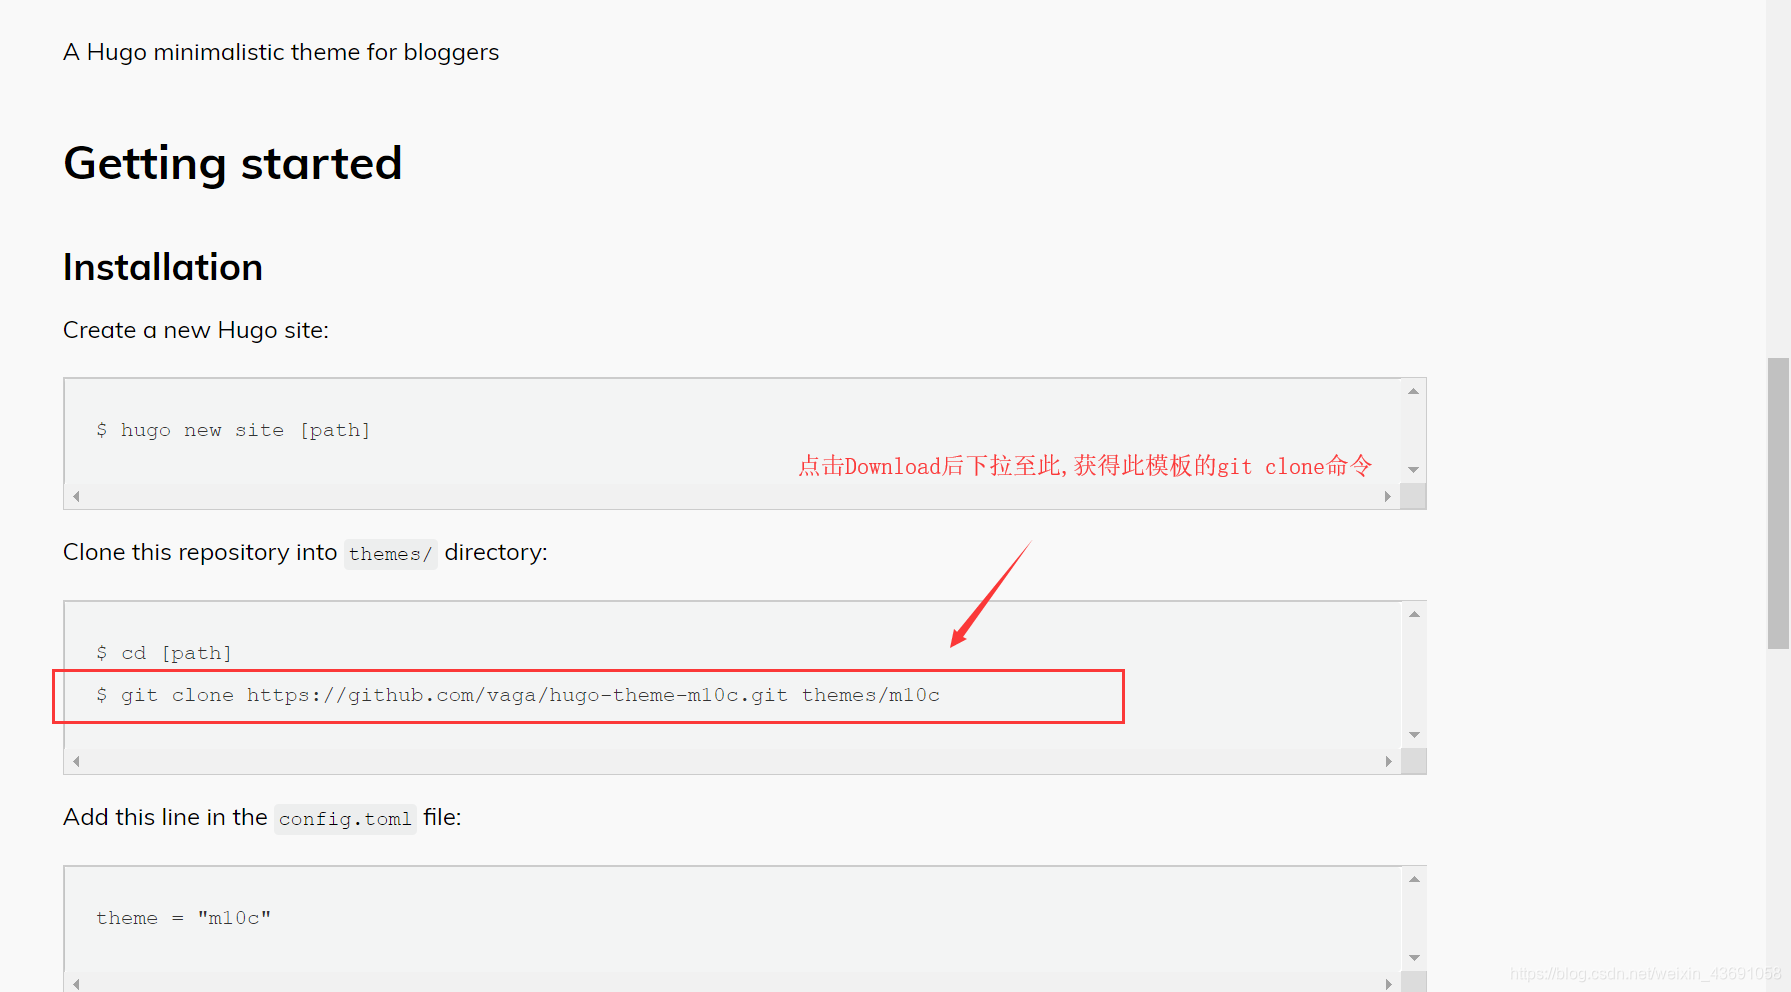
在D:\Program Files\Github\Hugo\myblog目录下打开cmd命令,键入上面获取到的git clone代码(git clone https://github.com/vaga/hugo-theme-m10c.git themes/m10c):

第四步:在本地启动个人博客
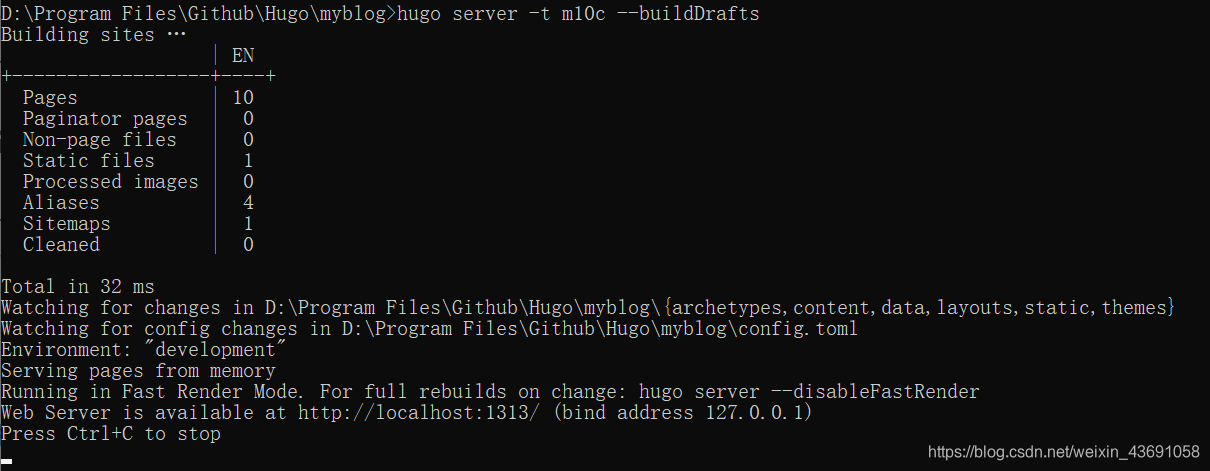
- 在
D:\Program Files\Github\Hugo\myblog目录打开cmd命令行,键入hugo server -t m10c --buildDrafts
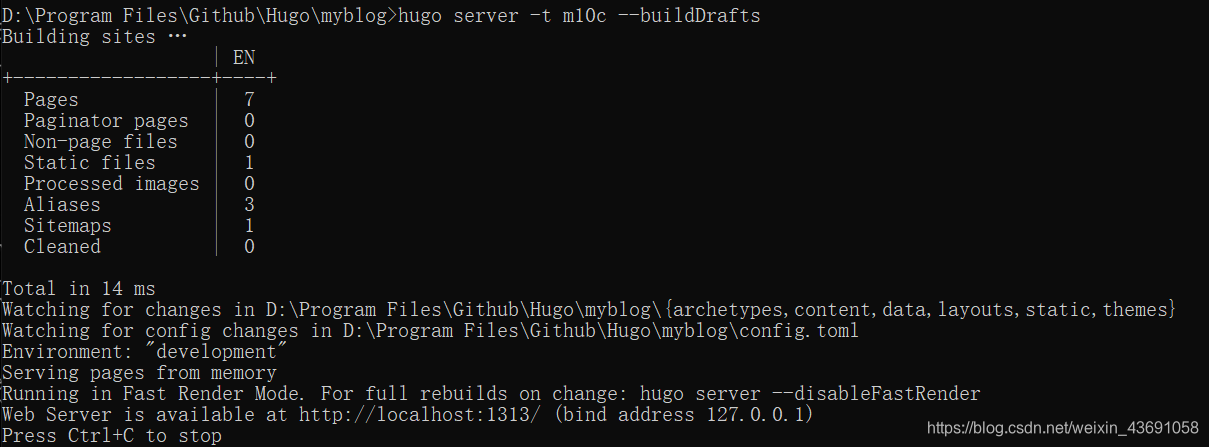
复制末尾的http://localhost:1313到自己的浏览器中(注意此时cmd命令行保持打开)
第五步:实际写一篇文章来测试
-
切换到myblog目录下,cmd命令行中键入
hugo new post/blog.md

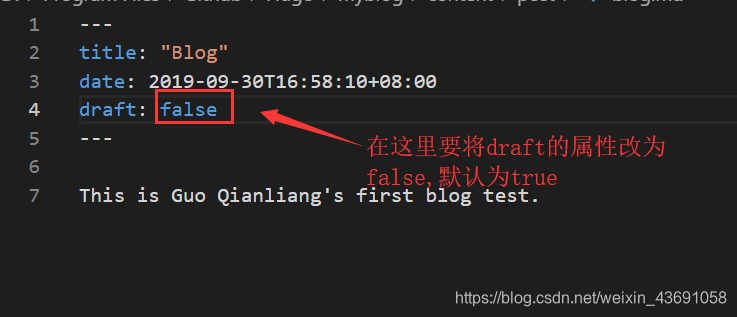
这个操作会在myblog\content\post路径下生成一个blog.md文件。

-
可以用vsCode或者其他能编写markdown文件的编译器打开blog.md文件,写一些正文(注意将draft属性改为false,否则无法显示)
-
切换到myblog目录下,cmd命令行中键入命令
hugo server -t m10c --buildDrafts
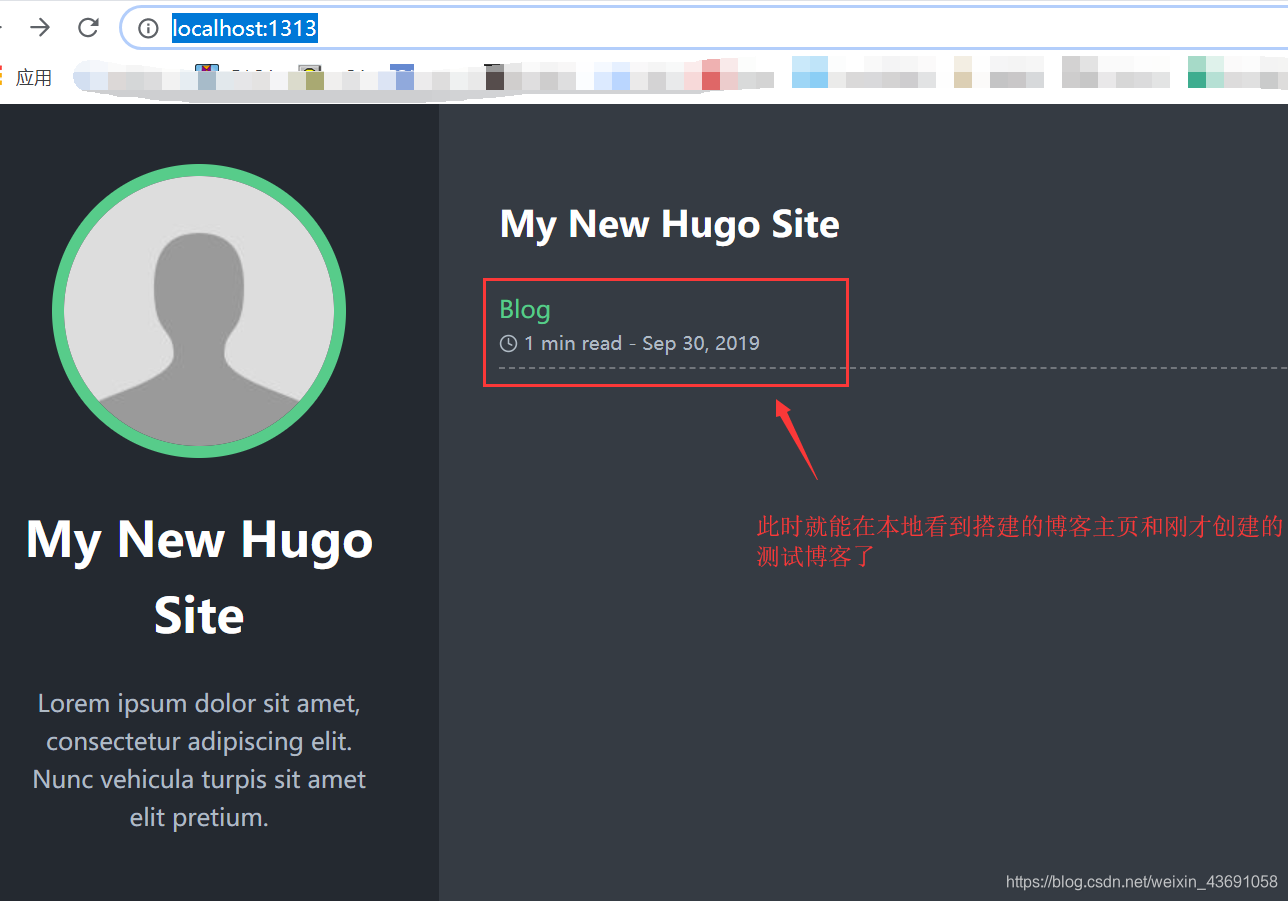
-
cmd命令窗不要关闭,复制
http://localhost:1313,在浏览器中打开 -
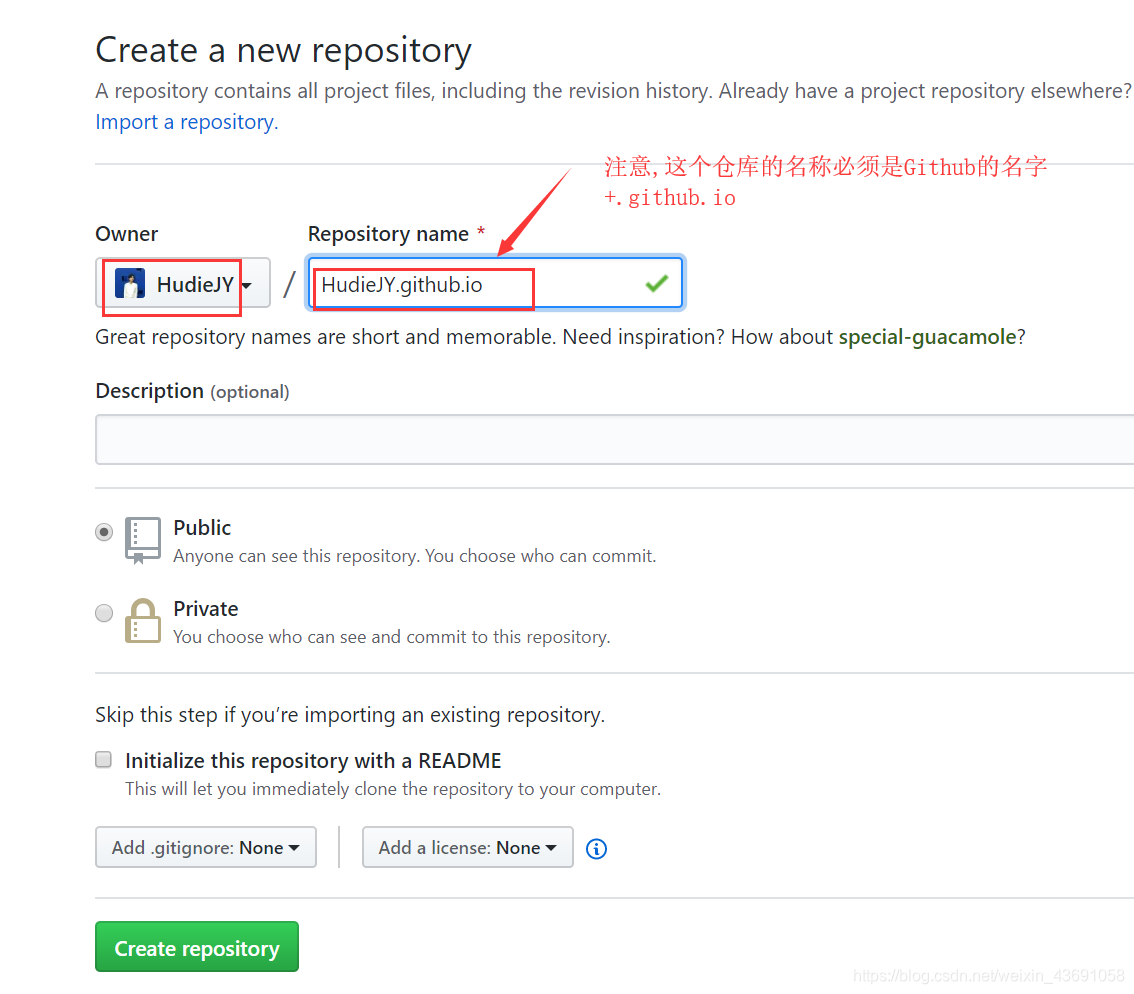
第六步:将个人博客部署到远端服务器(可以使用github部署到github仓库)
- 在github创建一个远端仓库
- 在myblog目录下,cmd命令行中键入命令
hugo --theme=m10c --baseUrl="https://HudieJY.github.io.github.io/" --buildDrafts(注意这里的m10c主题和仓库路径要填写你自己的)
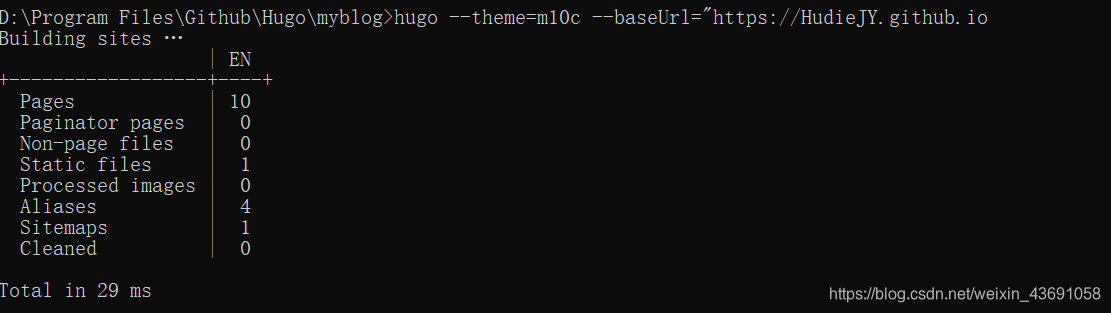
代码执行后就会在myblog文件夹下生成一个public文件夹
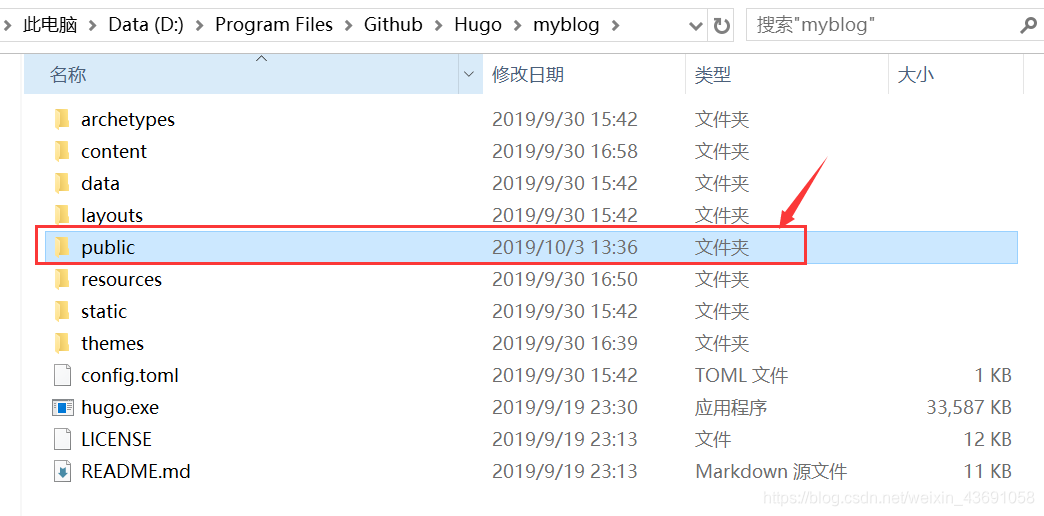
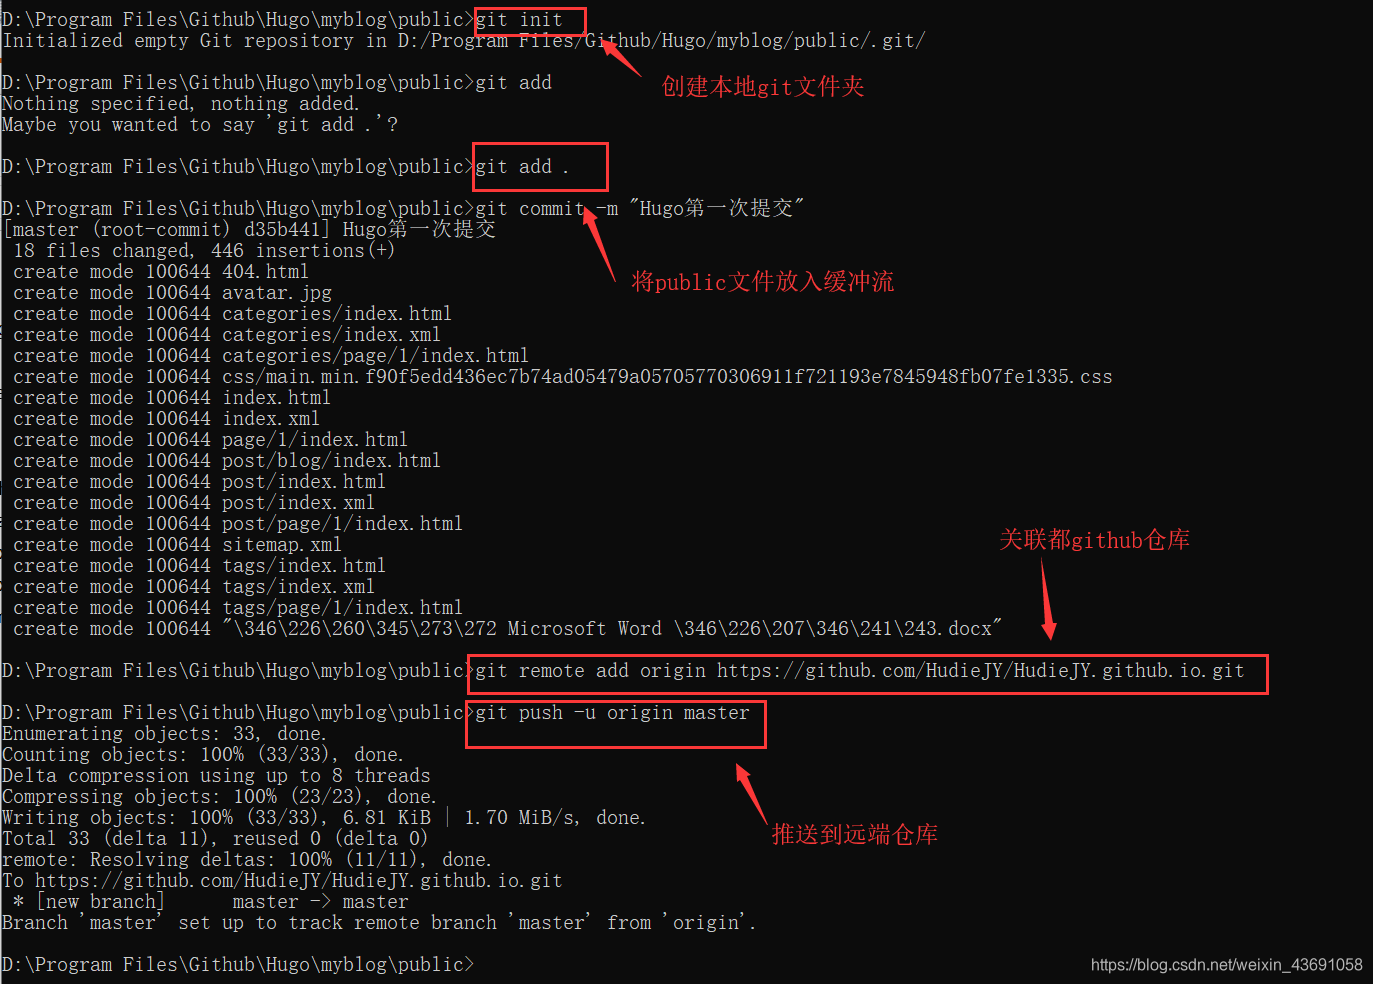
接下来把public文件推送到github上:
- 切换到public文件夹下,代开命令行窗口,依次键入
git init,将此public文件夹变成git本地仓库git add,将public文件夹下的所有文件放入缓存流中等待提交git commit -m "Hugo第一次提交",这样就把缓存内容放进发送头,仍为待发送状态git remote add origin https://github.com/HudieJY/HudieJY.github.io.git,绑定了.git配置文件夹对应的远端服务器的发布了已经git push -u -origin master推送到githubu