版权声明:本文为博主原创文章,遵循 CC 4.0 BY-SA 版权协议,转载请附上原文出处链接和本声明。
前言
我们在iOS开发的过程,图片分为@1x, @2x, @3x,如果公司设计合格会帮你导出合适的各种尺寸的图片,但是有时设计不给我们弄需要我们自己手动缩放;还有一种情况就是我们接手他人的工程也需要我们批量处理图片,这里我们可以通过Python脚本来处理,可以使用PIL来做,废话不多说上代码吧!
源码
我通过glob来遍历oldImages文件夹,获取需要进行压缩处理的图片,然后通过scale_image()函数来压缩生成@1x, @2x, @3x图片,然后保存在images_new文件夹中;大家也可以根据自己的需求自行修改,代码如下:
#coding:utf-8
#author:ZFJ_张福杰

from PIL import Image
import glob

#处理图片(@1x, @2x, @3x)
def scale_image(image_path, img_size_1x = (0, 0)):
	#自定义宽高
	custom_wid_1x = img_size_1x[0]
	custom_hei_1x = img_size_1x[1]
	#原图
	image_ori = Image.open(image_path)
	#图片名
	image_name = image_path.split('/')[-1].split('.')[-2]
	#图片的类型
	image_type = image_path.split('/')[-1].split('.')[-1]

	#新图片的路径
	image_new_path = './images_new/'

	#@1x.图片
	if custom_wid_1x != 0 and custom_hei_1x != 0:
		image_new = image_ori.resize((int(custom_wid_1x), int(custom_wid_1x)), Image.BILINEAR)
	else:
		image_new = image_ori.resize((int(image_ori.width/3), int(image_ori.height/3)), Image.BILINEAR)
	image_new.save(image_new_path + image_name + '@1x.' + image_type)

	#@2x.图片
	if custom_wid_1x != 0 and custom_hei_1x != 0:
		image_new = image_ori.resize((int(custom_wid_1x * 2), int(custom_wid_1x * 2)), Image.BILINEAR)
	else:
		image_new = image_ori.resize((int((image_ori.width/3) * 2), int((image_ori.height/3) * 2)), Image.BILINEAR)

	image_new.save(image_new_path + image_name + '@2x.' + image_type)

	#@3x.图片
	if custom_wid_1x != 0 and custom_hei_1x != 0:
		image_new = image_ori.resize((int(custom_wid_1x * 3), int(custom_wid_1x * 3)), Image.BILINEAR)
	else:
		image_new = image_ori.resize((int(image_ori.width), int(image_ori.height)), Image.BILINEAR)

	image_new.save(image_new_path + image_name + '@3x.' + image_type)

#开始批量生成图片
#img_size_1x为@1x的宽高,如果不传将把要处理的图片默认作为@3x进行处理
def start_scale_image(img_size_1x = (0, 0)):
	image_list = glob.glob(r'./oldImages/*.png')

	for image_path in image_list:
		scale_image(image_path, img_size_1x)

#运行
start_scale_image((20, 20))
效果图
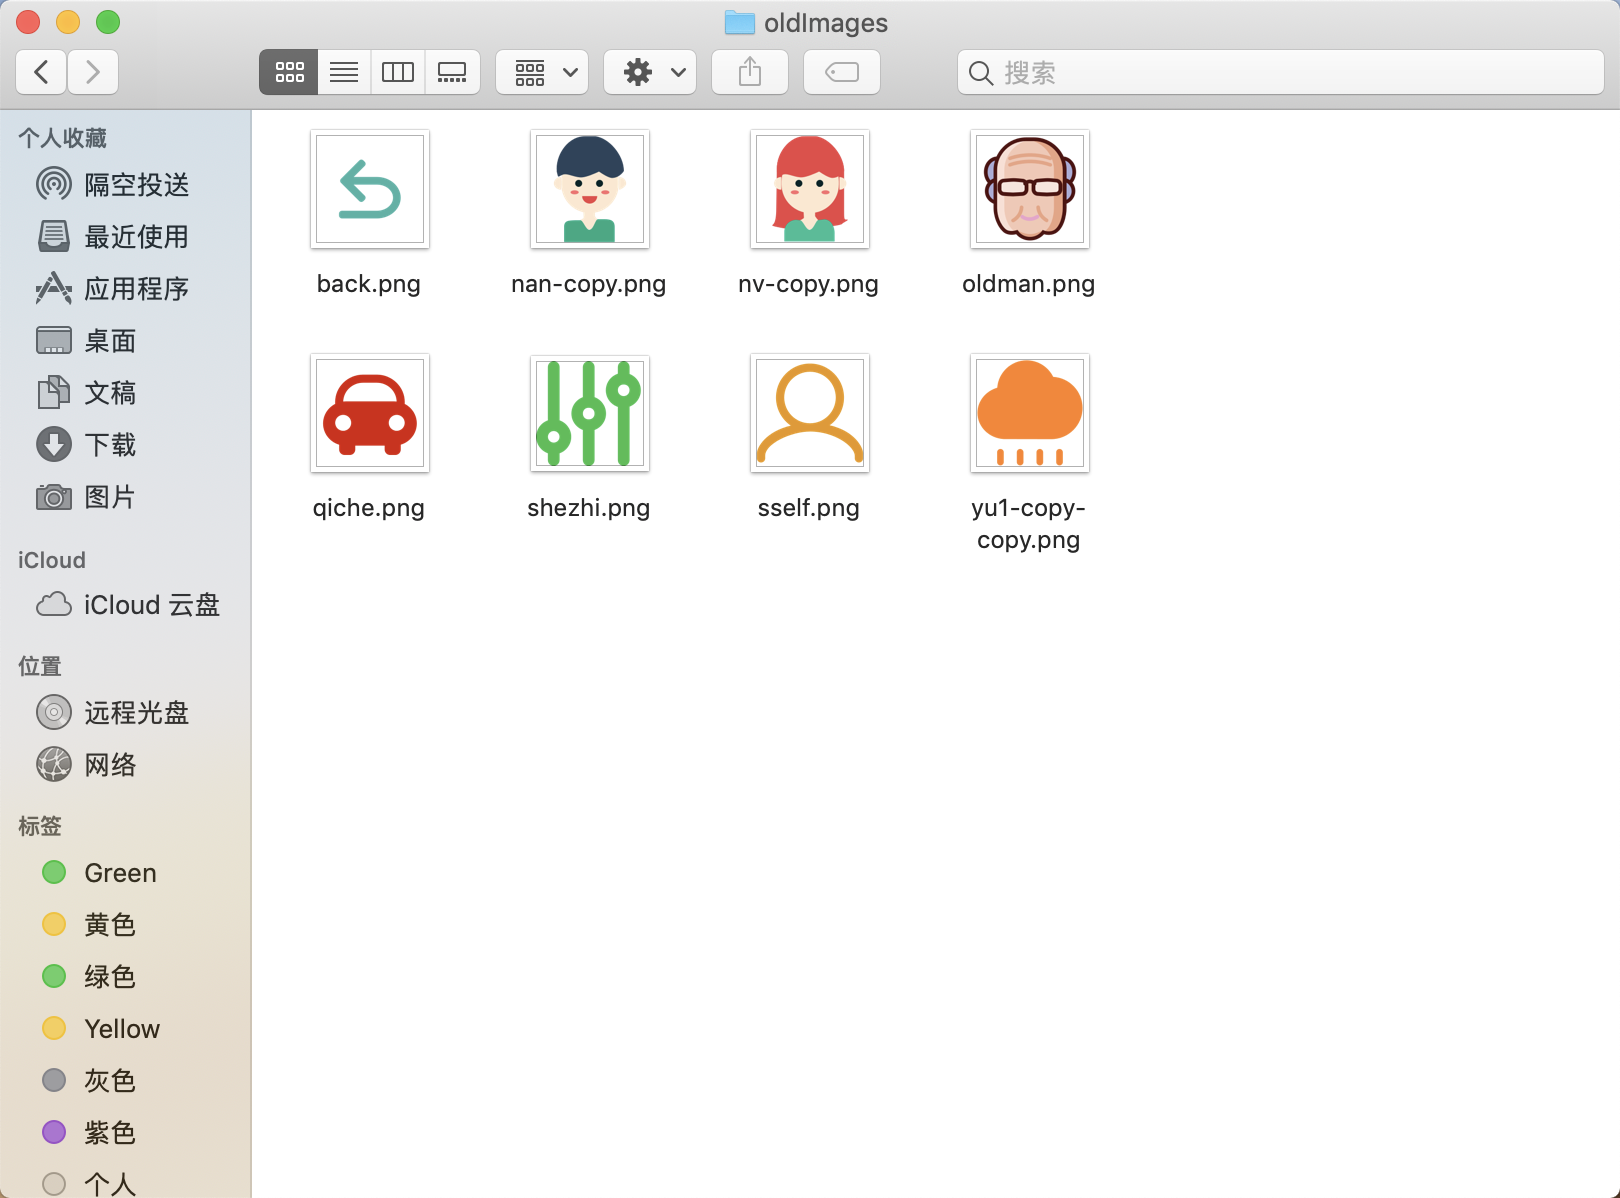
原图文件夹
处理后的效果图

软件截图

下载地址
我把这个功能做了一个小工具软件,大家可以下载使用,下载链接如下:
https://gitee.com/zfj1128/ZFJObsLib_dmg
结束语
欢迎各位大佬补充和纠正,也欢迎各位大佬进群相互学习交流!