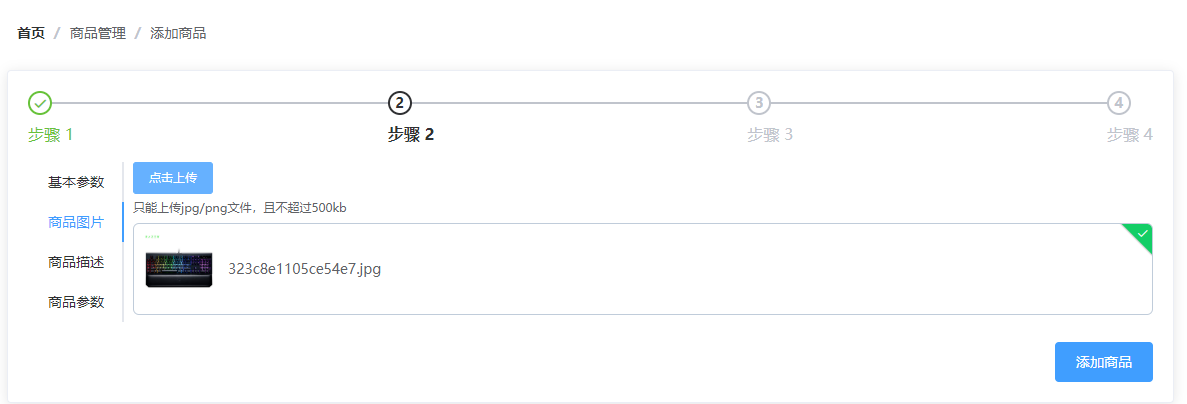
<el-upload
           class="upload-demo" // 类样式
           action="https://jsonplaceholder.typicode.com/posts/" // 文件上传的目标路径
           :on-preview="handlePreview" // 单击预览时触发的操作,单击图片链接实现预览
           :on-remove="handleRemove" // 移除时触发的事件
           :file-list="fileList2" // 当前用户所选择的文件列表,后期这个列表中的数据会上传到服务器
           list-type="picture" // 类型
           >
    <el-button size="small" type="primary">点击上传</el-button>
    <div slot="tip" class="el-upload__tip">只能上传jpg/png文件,且不超过500kb</div>
</el-upload>
接口上传地址:action:
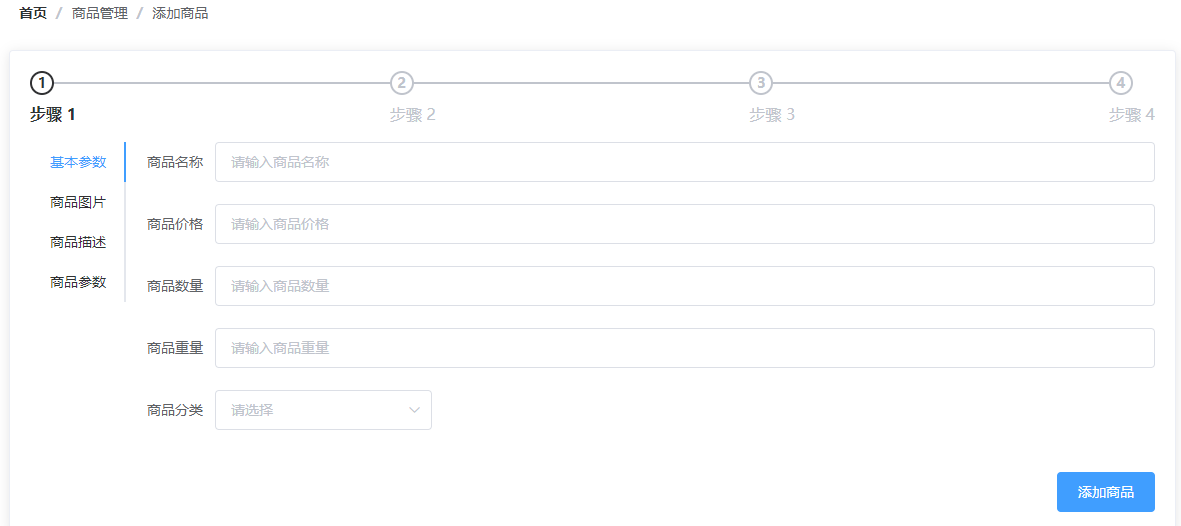
使用文件上传组件实现文件上传操作
-
-
将返回值中的指定的数据存储到goodsForm的指定属性中:pics
-
注册接口文档 中关于图片参数的格式说明
-
upload文件上传组件内部自己封装的异步操作
-
意味着它并不是使用我们之前自己封装的axios
-
意味着我们之前自己添加的拦截器并没有能够起到作用
-
意味着我们在拦截器中设置了token值的传递其实并没有用
-
结论:我们需要自己手动添加token值的传递
-
token值的传递通过请求头的方式进行传递
,获取token:localStorage,设置请求头:组件自带的headers来设置请求头;
action="http://localhost:8888/api/private/v1/upload"
-----------------------
// 设置请求头传递token
getToken () {
    var token = localStorage.getItem('itcast_pro_token')
    return { 'Authorization': token }
}
细节2:移除时必须将之前添加到pics中的图片对象移除
// 移除
handleRemove (file, fileList) {
    // file就是当前你移除的文件
    var filename = file.response.data.tmp_path
    // 我们要根据 file里面的数据删除this.goodsForm.pics中的数据
    for (var i = 0; i < this.goodsForm.pics.length; i++) {
        if (this.goodsForm.pics[i].pic === filename) {
            this.goodsForm.pics.splice(i, 1)
            break
        }
    }
}
下载安装:npm install vue-quill-editor --save
引入富文本框插件
注册组件
import VueQuillEditor from 'vue-quill-editor'
import 'quill/dist/quill.core.css'
import 'quill/dist/quill.snow.css'
import 'quill/dist/quill.bubble.css'

Vue.use(VueQuillEditor)
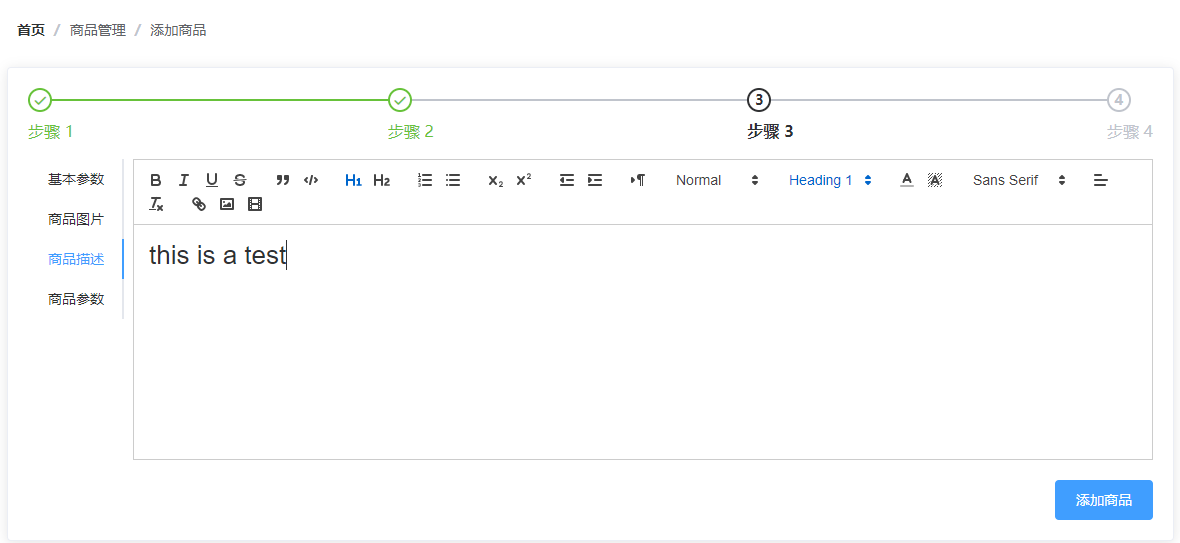
使用富文本框插件
<el-tab-pane label="商品描述" name="2">
    <quill-editor v-model="content" ref="myQuillEditor" :options="editorOption" style='height:300px'></quill-editor>
</el-tab-pane>
添加一个添加商品的button按钮,绑定一个事件;
// 添加商品信息
addGoods () {
    console.log(this.goodsForm)
    addGoodsInfo(this.goodsForm)
        .then(res => {
        console.log(res)
        if (res.data.meta.status === 201) {
            this.$message({
                type: 'success',
                message: res.data.meta.msg
            })
            this.$router.push({ name: 'List' })
        }
    })
        .catch(err => {
        console.log(err)
    })
}
效果图:
还添加了导航守卫,路由请求之前都会经过这个导航守卫,判断有没有token值,如果有就next(),否则 next({ name: 'Login' })
如果您喜欢这篇文章,可以打赏点钱给我 :)
支付宝 微信