一.CentOS 7的安装
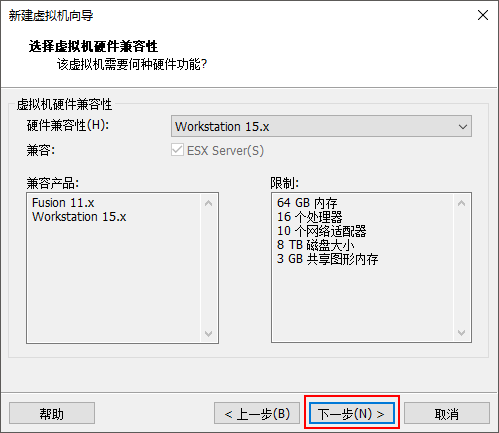
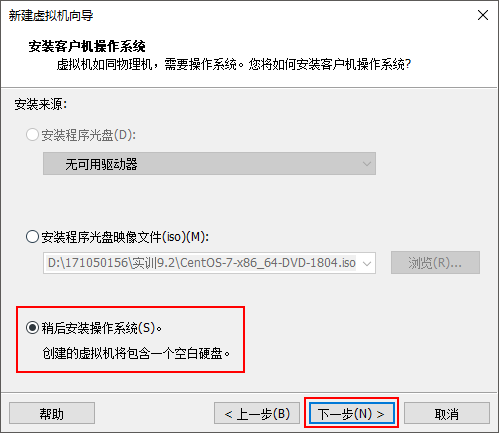
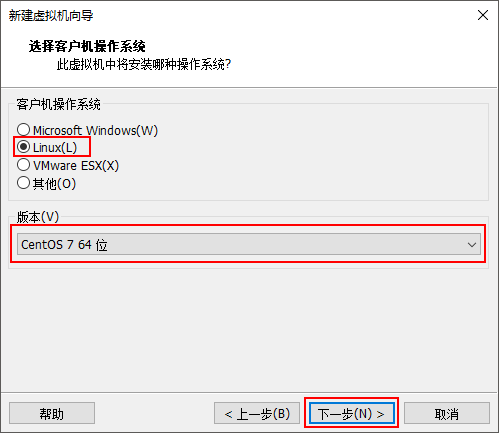
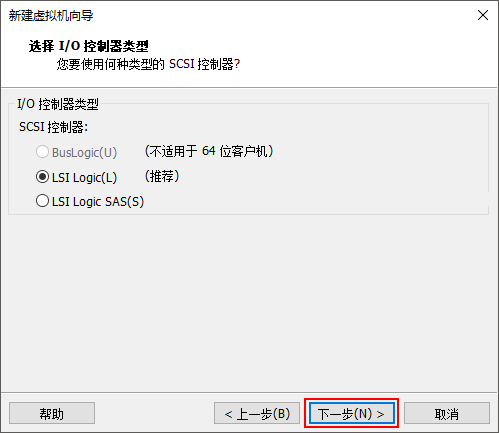
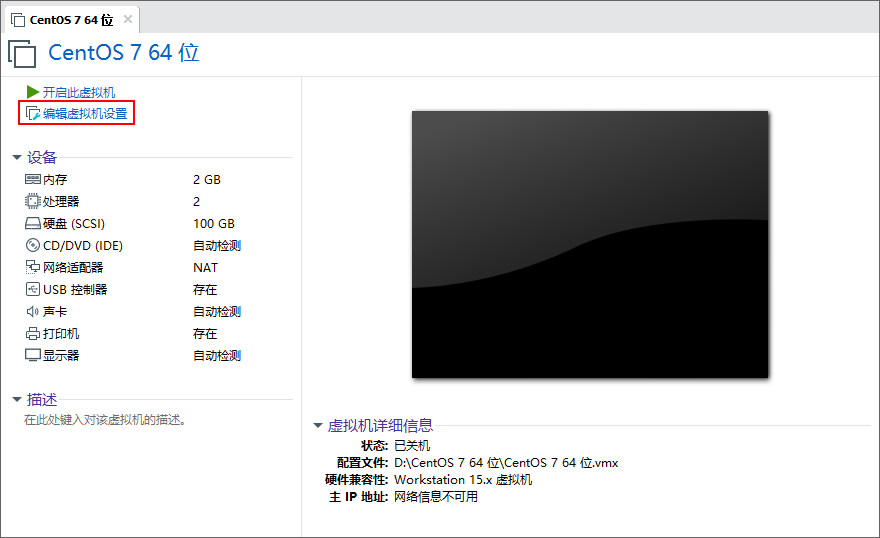
创建新的虚拟机
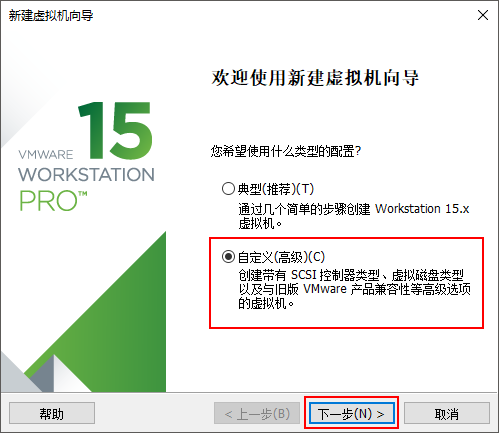
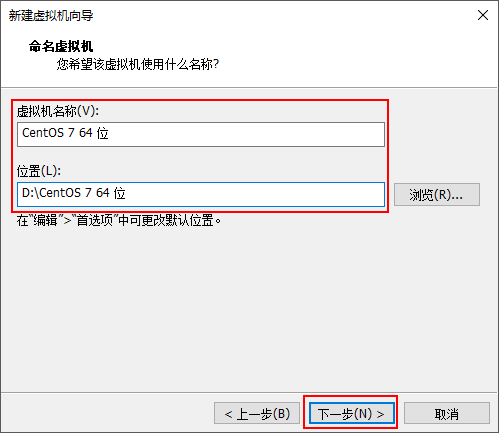
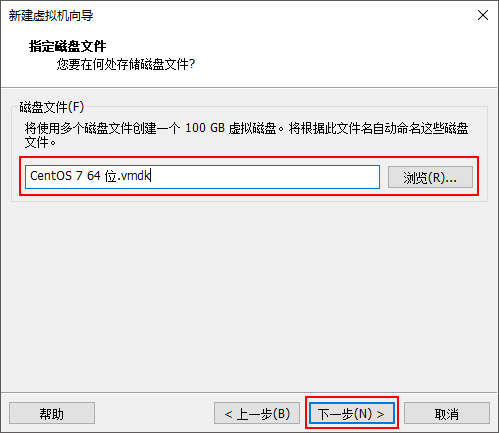
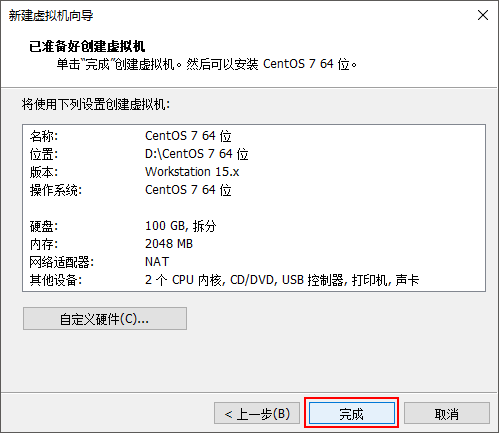
选择虚拟机的名称和存放的位置
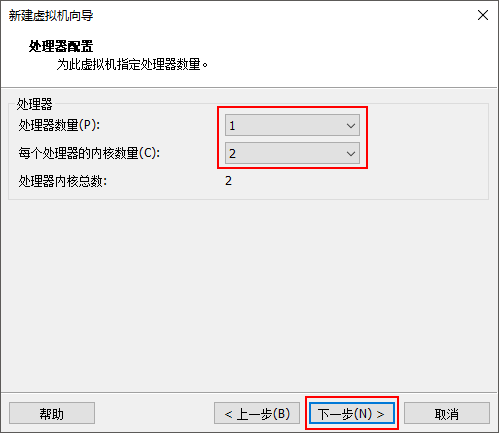
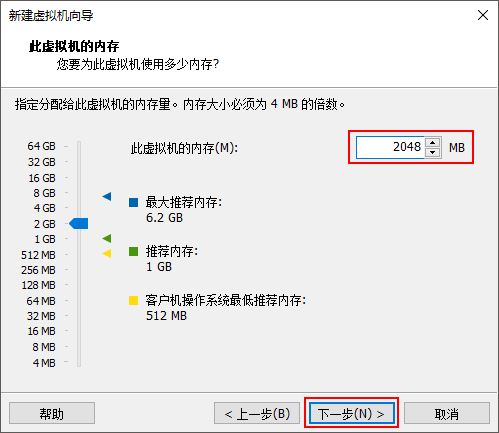
根据需要选择处理器的数量及内存
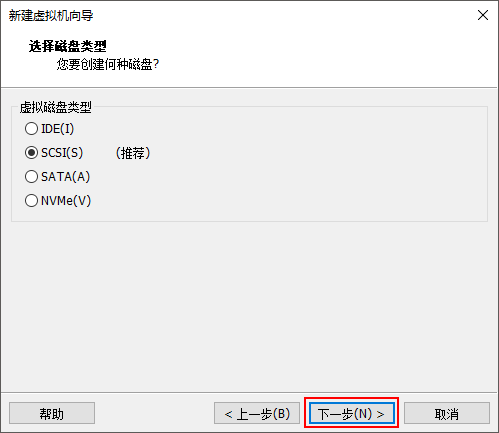
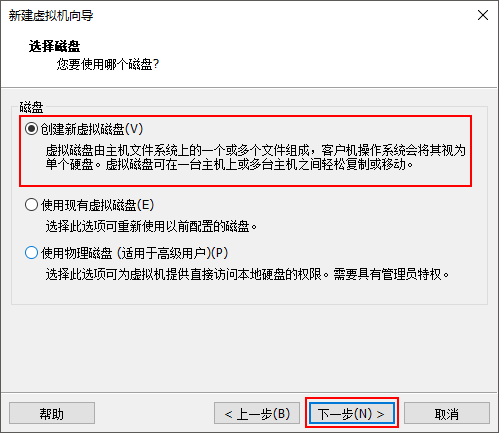
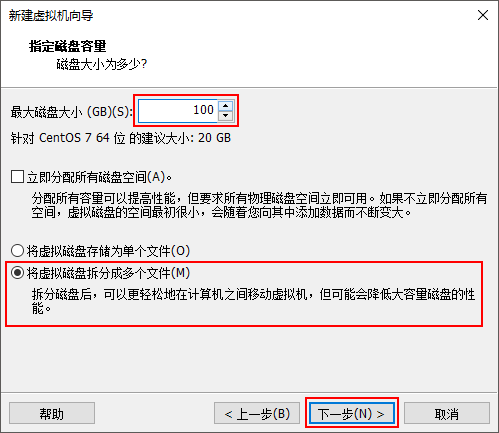
按需选择磁盘容量
选择存储磁盘文件位置
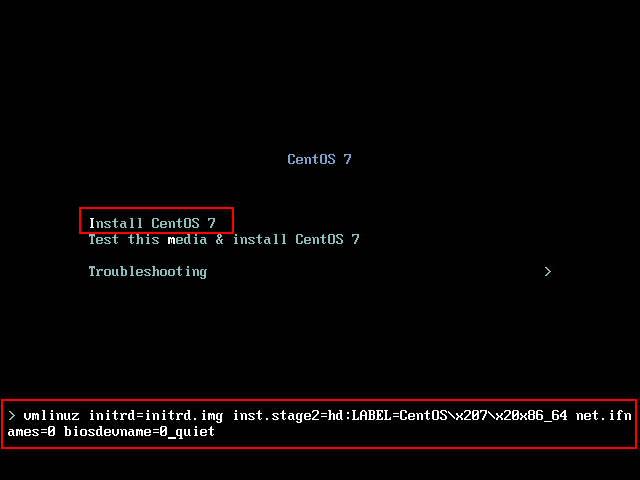
开启此虚拟机,光标移到“Install CentOS 7”按Tab键,在quite前面加
net.ifnames=0 biosdevname=0
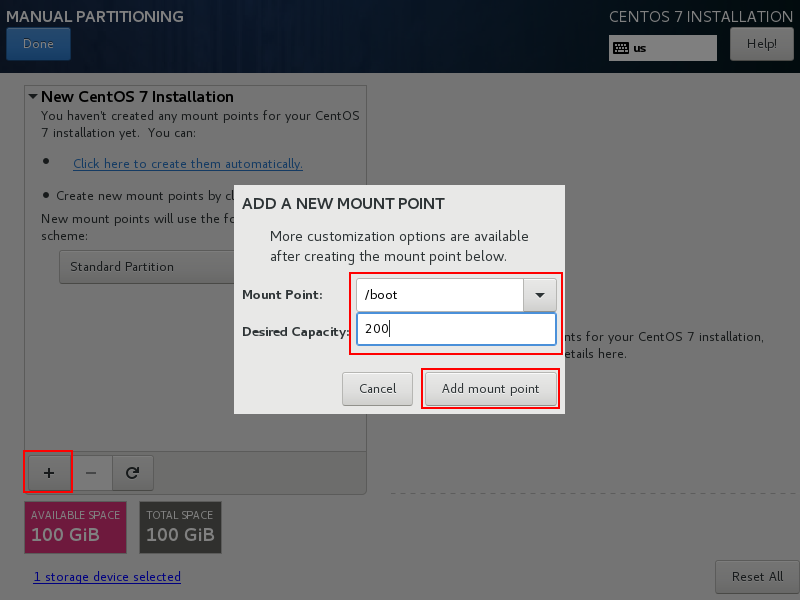
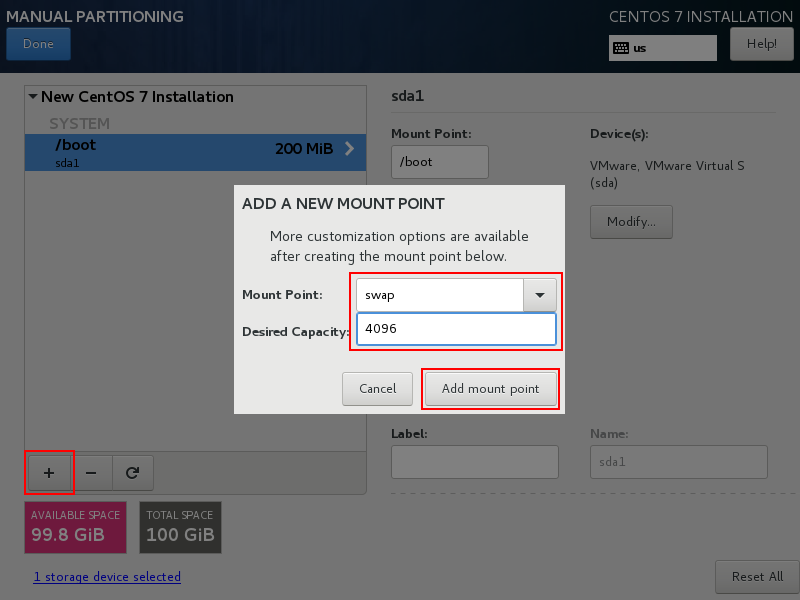
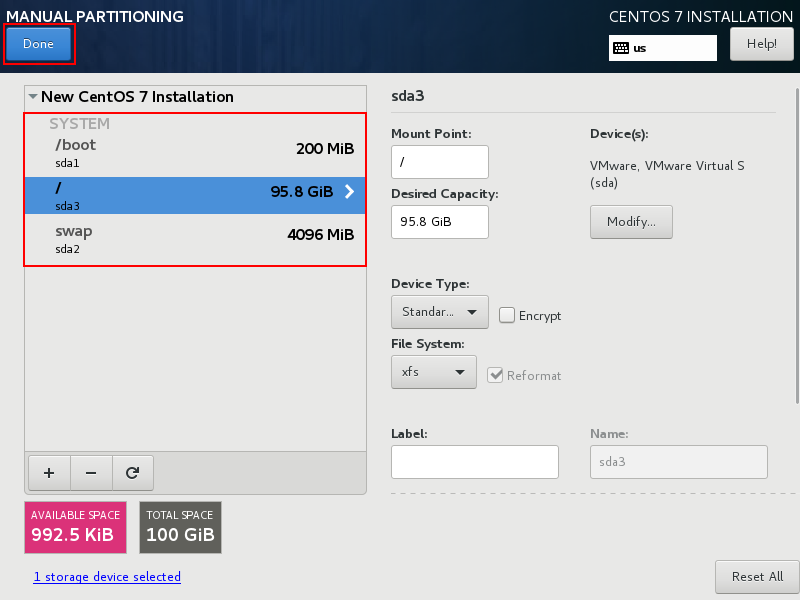
swap的大小一般是内存的两倍
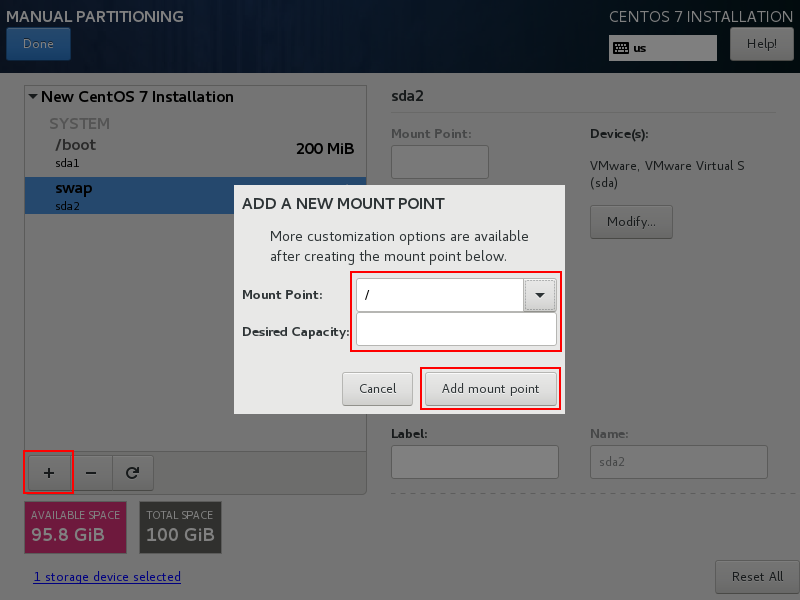
把其余空间给根
内核崩溃时使用,暂不需开启

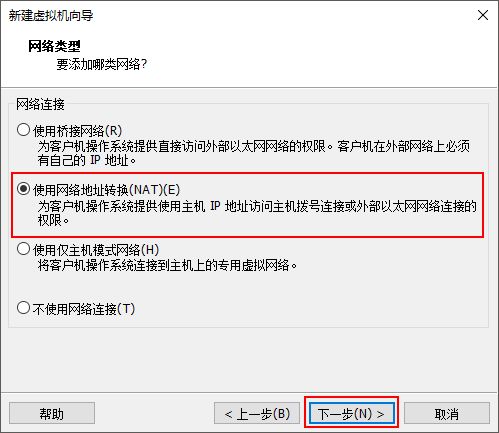
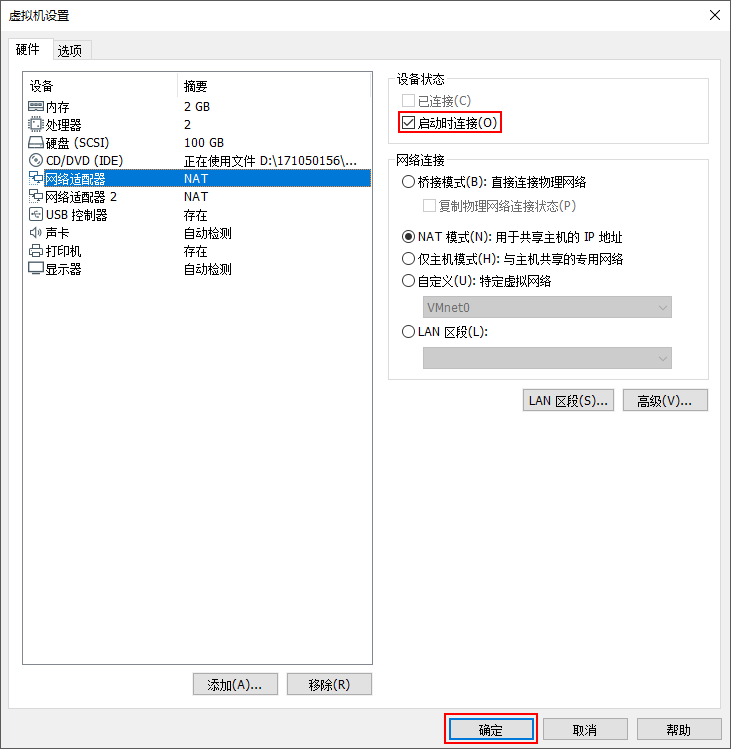
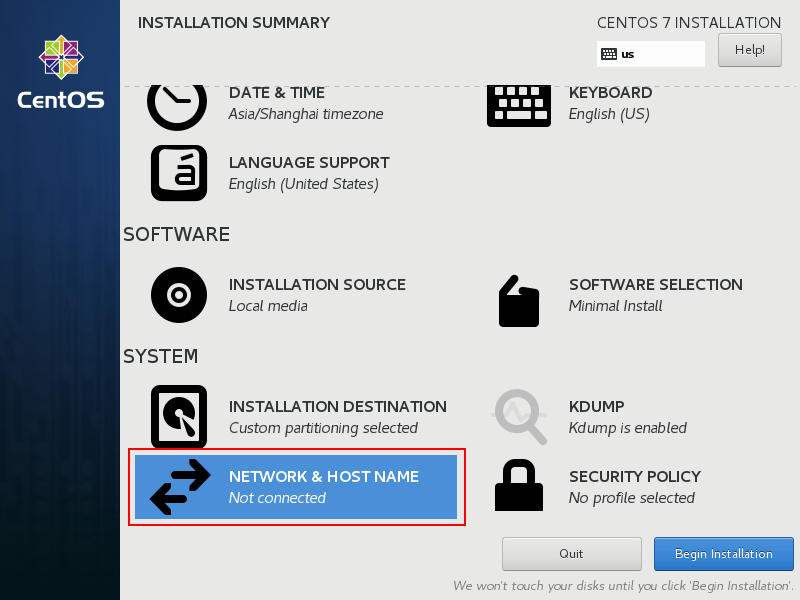
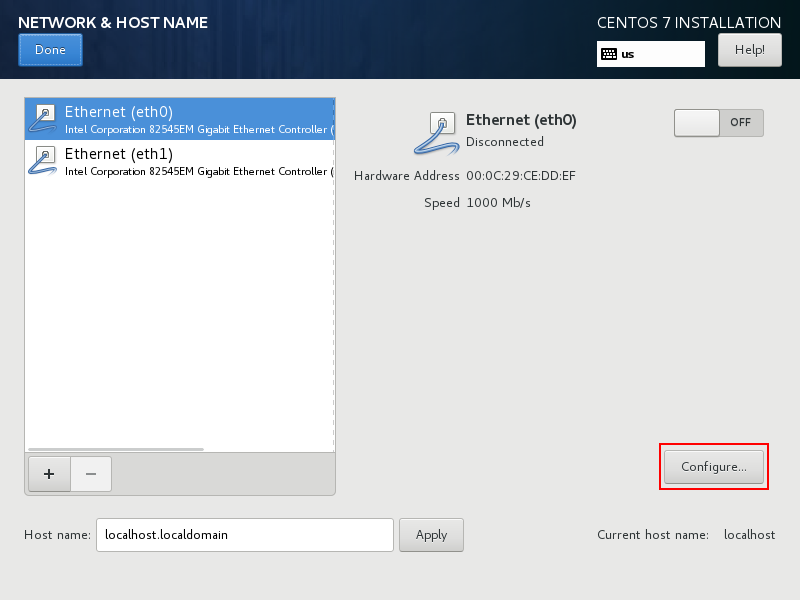
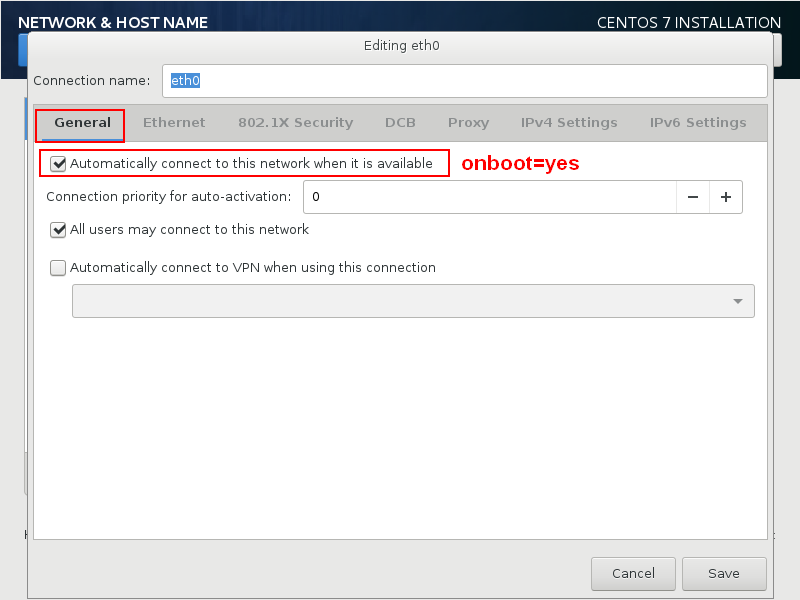
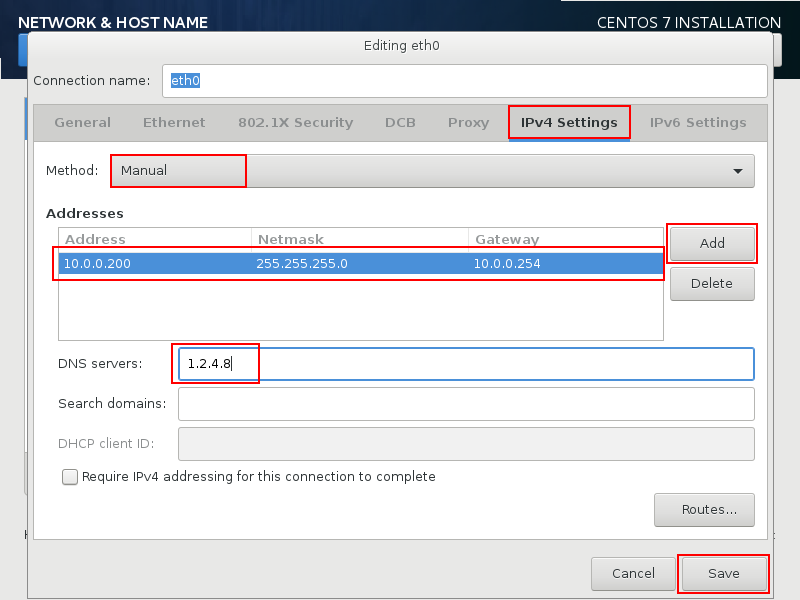
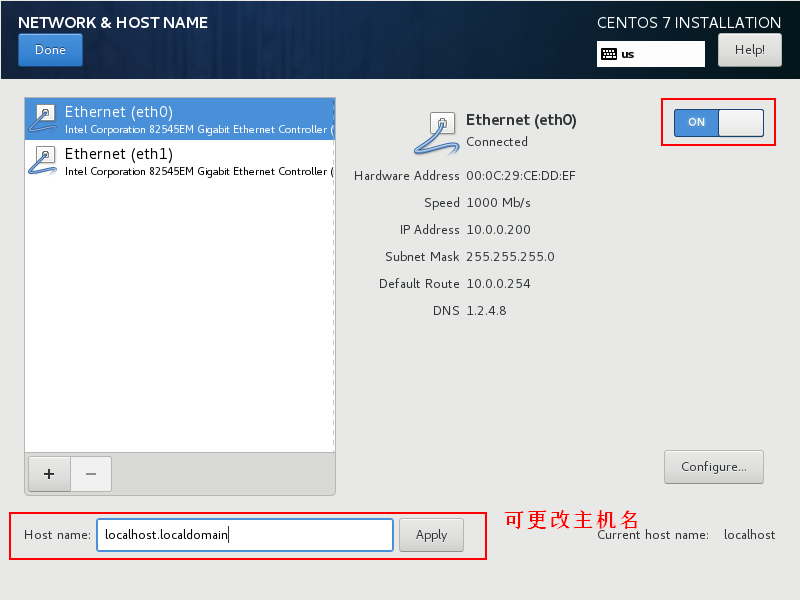
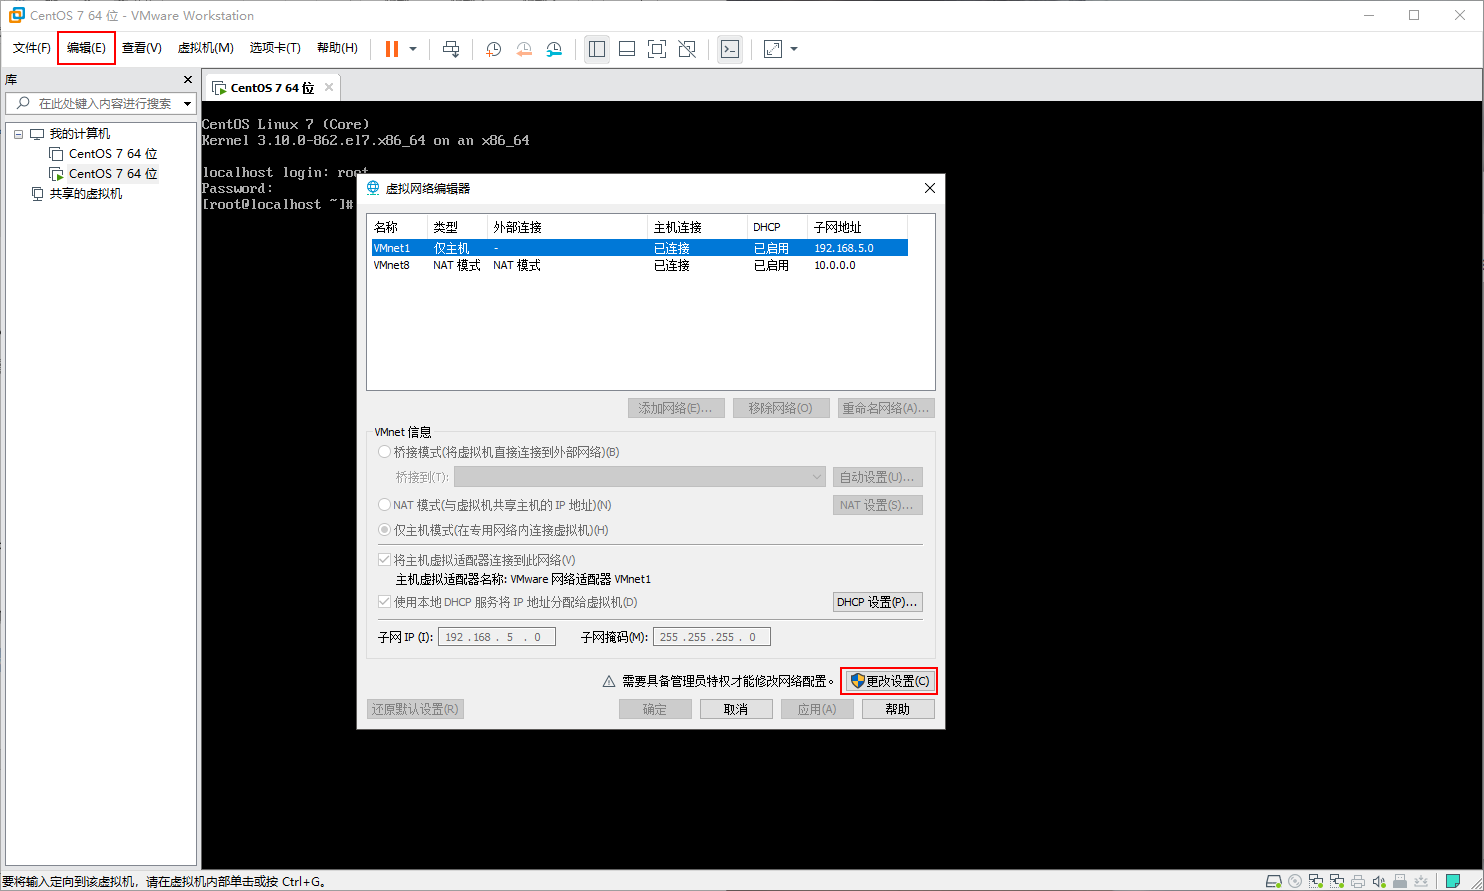
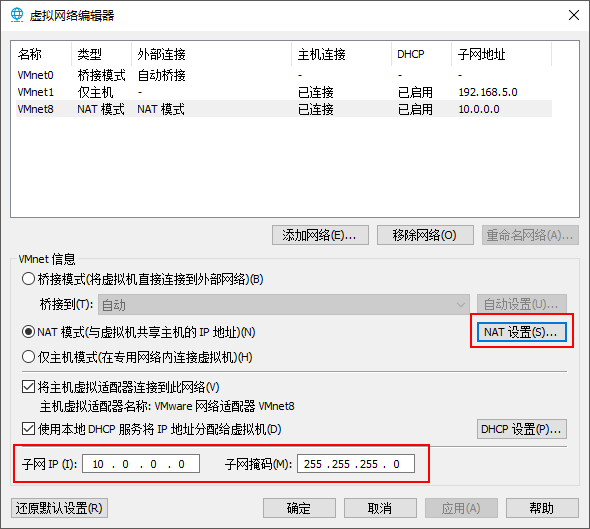
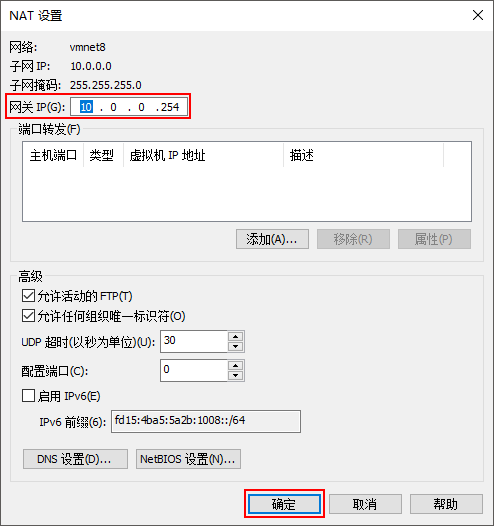
配置网络
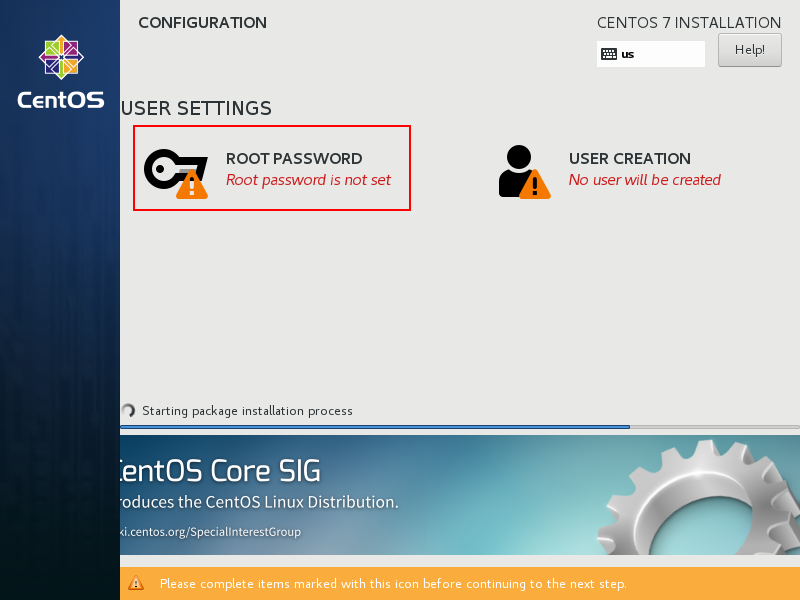
设置密码,密码太简单点两次Done
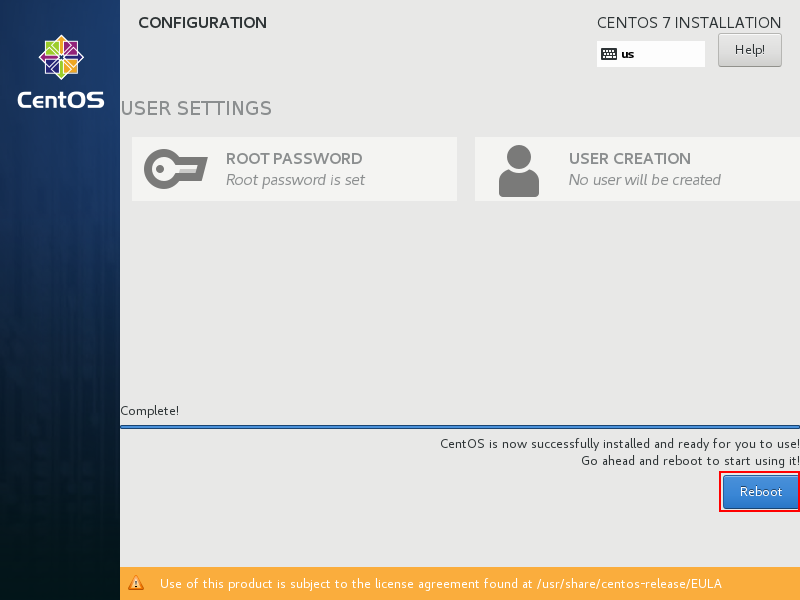
重启后登陆 登陆名为root 密码为刚刚设置的密码
重启网络:systemctl network restart
这里有两个问题摆在眼前,ping不通网关(百度)与连接不上xshell怎么办?
ping不通百度:一般看IP地址是否配置正确,DNS,网卡是否有误
连接不上xshell,一般与防火墙,selinux有关
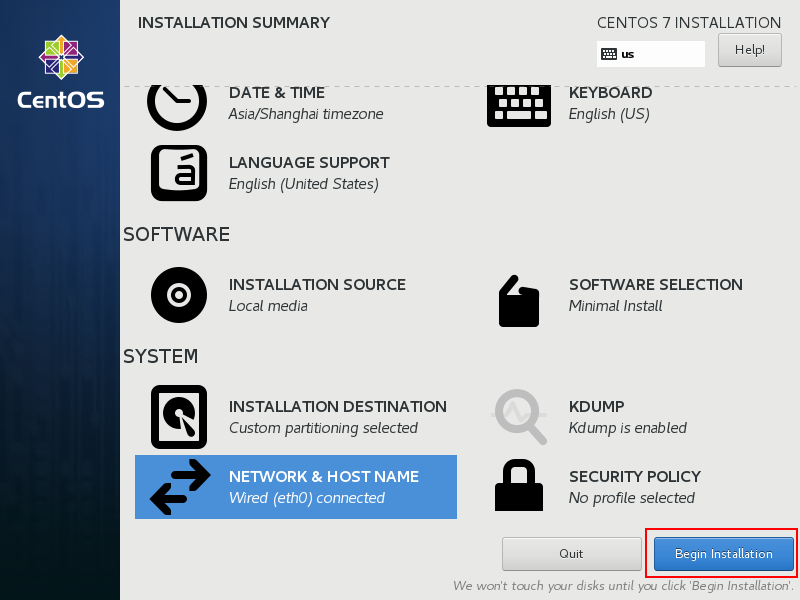
总结安装过程:
- 创建虚拟机
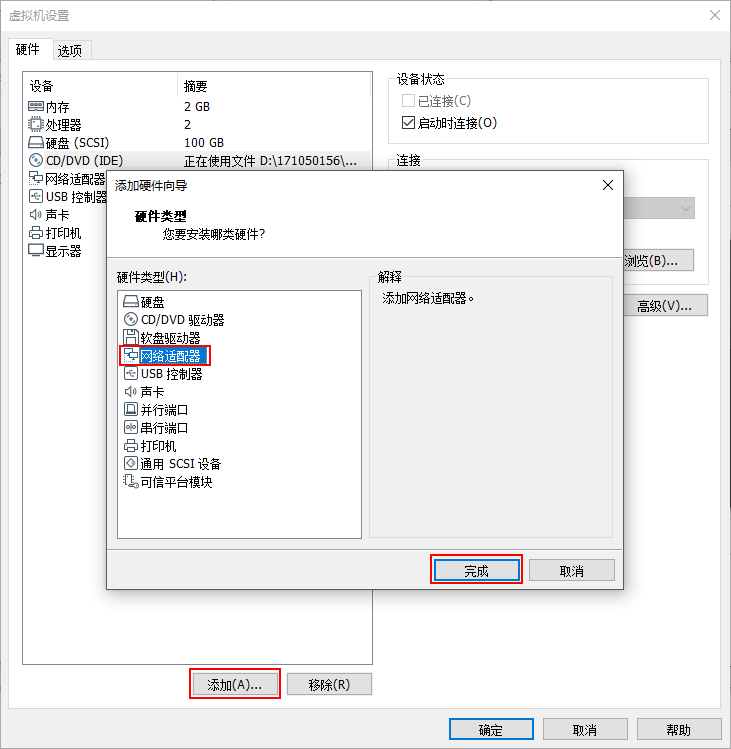
- 新增一块网卡-->LAN区段
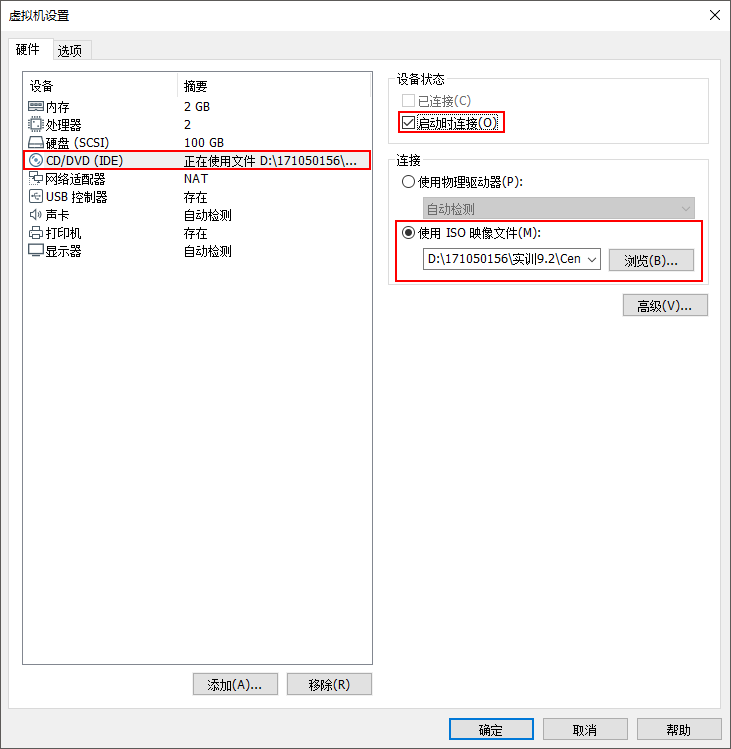
- 挂载centos7.5光盘镜像(可在https://msdn.itellyou.cn/中下载)
- 开机
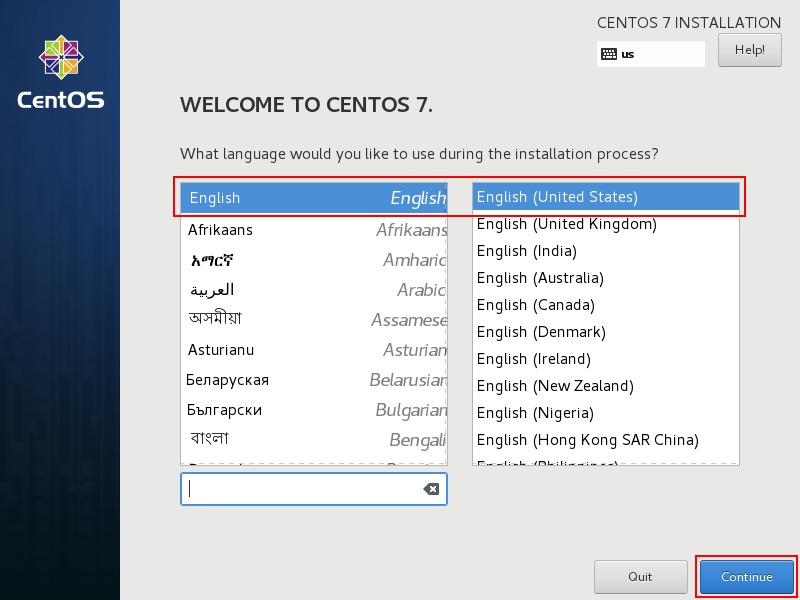
- 语言选择(英语)
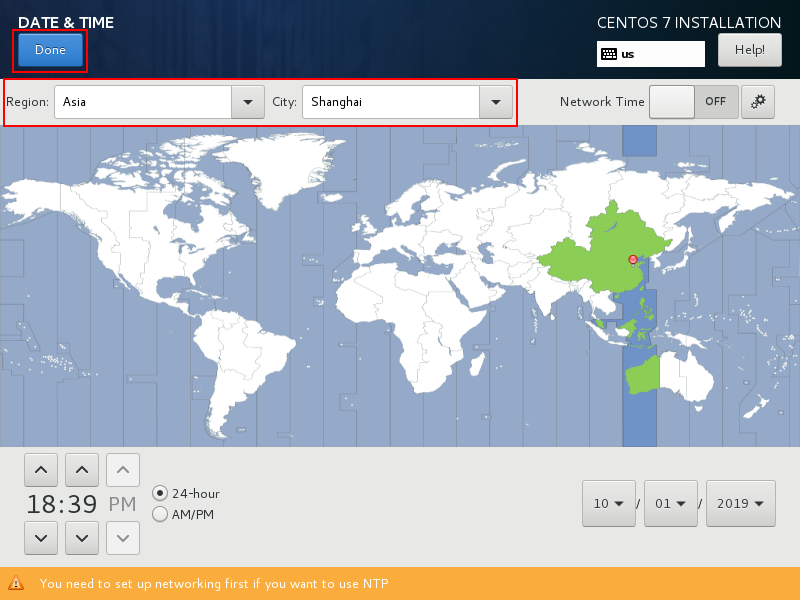
- 修改时区->上海
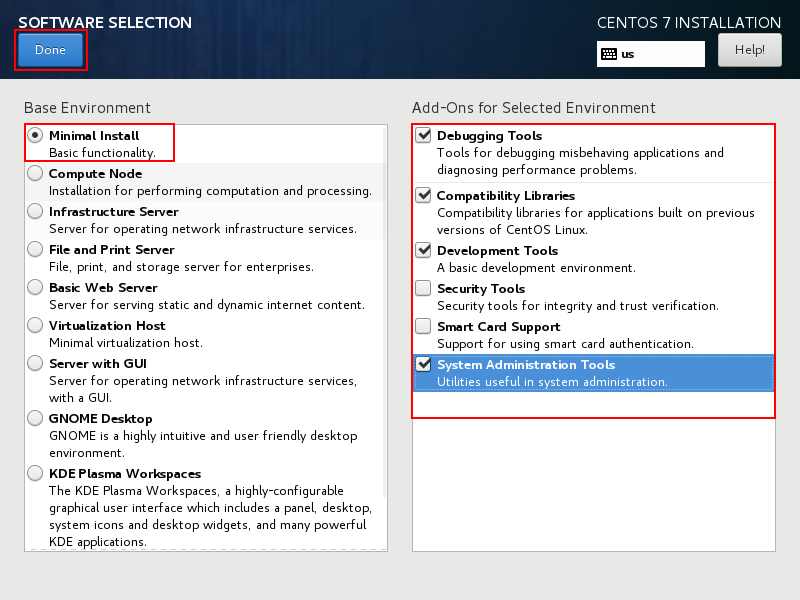
- 最小化安装
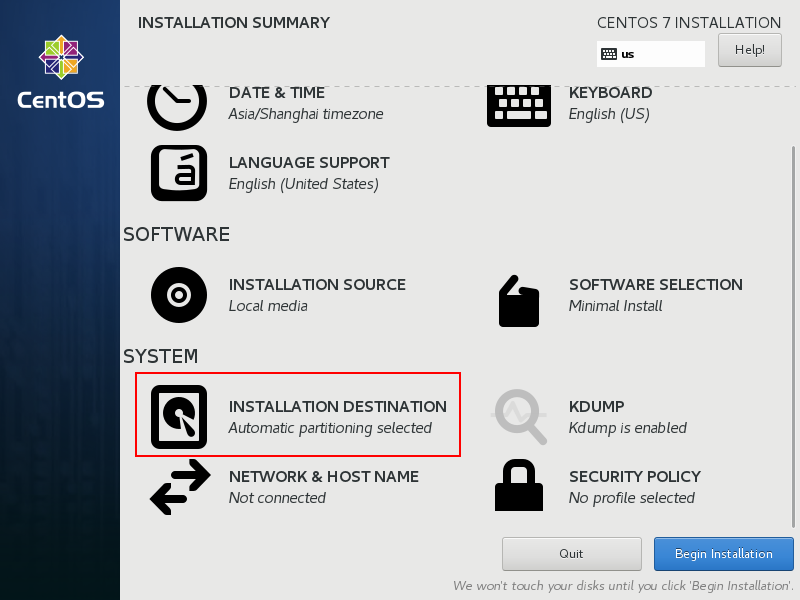
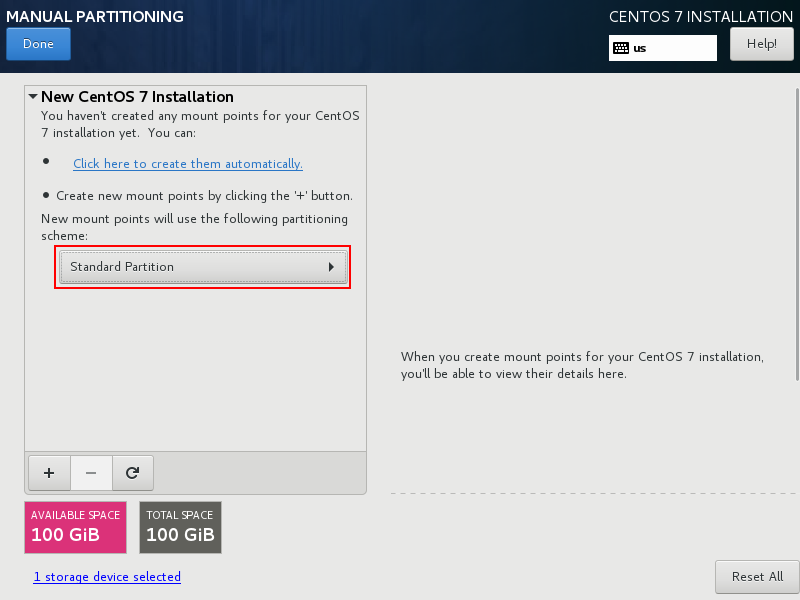
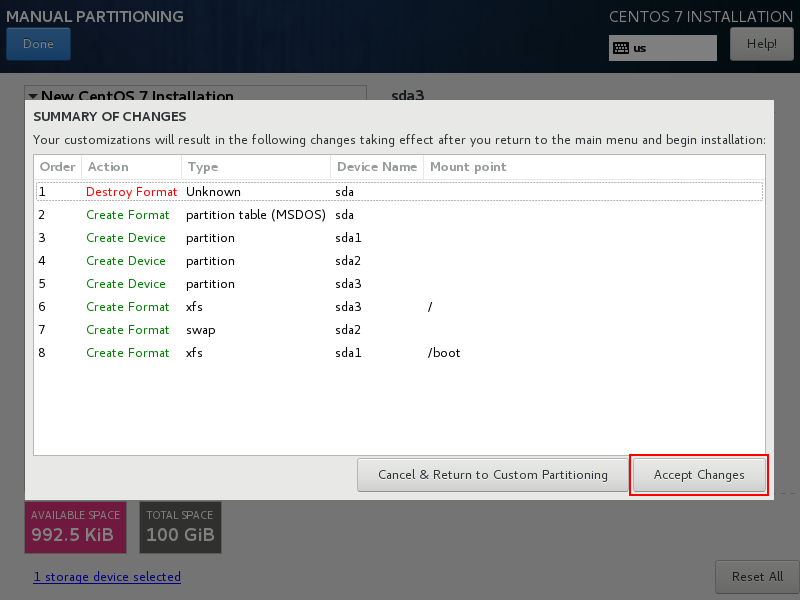
- 磁盘(默认—逻辑卷)
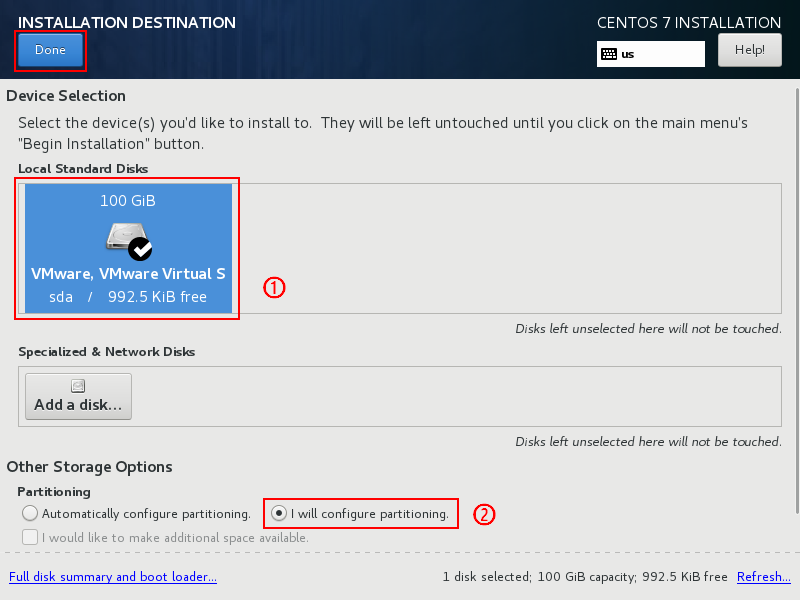
- 自动配置分区
- 分析内核崩溃原因的话,不用开启,需要的时候再开启也可以
- 配置网络
- 主机名修改
- 设置root密码
使用xshell链接对应centos7服务器
CRT链接:https://www.lanzous.com/i6h6exg
二.基础优化
更改yum源;
获取yum源
curl -o /etc/yum.repos.d/CentOS-Base.repo http://mirrors.aliyun.com/repo/Centos-7.repo
wget -O /etc/yum.repos.d/epel.repo http://mirrors.aliyun.com/repo/epel-7.repo
(需先安装yum install -y wget)
之后运行yum makecache生成缓存
1.1 yum 基础软件安装
yum install -y wget
yum install net-tools vim tree htop iftop iotop lrzsz sl unzip telnet nmap nc psmisc dos2unix bash-completion nethogs glances -y
yum install yum-utils -y #安装
1.2 关闭firewalld防火墙
[root@centos75-model ~]# systemctl stop firewalld #停止
[root@centos75-model ~]# systemctl disable firewalld #关闭开机自启动,注:disable没有d
[root@centos75-model ~]# systemctl status firewalld #检查
1.3 关闭SELinux
[root@centos75-model ~]# setenforce 0
[root@centos75-model ~]# vim /etc/selinux/config
SELINUX=enforcing改成SELINUX=disabled
#########不打开文件的两种修改方式###########
# 方式一
sed -ri 's#(^SELINUX=).*#\1disabled#g' /etc/selinux/config
# 方式二
sed -i '/^SELINUX=/c SELINUX=disabled' /etc/selinux/config
检查
getenforce
1.4 优化ulimit
echo '* - nofile 65535' >> /etc/security/limits.conf
1.5 显示优化
[ "$PS1" = "\\s-\\v\\\$ " ] && PS1="[\[\e[34;1m\]\u@\[\e[0m\]\[\e[32;1m\]\H\[\e[0m\] \[\e[31;1m\]\w\[\e[0m\]]\\$ "
添加到/etc/bashrc,注释掉原有的PS1,然后生效source /etc/bashrc
字符集改成UTF-8
1.6 SSH连接速度慢优化
sed -i 's@#UseDNS yes@UseDNS no@g' /etc/ssh/sshd_config
sed -i 's@^GSSAPIAuthentication yes@GSSAPIAuthentication no@g' /etc/ssh/sshd_config
systemctl restart sshd