把服务A和服务B接口分别部署在两个ip地址上
修改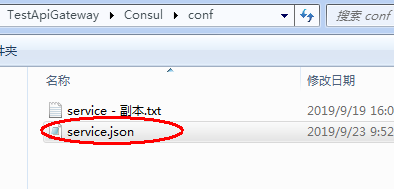
services.json文件,
{
  "encrypt": "7TnJPB4lKtjEcCWWjN6jSA==",
  "services": [
    {
      "id": "ApiServiceB",
      "name": "ApiService",
      "tags": [ "ApiServiceB" ],
      "address": "192.168.1.1",
      "port": 5012,
      "checks": [
        {
          "id": "ApiServiceB_Check",
          "name": "ApiServiceB_Check",
          "http": "http://192.168.1.1:5012/api/values/heathle",
          "interval": "10s",
          "tls_skip_verify": false,
          "method": "GET",
          "timeout": "1s"
        }
      ]
    }
  ]
}
{
  "encrypt": "7TnJPB4lKtjEcCWWjN6jSA==",
  "services": [
    {
      "id": "ApiServiceA",
      "name": "ApiService",
      "tags": [ "ApiServiceA" ],
      "address": "192.168.1.2",
      "port": 5011,
      "checks": [
        {
          "id": "ApiServiceA_Check",
          "name": "ApiServiceA_Check",
          "http": "http://192.168.1.2:5011/api/values/heathle",
          "interval": "10s",
          "tls_skip_verify": false,
          "method": "GET",
          "timeout": "1s"
        }
      ]
    }
  ]
}
"encrypt": "7TnJPB4lKtjEcCWWjN6jSA==",必须一致;
然后先启动192.168.1.2上的consul,
启动命令 consul agent -server -datacenter=dc1 -data-dir ./data -config-file ./conf -ui-dir ./dist -node=n2 -bind 192.168.1.2 -client=0.0.0.0
然后启动192.168.1.1上的consul
启动命令 consul agent -server -datacenter=dc1 -bootstrap -data-dir ./data -config-file ./conf -ui-dir ./dist -node=n1 -bind 192.168.1.1 -client=0.0.0.0 -join 192.168.1.2
部署后的样子

以及consul的常用命令https://www.cnblogs.com/sunsky303/p/9209024.html