最近做了一个后端的项目,是用PHP+MySQL+Nginx做的,所以把搭建环境的方法简单总结一下。
备注:
- 物料:Apache/Nginx+PHP+MySQL+MAMP
- Mac OS 10.12.1 自带Apache,Nginx和PHP
1.运行Apache
查看Apache版本,在终端根目录输入如下命令:
sudo apachectl -v终端会输出Apache的版本及built时间
Server version: Apache/2.4.23 (Unix)
Server built:   Aug  8 2016 16:31:34
开启Apache
sudo apachectl start开启后,可以通过浏览器访问:http://localhost,页面显示“It works” 表示已经成功。
关闭Apache
sudo apachectl stop重启Apache
sudo apachectl restart
2.配置PHP
编辑Apache的配置文件,终端输入:
sudo vi /etc/apache2/httpd.conf找到:
#LoadModule php5_module libexec/apache2/libphp5.so去掉前面的“#”号注释,然后 :wq 保存退出即可
复制一份php.ini.default并将其命名为php.ini即可
sudo cp /etc/php.ini.default /etc/php.ini重启Apache,使其生效
sudo apachectl restart
3.安装MySQL
下载MySQL:http://dev.mysql.com/downloads/mysql/ 下载后双击安装,成功之后,会弹出提示框:
2017-02-12T09:00:08.587153Z 1 [Note] A temporary password is generated for root@localhost: s;QVTg#=i7wP
If you lose this password, please consult the section How to Reset the Root Password in the MySQL reference manual.
这个临时密码不好记,可以把它改掉。
以安全模式启动MySQL,并且跳过安全密码,终端输入如下命令:
sudo mysqld_safe --skip-grant-tables &修改MySQL密码:
原理是修改database:mysql 的table:user 中的User字段为root的密码,5.7版本的mysql的密码字段是authentication_string,低版本的叫password;
update user set authentication_string=PASSWORD("your password") where User="root";刷新权限,退出重启:
MySQL> flush privileges;
MySQL> quit;
终端:service mysql start
密码修改完成,已经将密码修改为root了。
打开系统偏好配置最下面那一行->MySQL,
开启MySQL:Start MySQL Server
关闭MySQL:Stop MySQL Server
注意:Automatically Start MySQL Server On Startup是默认勾选的,勾选后打开电脑会默认开启MySQL,建议不需要的可以不用默认勾选
嫌终端查看数据库不方便的,可以下载Navicat Lite管理软件,管理MySQL超级方便。
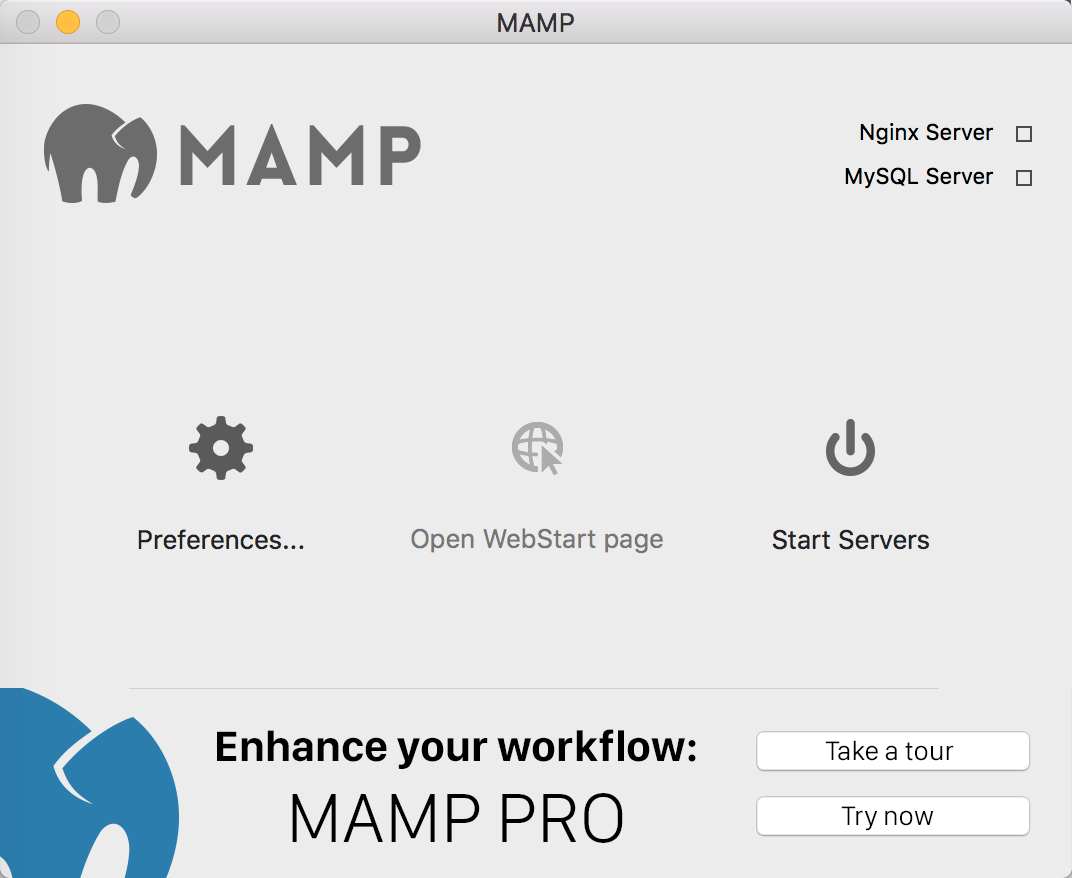
4.大招来了,安装MAMP
- 安装MAMP后,你会发现你上面做的事情基本都是浪费……因为这个一个装完,其他基本都不需要动了,除了稍微改改配置什么的。
- 安装地址:https://www.mamp.info/en/ 安装免费版的就足够了
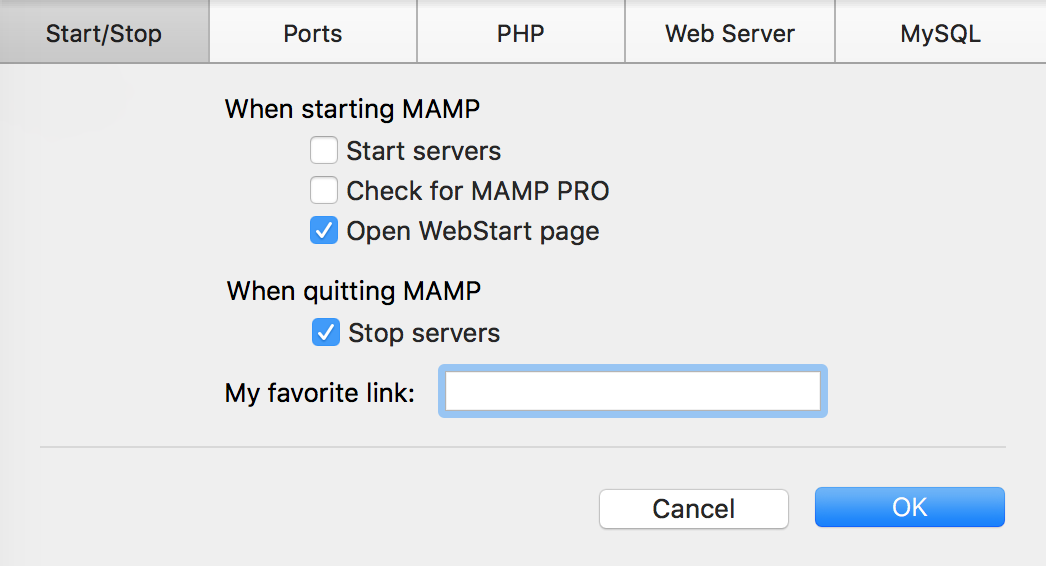
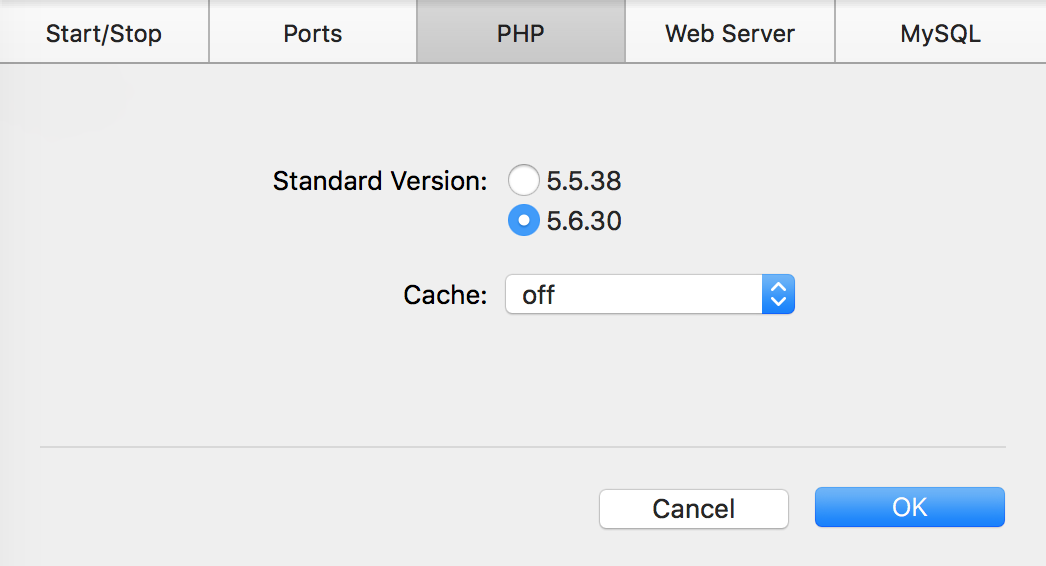
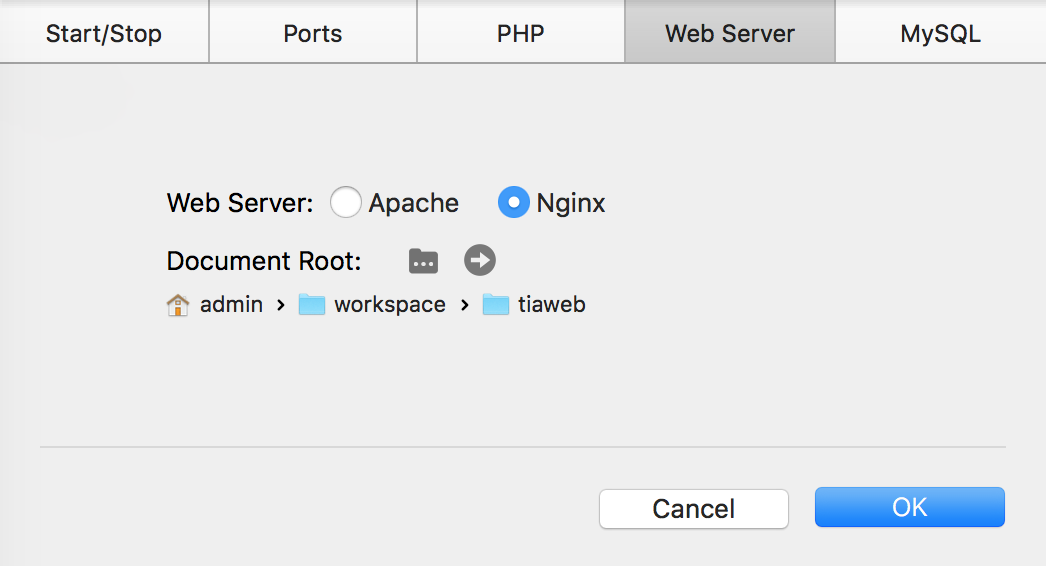
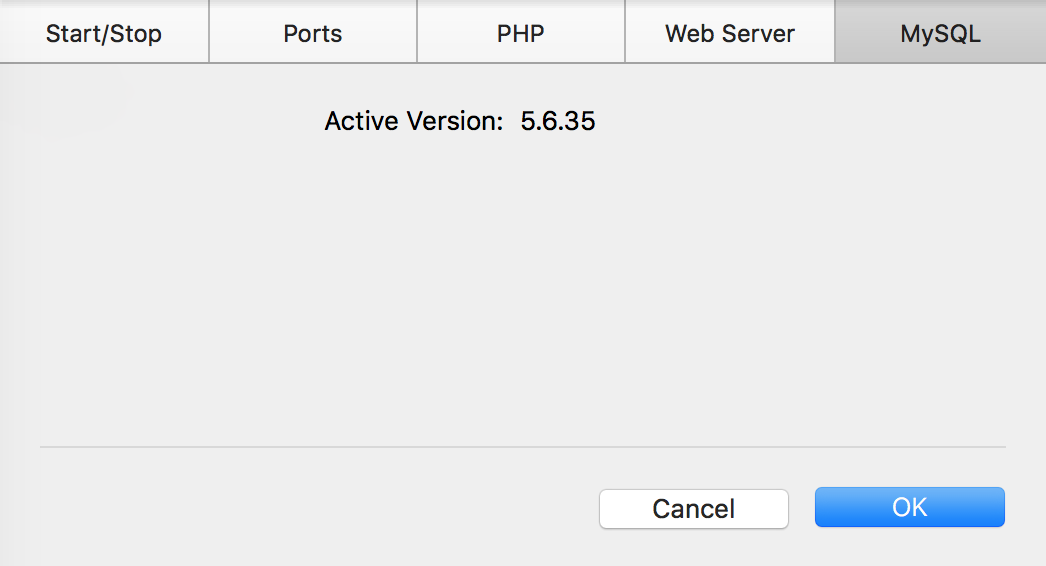
通过Preferences设置可以设置项目是用的是Apache还是Nginx,可以设置端口号,也可以设置是用PHP的版本号,然后可以将文件夹指向自己的项目,如果没有就新建一个,最后只需要点一下start即可。

超级方便有木有!
这样,一个完整的工程环境就搭建好了,接下来,就可以愉快的编码啦!