这个步骤,是配合公司的竞赛。
因为公司这次的环境,我们只有namespace权限,而没有整个集群的管理,
而且,公司没有提供统一的helm chart repo,
所以只能自建。
参考URL:
http://www.acaiblog.cn/2018/11/13/helm%E6%90%AD%E5%BB%BAchart%E6%9C%AC%E5%9C%B0%E4%BB%93%E5%BA%93/
https://www.hi-linux.com/posts/21466.html
一,安装helm客户端
# 下载 Helm
$ wget https://storage.googleapis.com/kubernetes-helm/helm-v2.9.1-linux-amd64.tar.gz
# 解压 Helm
$ tar -zxvf helm-v2.9.1-linux-amd64.tar.gz
# 复制客户端执行文件到 bin 目录下
$ cp linux-amd64/helm /usr/local/bin/
二,初始化
好像公司给每个名字空间下已安装有一个tiller,所以,初始化时,不能像新的集群一样,要skip-refresh,且要指定tiller-namespaces。
helm init --service-account tiller --tiller-image hub.yun.xxx.com.cn/helm/tiller:v2.7.2 --tiller-namespace myname --skip-refresh
三,删除默认repo
helm repo remove stable
四,启动一个helm本地仓库
helm serve &
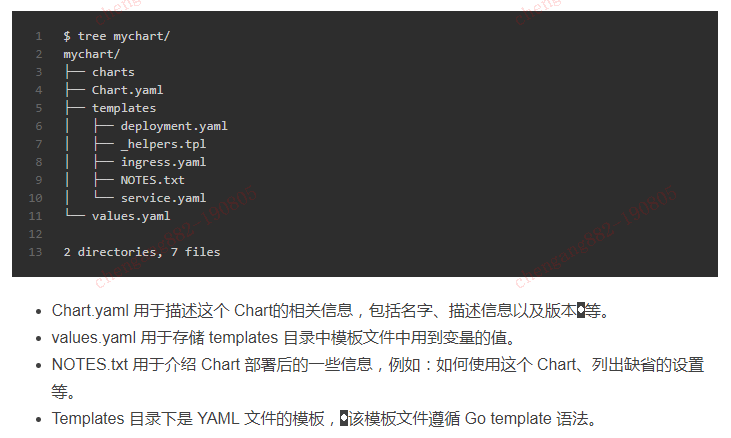
五,创建一个chart
helm create mychart
六,编辑chart内容
七,应用打包到local仓库
helm package mychart
八,更新helm repo
helm repo update
九,查看本地仓库内容
我们只能查看指定的namespace,所以,使用helm命令时,要么带上 --tiller-namespace这个尾巴,要么 exportr TILLER_NAMESPACE =myname。就比较一劳永逸了。
helm search

十,将chart部署到集群
这里,要指定namespaces
helm install --debug local/nginx --name nginx-myname --namespace myname

十一,升级chart
helm upgrade nginx-myname local/tomcat
十二,查看历史release
helm history nginx-myname

十三,回滚指定版本
helm rollback nginx-myname 2