一. 在组件中使用axios获取数据
1. 安装和配置axios
默认情况下,我们的项目中并没有对axios包的支持,所以我们需要下载安装。
在项目根目录中使用 npm安装包
npm install axios
接着在main.js文件中,导入axios并把axios对象 挂载到vue属性中作为一个子对象,这样我们才能在组件中使用。
// The Vue build version to load with the `import` command
// (runtime-only or standalone) has been set in webpack.base.conf with an alias.
import Vue from 'vue'
import App from './App'
import axios from 'axios'  // 从node_modules目录中导包(这样写就行)

Vue.config.productionTip = false;

Vue.prototype.$axios = axios;  // 把对象挂载到Vue中

/* eslint-disable no-new */
new Vue({
  el: '#app',
  components: { App },
  template: '<App/>'
});
2.在组件中使用axios获取数据
新建子组件GetWeather.vue文件
前提是将GetWeather注册到App.vue下


<template>
  <div id="GetWeather">
    <input type="text" v-model="city" placeholder="请输入要查询的城市">
    <button @click="get_weather">获取天气</button>
    <p>{{weather_info}}</p>
    <hr>
    <div v-for="k,v in weather_info.data">
      <p>{{v}}:{{k}}</p>
    </div>
  </div>
</template>

<script>
  export default {
    name: "GetWeather",
    data() {
      return {
        city: "",
        weather_info: "",
      }
    },
    methods: {
      get_weather() {
        this.$axios.get("http://wthrcdn.etouch.cn/weather_mini", {
          params: {
            "city": this.city
          }
        }).then(response => {
          this.weather_info = response.data;
        }).catch(error => {
          console.log(error.response)
        })
      }
    }

  }
</script>

<style scoped>

</style>
效果如下:

本质上来说,我们还是原来的axios,所以也还会受到同源策略的影响。
二.项目搭建vue-router与element-UI
1. 新建一个vue项目
vue init webpack 项目名
根据需要在生成项目时,我们选择对应的选项。

根据上面的提示,我们已经把vue项目构建好了,接下来我们可以在pycharm编辑器中把项目打开并根据上面黄色提示,运行测试服务器。
2. 初始化项目
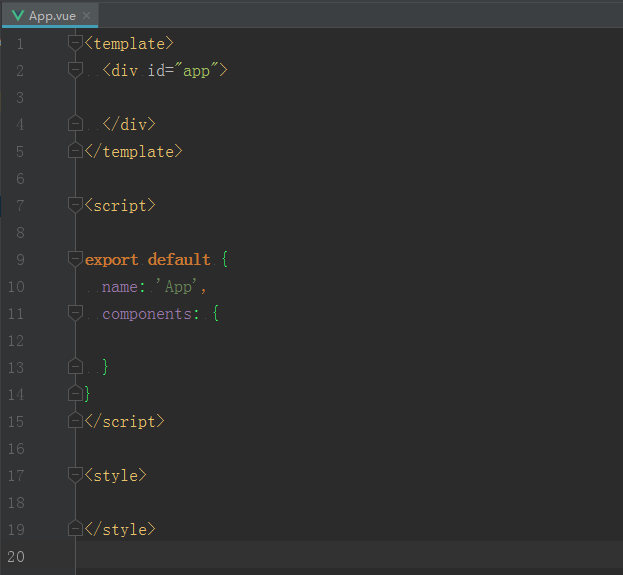
清除默认的Helloworld.vue组件和App.vue中的默认模板代码和默认样式。
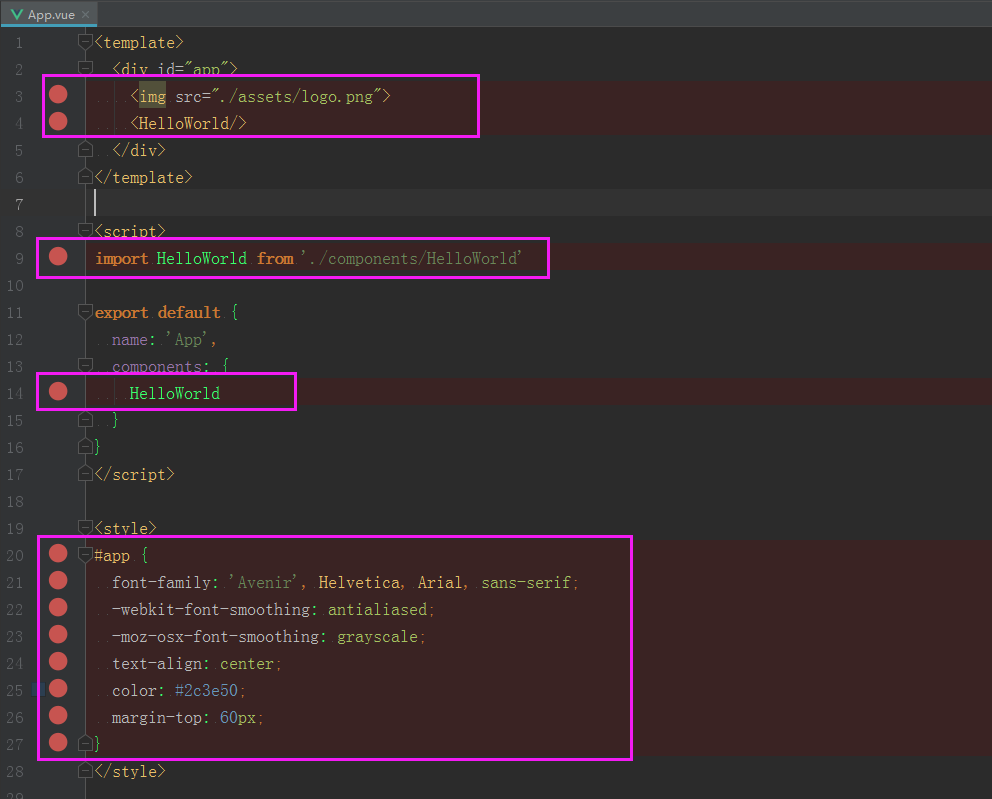
修改后的效果:
接下来查看效果就是一张白纸。
3. 安装路由vue-router
(1)下载路由组件
npm i vue-router -S
执行效果:
(2)配置路由
在src目录下创建router路由目录,在router目录下创建index.js路由文件
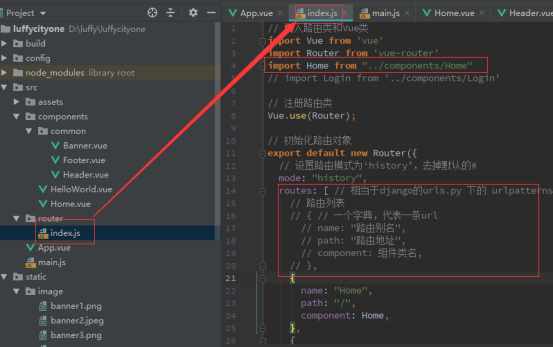
router/index.js路由文件中,编写初始化路由对象的代码:
// 引入路由类和Vue类
import Vue from 'vue'
import Router from 'vue-router'
import Home from "../components/Home"
// 注册路由类
Vue.use(Router);

// 初始化路由对象
export default new Router({
  // 设置路由模式为‘history’,去掉默认的#
  mode: "history",
  routes: [ // 相当于django的urls.py 下的 urlpatterns
    // 路由列表
    // { // 一个字典,代表一条url
      // name: "路由别名",
      // path: "路由地址",
      // component: 组件类名,
    // },
    {
      name: "Home",
      path: "/",
      component: Home,
    },
    {
      name: "Home",
      path: "/home",
      component: Home,
    }
    ]
})
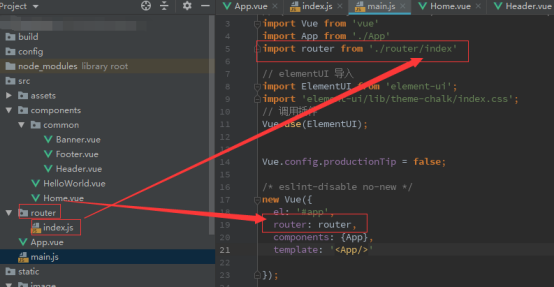
打开main.js文件,把router路由规则对象注册到vue中。
代码:
// The Vue build version to load with the `import` command
// (runtime-only or standalone) has been set in webpack.base.conf with an alias.
import Vue from 'vue'
import App from './App'
import router from './router/index'

// elementUI 导入
import ElementUI from 'element-ui';
import 'element-ui/lib/theme-chalk/index.css';
// 调用插件
Vue.use(ElementUI);


Vue.config.productionTip = false;

/* eslint-disable no-new */
new Vue({
  el: '#app',
  router: router,
  components: {App},
  template: '<App/>'

});
(3)在视图中显示路由对应的内容
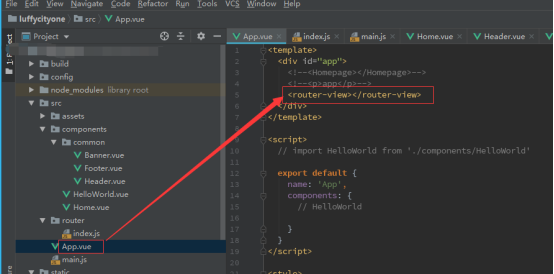
在App.vue组件中,添加显示路由对应的内容。
代码:
<template>
  <div id="app">
    <router-view />
  </div>
</template>

<script>

export default {
  name: 'App',
  components: {

  }
}
</script>

<style>

</style>
注意:如果在vue创建项目的时候,设置安装vue-router,则项目会自动帮我们生成上面的router目录和index.js里面的代码,以及自动到main.js里面注册路由对象。
4.引入ElementUI
对于前端页面布局,我们可以使用一些开源的UI框架来配合开发,Vue开发前端项目中,比较常用的就是ElementUI了。
ElementUI是饿了么团队开发的一个UI组件框架,这个框架提前帮我们提供了很多已经写好的通用模块,我们可以在Vue项目中引入来使用,这个框架的使用类似于我们前面学习的bootstrap框架,也就是说,我们完全可以把官方文档中的组件代码拿来就用,有定制性的内容,可以直接通过样式进行覆盖修改就可以了。
中文官网:http://element-cn.eleme.io/#/zh-CN
文档快速入门:http://element-cn.eleme.io/#/zh-CN/component/quickstart
(1)快速安装ElementUI
在项目的根目录下执行下面的命令。
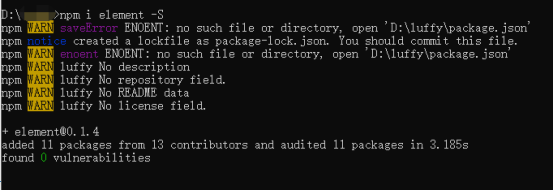
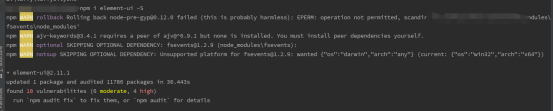
npm i element-ui -S
上面的代码等同于:npm install element-ui --save
执行命令效果:
(2) 配置ElementUI到项目中
在main.js中导入ElementUI,并调用。代码:
// elementUI 导入
import ElementUI from 'element-ui';
import 'element-ui/lib/theme-chalk/index.css';
// 调用插件
Vue.use(ElementUI);
效果:

这样就成功引入了ElementUI。