
一、准备工作,eclipse运行两个实例
1、修改 eurekaclient1 中 application.yml 文件
server:
  port: 8762
spring:
  application:
    name: eurekaclient
eureka:
  instance:
     instance-id: eurekaclient1
     appname: ${spring.application.name}
  client:
    serviceUrl:
      defaultZone: http://localhost:8761/eureka/
2、同级目录下复制一份 application.yml 文件 命名为 application-two.yml
server:
port: 8763
spring:
application:
name: eurekaclient
eureka:
instance:
instance-id: eurekaclient2
appname: ${spring.application.name}
client:
serviceUrl:
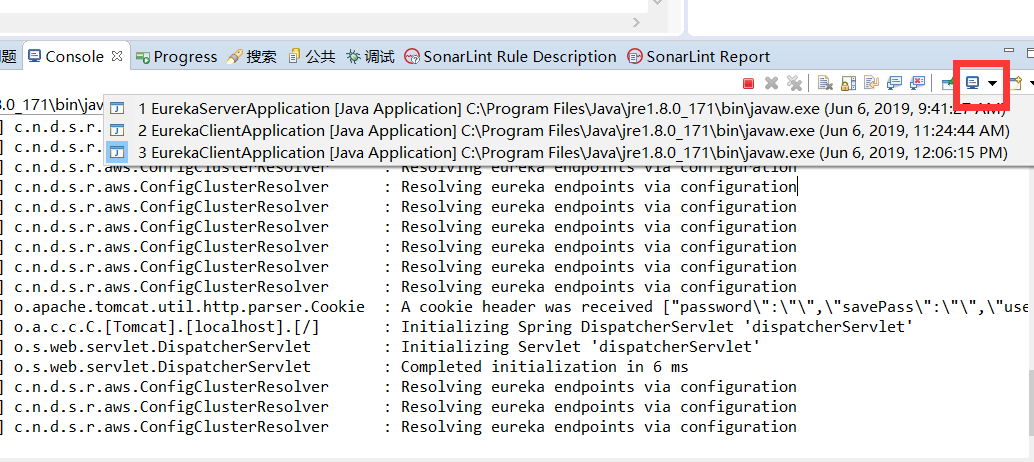
defaultZone: http://localhost:8761/eureka/3、启动 EurekaClientApplication.java (第一个实例)
4、启动 EurekaClientApplication.java (第二个实例)
右键->Run As -> Run Configurations.. ->Arguments-> Programe Arguments 输入 --spring.profiles.active=two 点击 run
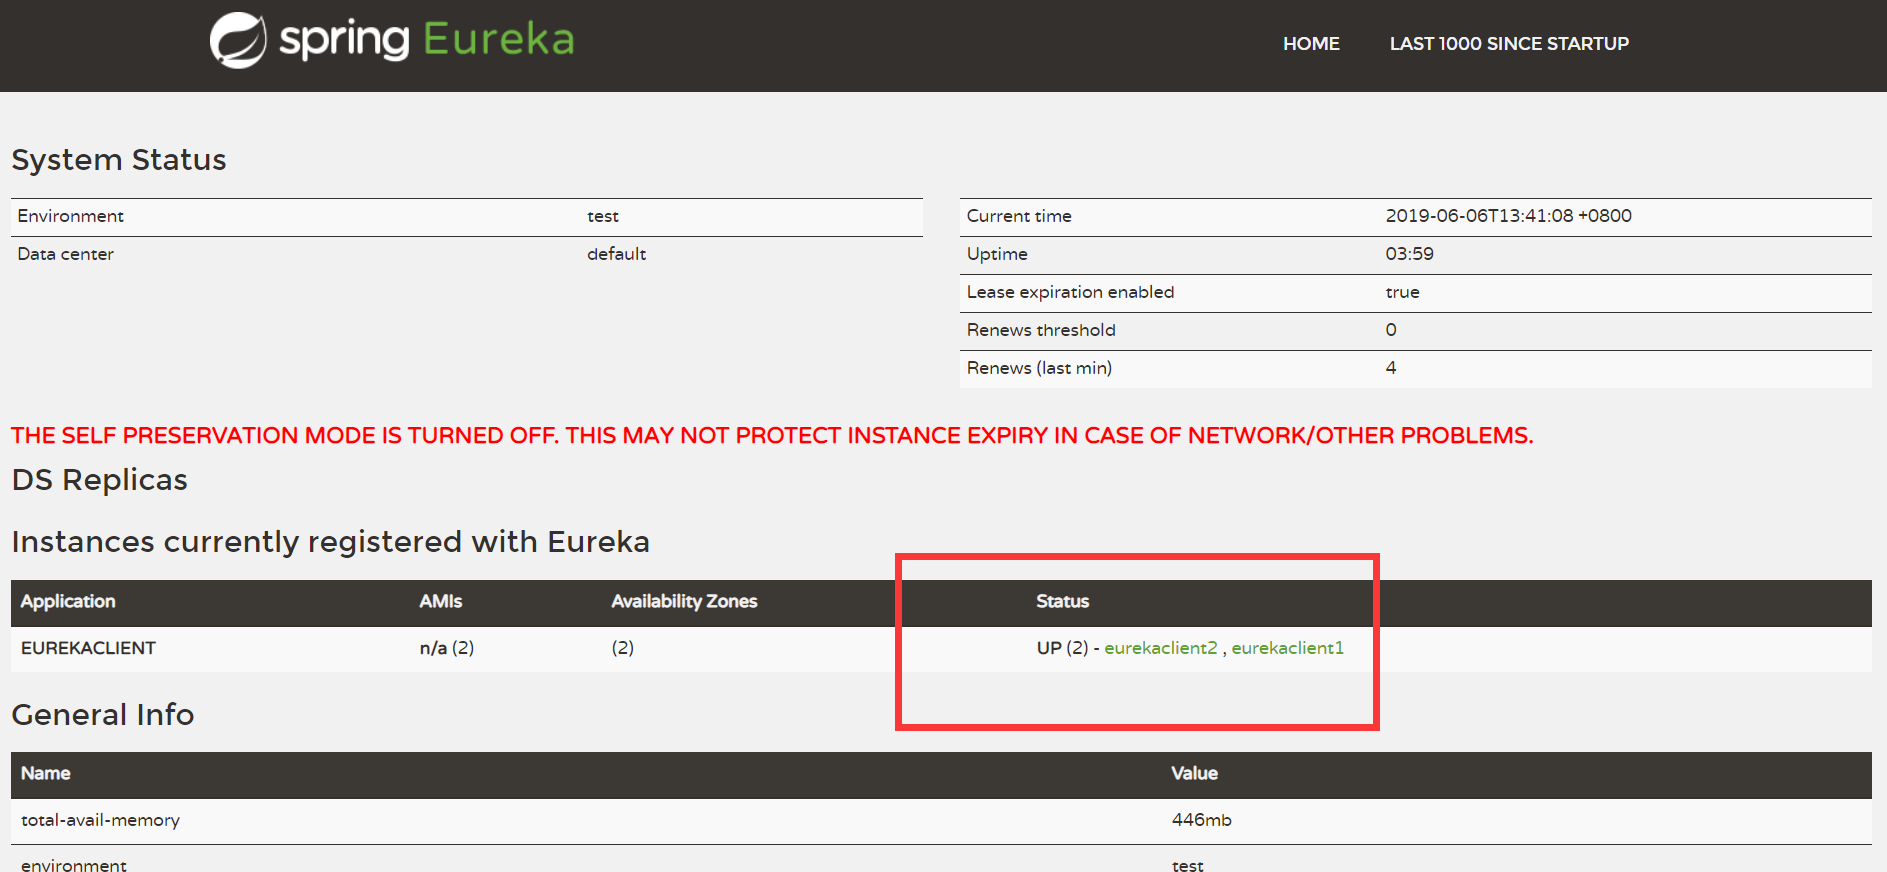
5、查看 多个实例
二、新建maven 工程 service-ribbon (服务消费者 )
1、修改pom.xml
<project xmlns="http://maven.apache.org/POM/4.0.0" xmlns:xsi="http://www.w3.org/2001/XMLSchema-instance"
  xsi:schemaLocation="http://maven.apache.org/POM/4.0.0 http://maven.apache.org/xsd/maven-4.0.0.xsd">
  <modelVersion>4.0.0</modelVersion>

  <groupId>wg</groupId>
  <artifactId>service-ribbon</artifactId>
  <version>0.0.1-SNAPSHOT</version>
  <packaging>jar</packaging>

  <name>service-ribbon</name>
  <url>http://maven.apache.org</url>

  <properties>
    <project.build.sourceEncoding>UTF-8</project.build.sourceEncoding>
    <project.reporting.outputEncoding>UTF-8</project.reporting.outputEncoding>
    <spring-cloud.version>Greenwich.RELEASE</spring-cloud.version>
    <java.version>1.8</java.version>
  </properties>

  <parent>
    <groupId>org.springframework.boot</groupId>
    <artifactId>spring-boot-starter-parent</artifactId>
    <version>2.1.1.RELEASE</version>
    <relativePath/> <!-- lookup parent from repository -->
  </parent>

  <dependencies>
	<dependency>
        <groupId>org.springframework.cloud</groupId>
        <artifactId>spring-cloud-starter-netflix-eureka-client</artifactId>
    </dependency>
    <dependency>
        <groupId>org.springframework.boot</groupId>
        <artifactId>spring-boot-starter-web</artifactId>
    </dependency>
    <dependency>
        <groupId>org.springframework.cloud</groupId>
        <artifactId>spring-cloud-starter-netflix-ribbon</artifactId>
    </dependency>
    <dependency>
      <groupId>junit</groupId>
      <artifactId>junit</artifactId>
      <scope>test</scope>
    </dependency>
  </dependencies>
  <dependencyManagement>
    <dependencies>
      <dependency>
        <groupId>org.springframework.cloud</groupId>
        <artifactId>spring-cloud-dependencies</artifactId>
        <version>${spring-cloud.version}</version>
        <type>pom</type>
        <scope>import</scope>
      </dependency>
    </dependencies>
  </dependencyManagement>
</project>
2、创建启动类(位于所有类的上级包下)
package wg;

import org.springframework.boot.SpringApplication;
import org.springframework.boot.autoconfigure.SpringBootApplication;
import org.springframework.cloud.client.discovery.EnableDiscoveryClient;
import org.springframework.cloud.client.loadbalancer.LoadBalanced;
import org.springframework.cloud.netflix.eureka.EnableEurekaClient;
import org.springframework.context.annotation.Bean;
import org.springframework.web.client.RestTemplate;

@SpringBootApplication
@EnableEurekaClient
@EnableDiscoveryClient
public class ServiceRibbonApplication {
	public static void main(String[] args) {
        SpringApplication.run( ServiceRibbonApplication.class, args );
    }

    @Bean
    @LoadBalanced
    RestTemplate restTemplate() {
        return new RestTemplate();
    }
}
3、创建application.yml
server:
  port: 8764
spring:
  application:
    name: service-ribbon
eureka:
  client:
    serviceUrl:
      defaultZone: http://localhost:8761/eureka/
4、创建service
package wg.service;

import org.springframework.beans.factory.annotation.Autowired;
import org.springframework.stereotype.Service;
import org.springframework.web.client.RestTemplate;

@Service
public class HelloService {
	@Autowired
    RestTemplate restTemplate;

    public String helloService() {
        return restTemplate.getForObject("http://EUREKACLIENT/",String.class);
    }
}
5、创建controller
package wg.controller;

import org.springframework.beans.factory.annotation.Autowired;
import org.springframework.web.bind.annotation.RequestMapping;
import org.springframework.web.bind.annotation.RestController;

import wg.service.HelloService;

@RestController
public class HelloController {
	@Autowired
    HelloService helloService;

    @RequestMapping(value = "/hello")
    public String hi() {
        return helloService.helloService( );
    }
}
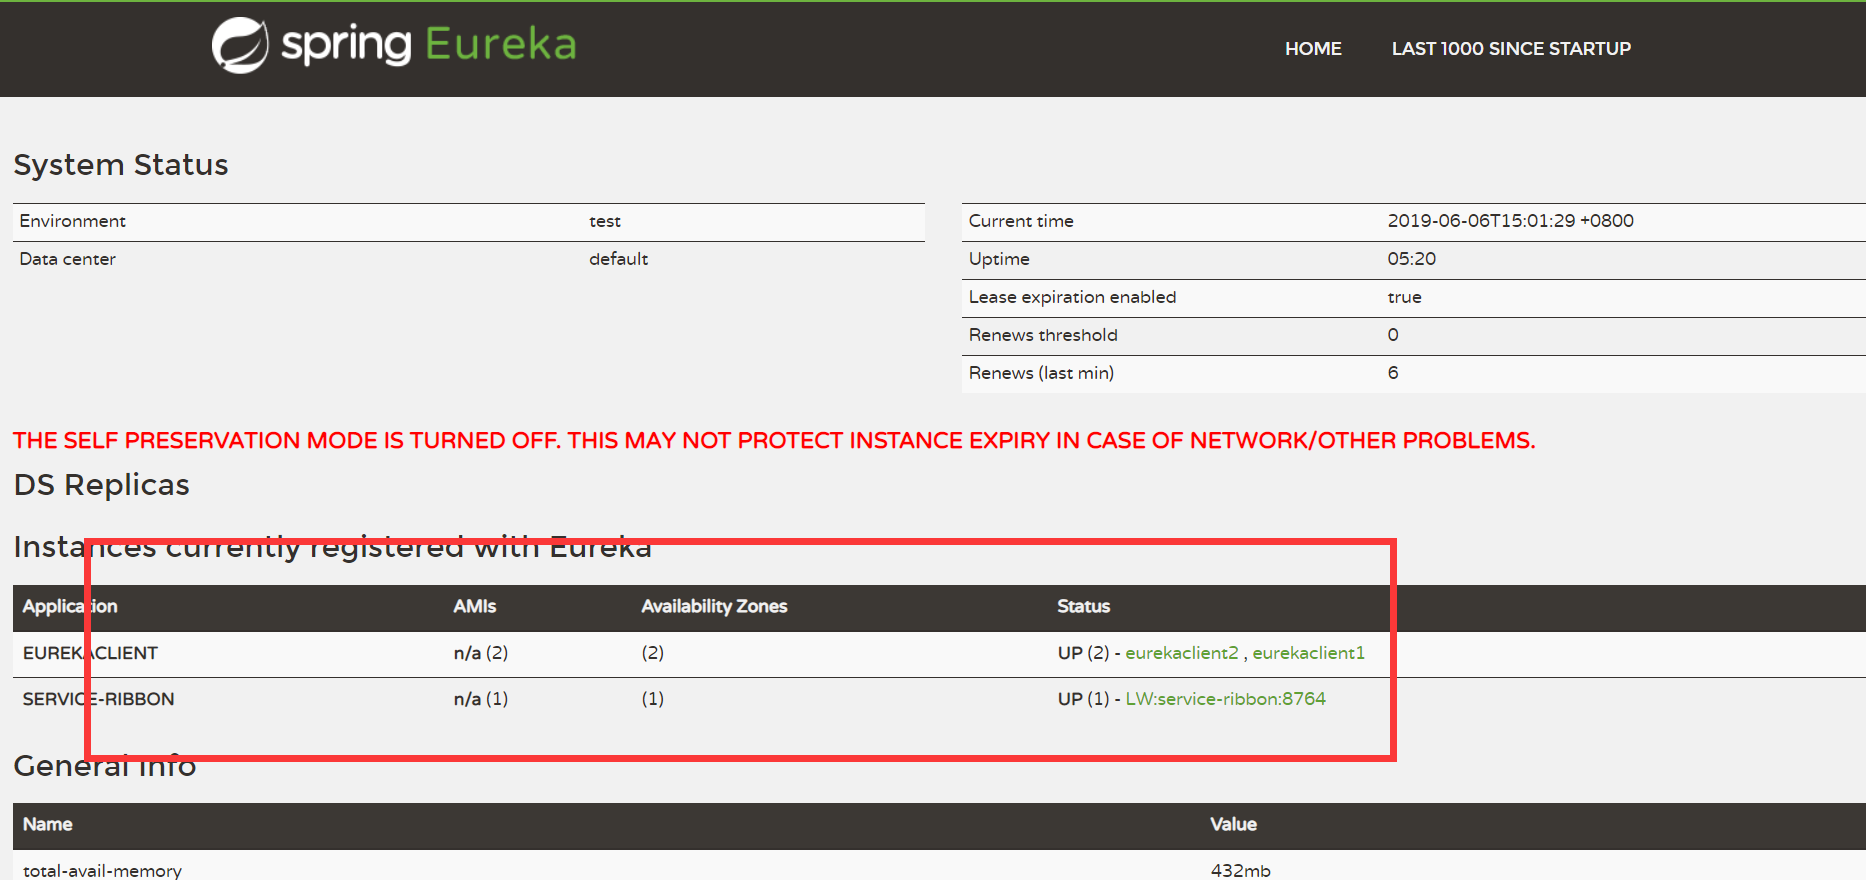
6、启动项目,多次访问:http://localhost:8764/hello
![]()
![]() 交替出现
交替出现
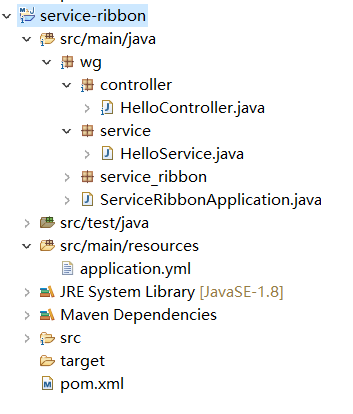
项目结构:
上一篇:Spring Cloud 入门教程(一): 服务注册与发现(Eureka)(Greenwich.RELEASE)
下一篇:Spring Cloud 入门教程(三): 服务消费者(Feign)(Greenwich.RELEASE)
转载于:https://my.oschina.net/pipi1919/blog/3059223