版权声明:https://shirukai.github.io/ | https://blog.csdn.net/shirukai/article/details/85212727
Elasticsearch与Kibana部署及使用
安装环境
Mac OS 适用于Linux
版本说明
Elasticsearch:6.4.0
Kibana:6.4.0
1 Elasticsearch部署及使用
1.1 下载Elasticsearch
下载地址:https://www.elastic.co/downloads/elasticsearch
选择系统环境相应版本进行下载,这里下载Mac 6.4.0版本(Linux通用)
wget https://artifacts.elastic.co/downloads/elasticsearch/elasticsearch-6.4.0.tar.gz
解压
tar -zxvf elasticsearch-6.4.0.tar.gz
1.2 配置
配置文件位置elasticsearch-6.4.0/config,修改文件elasticsearch.yml
vi elasticsearch.yml
修改内容如下:
bootstrap.system_call_filter: false
network.host: 0.0.0.0
说明:
-
bootstrap.system_call_filter: false # 防止系统不支持SecComp报错
-
network.host: 0.0.0.0 # 绑定IP
1.3 启动服务
在elasticsearch-6.4.0/bin目录下启动
nohup ./elasticsearch >elastic.out &
服务启动后访问地址http://192.168.1.196:9200/:

1.4 简单使用
1.4.1 添加索引库
服务地址http://192.168.1.196:9200/,命令行执行
curl -XPUT 'http://192.168.1.196:9200/test_es'
执行结果:
{"acknowledged":true,"shards_acknowledged":true,"index":"test_es"}
1.4.2 查看索引库
curl -XGET 'http://192.168.1.196:9200/_search'
结果:
{
    "took": 184,
    "timed_out": false,
    "_shards": {
        "total": 5,
        "successful": 5,
        "skipped": 0,
        "failed": 0
    },
    "hits": {
        "total": 0,
        "max_score": null,
        "hits": []
    }
}
1.4.3 创建索引
curl -XPOST 'http://192.168.1.196:9200/test_es/student/1' -H 'Content-Type:application/json' -d '{
    "name":"test",
    "age":5,
    "interests":["Spark","Hadoop"]
}'
执行结果:
{
    "_index": "test_es",
    "_type": "student",
    "_id": "1",
    "_version": 1,
    "result": "created",
    "_shards": {
        "total": 2,
        "successful": 1,
        "failed": 0
    },
    "_seq_no": 0,
    "_primary_term": 1
}
1.4.4 查询索引
curl -XGET 'http://192.168.1.196:9200/_search?pretty'
执行结果:
{
  "took" : 19,
  "timed_out" : false,
  "_shards" : {
    "total" : 5,
    "successful" : 5,
    "skipped" : 0,
    "failed" : 0
  },
  "hits" : {
    "total" : 1,
    "max_score" : 1.0,
    "hits" : [
      {
        "_index" : "test_es",
        "_type" : "student",
        "_id" : "1",
        "_score" : 1.0,
        "_source" : {
          "name" : "test",
          "age" : 5,
          "interests" : [
            "Spark",
            "Hadoop"
          ]
        }
      }
    ]
  }
1.4.7 删除索引
curl -XDELETE 'http://192.168.1.188:9200/wwaes'
{"acknowledged":true}
2 Kibana部署及使用
2.1 下载Kibana
下载地址:https://www.elastic.co/downloads/kibana
选择系统环境相应版本进行下载,这里下载Mac 6.4.0版本(Linux请选择相应版本)
wget https://artifacts.elastic.co/downloads/kibana/kibana-6.4.0-darwin-x86_64.tar.gz
解压
tar -zxvf kibana-6.4.0-darwin-x86_64.tar.gz
2.2 配置
配置文件位置kibana-6.4.0-darwin-x86_64/config,修改文件kibana.yml
vi kibana.yml
修改内容如下:
server.port: 5601
server.host: "0.0.0.0"
说明:
- server.port: 5601 # 服务端口号
- server.host #服务IP
2.3 启动服务
在kibana-6.4.0-darwin-x86_64/bin目录下启动
nohup ./kibana >kibana.out &
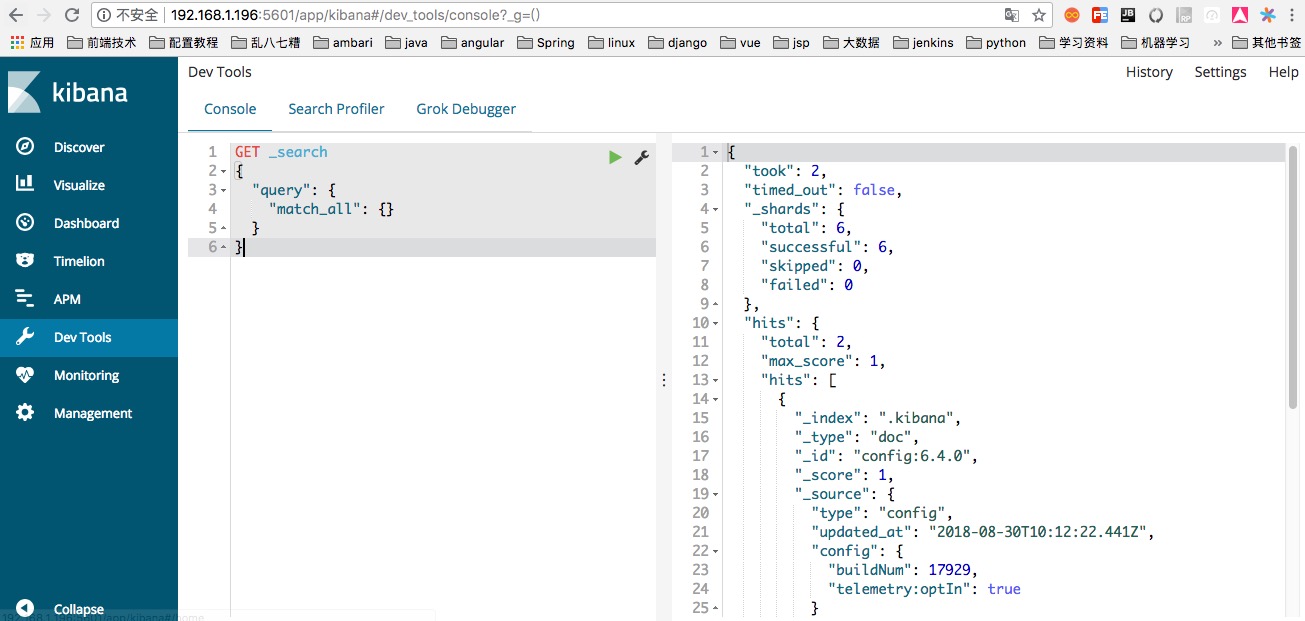
服务启动后访问地址http://192.168.1.196:5601/: