1、安装软件
Debian/Ubuntu:

apt-get install python-pip
pip install shadowsocks
CentOS:

yum install python-setuptools && easy_install pip
pip install shadowsocks
2、配置(创建配置)
cat <<EOF > /etc/shadowsocks.json
{
"server":"ss服务器IP",
"server_port":ss服务器端口,
"local_address":"127.0.0.1",
"local_port":1080, # 你的本地端口
"password":"ss服务器密码",
"timeout":300, # 超时时间
"method:":"aes-256-cfb", # 你的加密方式
"fast_open":false  # 禁用tcp_fastopen
}
EOF
3、启动测试
启动脚本
cat /home/sh/ss_start.sh
#!/bin/bash
#shadow.sh
nohup sslocal -c /etc/shadowsocks.json 2>&1 &

sh /home/sh/ss_start.sh
启动报错:

解决方法:由于openssl版本升级到1.1.1b版本后,启用了EVP_CIPHER_CTX_cleanup函数,所以之前的方式会报函数错误。
vim /usr/local/lib/python2.7/dist-packages/shadowsocks/crypto/openssl.py
将第52行:
libcrypto.EVP_CIPHER_CTX_cleanup.argtypes = (c_void_p,)
改为:
libcrypto.EVP_CIPHER_CTX_reset.argtypes = (c_void_p,)

再次搜索cleanup(此处位于111行),
将111行:
libcrypto.EVP_CIPHER_CTX_cleanup(self._ctx)
改为:
libcrypto.EVP_CIPHER_CTX_reset(self._ctx)

也就是修改两个cleanup函数改为两个reset函数。
保存并退出
4、再次启动验证
root@zinuo:~# ss -ant|grep 1080
LISTEN 0 128 127.0.0.1:1080 0.0.0.0:*

成功启动。
5、Http转发配置
Shadowsocks默认是用Socks5协议的,对于Terminal的get,wget等走Http协议的地方是无能为力的,所以需要转换成Http代理,加强通用性,两种转换方式。(使用其中一种就行)
5.1、基于Polipo
安装:
sudo apt-get install polipo

配置:
root@zinuo:~# cat  /etc/polipo/config
# This file only needs to list configuration variables that deviate
# from the default values. See /usr/share/doc/polipo/examples/config.sample
# and "polipo -v" for variables you can tweak and further information.
logSyslog = false
logFile = "/var/log/polipo/polipo.log"

socksParentProxy = "127.0.0.1:1080"
socksProxyType = socks5

chunkHighMark = 50331648
objectHighMark = 16384

serverMaxSlots = 64
serverSlots = 16
serverSlots1 = 32

proxyAddress = "0.0.0.0"
proxyPort = 8123

启动:
/etc/init.d/polipo restart

测试:
root@zinuo:~# curl -I google.com
curl: (7) Failed to connect to google.com port 80: 拒绝连接

临时增加代理验证:
export http_proxy=http://127.0.0.1:8123

将下面两行加入到环境变量:
root@zinuo:~# vim .bashrc
alias gp="config --global http.proxy=127.0.0.1:8123"
alias hp="http_proxy=http://127.0.0.1:8123"

root@zinuo:~# curl -I google.com
HTTP/1.1 301 Moved Permanently
Content-Length: 219
Date: Tue, 11 Jun 2019 08:29:26 GMT
Expires: Thu, 11 Jul 2019 08:29:26 GMT
Cache-Control: public, max-age=2592000
Location: http://www.google.com/
Content-Type: text/html; charset=UTF-8
Server: gws
X-XSS-Protection: 0
X-Frame-Options: SAMEORIGIN
Age: 198
Connection: keep-alive
5.2、基于proxychains
配置
vi /etc/proxychains.conf
将其中socks4 127.0.0.1 那一行(一般就是最后一行)换成socks5 127.0.0.1 1080

拷贝执行文件
cp /usr/lib/proxychains3/proxyresolv /usr/bin/

开启代理测试
proxychains firefox | proxychains www.google.com
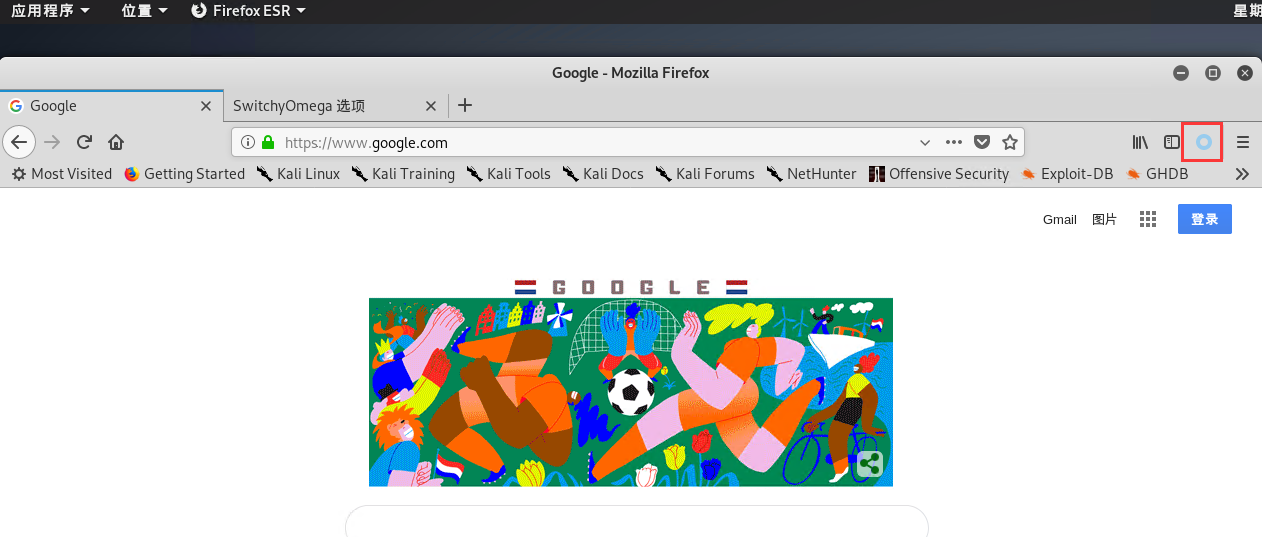
6、验证

7、配合插件使用
只用火狐浏览器测试
7.1、安装插件
https://addons.mozilla.org/en-US/firefox/addon/switchyomega/
7.2、导入配置
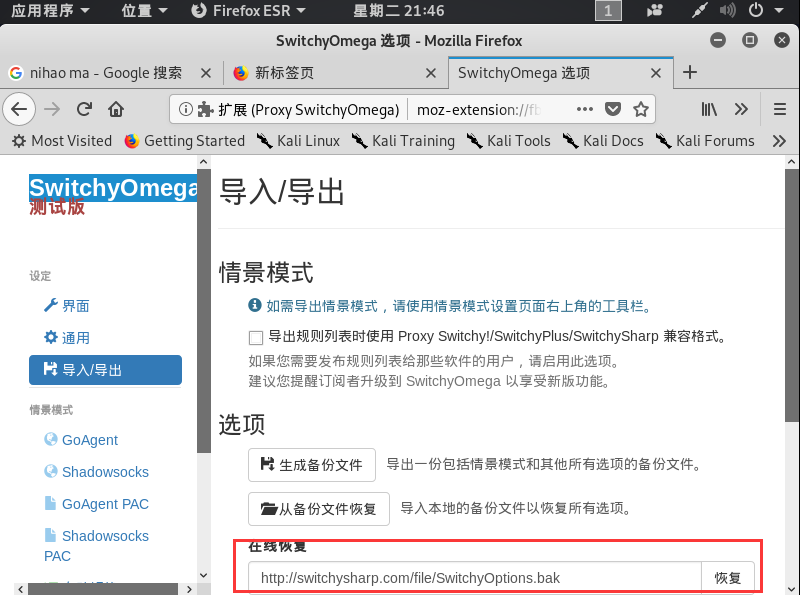
7.3、从备份文件恢复
下载:switchysharp.com/file/SwitchyOptions.bak
7.4、访问谷歌