第一种场景:Rehost设置
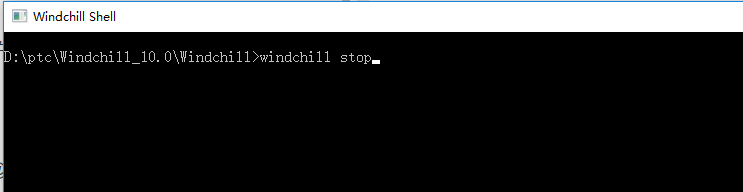
1.windchill shell中输入:windchill stop 停止Windchill服务
2.备份ldap数据(直接cp $WT_HOME/WindchillDS文件夹即可)
如:D:\ptc\Windchill_10.0\WindchillDS
3.确保MasteredOnReplicaItem表中没有数据

4.执行如下命令:
windchill shell中切换到 $WT_HOME/Windchill/bin/adminTools/rehost目录

执行如下命令:
ant “-Dtarget-ldap=ldap://cn=Manager:[email protected]/” -Dtarget-domain=plmsit.wonly.com

4.更新apache配置:
   cd $WT_HOME/apache
   ant -DesrverName = plmsit.wonly.com -f config.xml reconfigure
   ant -DAJP_HOST = plmsit.wonly.com -f config.xml configureAJPWorkers
5.修改$WT_HOME/apache/conf/extra/app-windchill-Auth.conf文件
将该文件中原来的域名换成plmsit.wonly.com

6.更新数据库
update Repository set lastKnownDomain = ‘plmsit.wonly.com’ where local=1;
7.更新site.xconf文件
将该文件中原来的域名换成plmsit.wonly.com


8.检查ldap中的数据,如果发现ldap结构下的数据丢失了,可以通过apache directory studio工具导入原有的数据。
说明:1.plmsit.wonly.com指的是你想改成的域名
2.Rehost步骤会还原apache的配置成OOTB的
第二种场景:Rehost & AD 配置
因为测试环境是从生产机直接clone的效果,所以clone好后的机器包含了jndiAdapter.plm.tclcom.com的设定。
那我们接下来开始做以下步骤:
1.删掉jndiAdapter.plm.tclcom.com在repository中的定义。
site -->Task Delegate Administration -->输入帐号cn=Manager 密码:manager


2.同时删除com.tclcom.plm.jndiAdapter在site.conf中的定义。
搜索配置文件key=="mapcredentials.admin.adapters”,删除整行数据

执行xconfmanager -p (第一步 4 已做,跳过)
3.Cloning LDAP Contents from Source LDAP to Target LDAP
cd <Windchill> /bin/adminTools/rehost/
ant  "-Dtarget-ldap=ldap://cn=Manager:[email protected]/" -Dtarget-domain=plmdevelop.tclcom.com
遇提示 type “skip” 和 “y”
- Updating Host Names in Apache
切换到apache安装目录
ant -DServerName=plmdevelop.tclcom.com -f config.xml reconfigure
5.Updating the Database on the Target System
Update Repository set lastKnownDomain='plmdevelop.tclcom.com' where local=1;
Update Repository set lastKnownDomain='jndiAdapter.plmdevelop.tclcom.com', guid='jndiAdapter.plmdevelop.tclcom.com' where LastKnownDomain='jndiAdapter.plm.tclcom.com';
-
重启windchill,以plmdevelop.tclcom.com登录系统
-
重新创建一个Repository definition
进入Site->Utilities > Task Delegate Administration > Manage Repository
在Create Repository按如下填写
Repository Name:jndiAdapter.plmdevelop.tclcom.com
Repository Type:com.ptc.windchill-ldap
Webject Processor:com.tclcom.plmdevelop.Windchill
Task Processor:com.tclcom.plmdevelop.Windchill

-
site 中添加jndiAdapter的定义,执行
xconfmanager -s wt.federation.org.directoryServices="$(wt.federation.org.defaultAdapter),com.tclcom.plmdevelop.jndiAdapter" -p
- xconfmanager --add
"mapcredentials.admin.adapters=com.tclcom.plmdevelop.jndiAdapter^cn=gcquery,cn=Users,dc=ta-mp,dc=com^Gc123456" -t "codebase/WEB-INF/mapCredentials.txt" -p
10.切换到apache目录
ant -f webAppConfig.xml addAuthProvider -DappName=Windchill -DldapUrl="ldap://chnifr01.cn.ta-mp.com:3268/DC=ta-mp,DC=com?sAMAccountName?sub?(objectClass=*)(memberOf=CN=PLM,OU=Project,OU=GROUPs,DC=cn,DC=ta-mp,DC=com)" -DproviderName=TCTLdap -DbindDn="CN=gcquery,CN=Users,DC=ta-mp,DC=com" -DbindPwd="Gc123456"
11.ant -f webAppConfig.xml regenWebAppConf
.ant -f webAppConfig.xml regenWebAppConf
12.重启Windchill系统
13.登录验证。